4-7
W
EB
C
ONFIGURATION
Viewing system overview and log
To enable your settings
After you have customized the settings, click the
Apply
button. The Wireless
Routing Center will begin registering the settings. You will be prompted to wait for
a few seconds. During this process, it is important not to turn the Wireless Routing
Center OFF or ON. The Wireless Routing Center could be damaged.
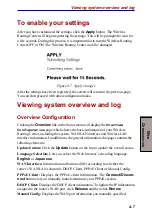
Figure 4-7 Apply changes
After the settings have been registered, the screen will return to the previous page.
You can then proceed with other configuration tasks.
Viewing system overview and log
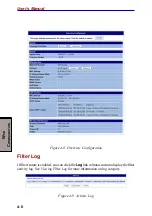
Overview Configuration
Clicking the
Overview
link in the Status menu will display the
Overview
Configuration
page which shows the basic information of your Wireless
Routing Center, including the system, WAN/LAN interface and Wireless LAN
interface information. In addition to the general information, this page contains the
following elements:
Update button: Click the
Update
button on the top to update the overall status.
Language Selection: Lets you select the Web browser’s encoding language:
English
or
Japanese
.
WAN Interface: Information and buttons differ according to whether the
router’s WAN/LAN relation is DHCP Client, PPPoE Client or Manual Config.
PPPoE Client: Displays the PPPoE client information. The
Connect/Discon-
nect
buttons let you manually launch/terminate your PPPoE session.
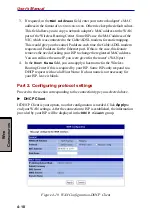
DHCP Client: Displays the DHCP client information. To update the IP information
assigned to the router’s WAN port, click
Release
and then click
Renew
.
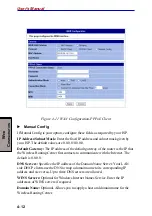
Manual Config: Displays the WAN port information you manually specified.

