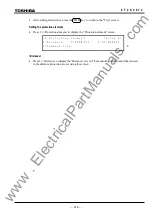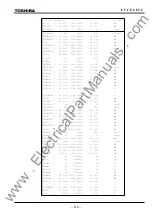
205
6
F
2
S
0
8
3
4
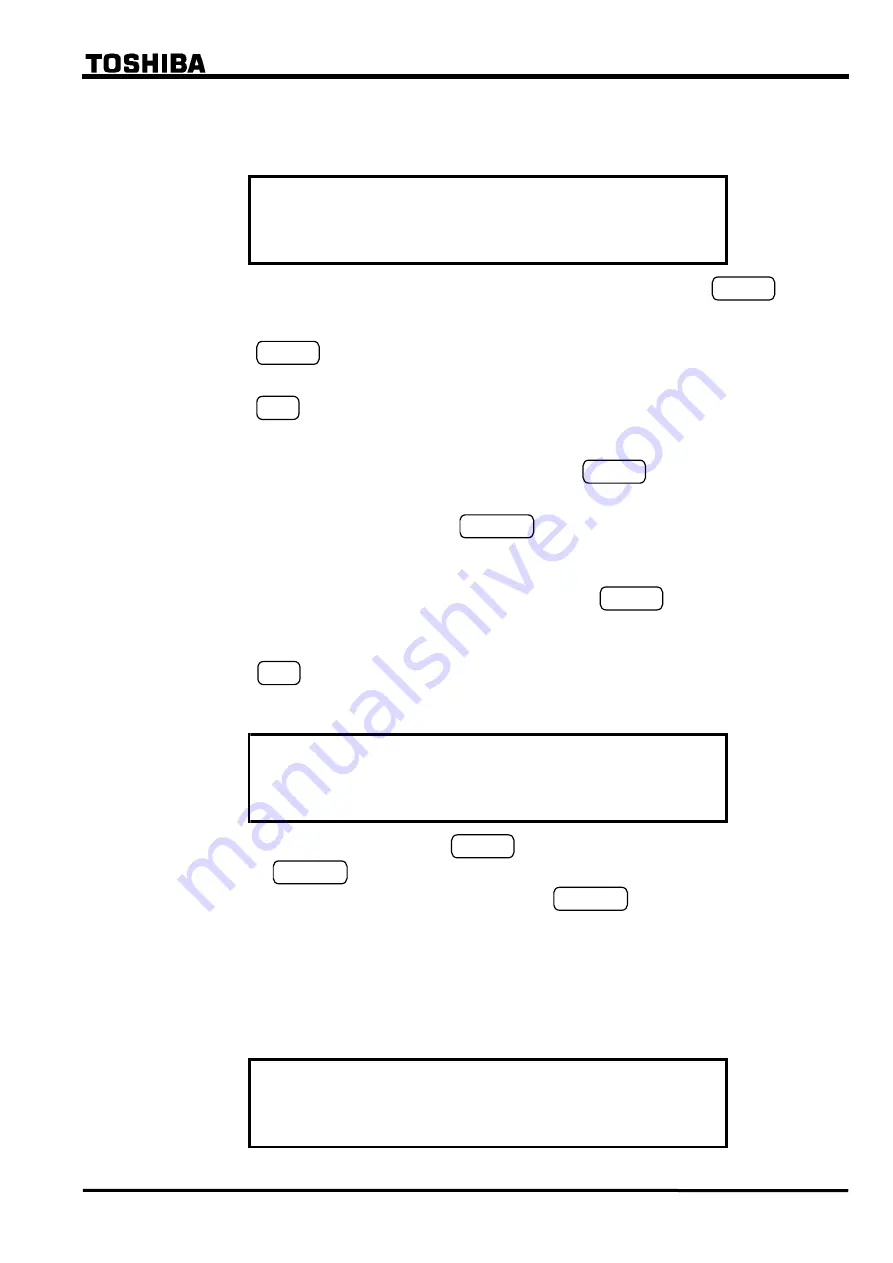
To select a character, use keys 2, 4, 6 and 8 to move blinking cursor down, left, right and up, "
→
"
and "
←
" on each of lines 2 to 4 indicate a space and backspace, respectively. A maximum of 22
characters can be entered within the brackets.
/ 3
P l a n t
n a m e
[
]
A B C D E F G H I J K L M N O P Q R S T U V W X Y Z
( ) [ ] @ _
←→
a b c d e f g h i j k l m n o p q r s t u v w x y z
{ } * / + - < = >
0 1 2 3 4 5 6 7 8 9
! ”# $ % & ’:;,.^ `
←→
←→
•
Set the cursor position in the bracket by selecting "
→
" or "
←
" and pressing the ENTER key.
•
Move the blinking cursor to a selecting character.
•
Press
the ENTER key to enter the blinking character at the cursor position in the bracket on
the top line.
•
Press
the END key to confirm the entry and return to the upper screen.
To correct the entered character, do either of the followings:
•
Discard the character by selecting "
←
" and pressing the ENTER key, and enter the new
character.
•
Discard the whole entry by pressing the CANCEL key and restart the entry from the first.
To complete the setting
Even after making entries on each setting screen by pressing the ENTER key, the new settings
are not yet used for operation, though stored in the memory. To validate the new settings, take the
following steps.
•
Press
the END key to return to the upper screen. Repeat this until the confirmation screen
shown below is displayed. The confirmation screen is displayed just before returning to the
"Setting (change)" sub-menu.
g
g
?
C h a n e s e t t i n
s
/ 2
* * * * * * * * * * * * * * * * * *
E n t e r = Y
C a n c e l = N o
e s
•
When the screen is displayed, press the ENTER key to start operation using the new settings,
or press the CANCEL key to correct or cancel the entries. In the latter case, the screen turns
back to the setting screen to enable reentries. Press the CANCEL key to cancel entries made
so far and to turn to the "Setting (change)" sub-menu.
4.2.6.2 Password
For the sake of security of setting changes, password protection can be set as follows;
•
Press 4 (= Setting (change)) on the main "MENU" screen to display the "Setting (change)"
screen.
/ 1
S e t t i n g
1 = P a s s w o r d
( c h a n g
)
e
2 = D e s c r i p t i o n
3 = C o m m
4 = R e c o r d
7 = B i n a r y
i
5 = S t a t u s
6 = P r o t e c t i o n
n p u t
8 = B i n a
y
r
t
o u t p u
9 = L E D
.
www
. ElectricalPartManuals
. com
Summary of Contents for GRZ100-211B
Page 323: ... 322 6 F 2 S 0 8 3 4 w w w E l e c t r i c a l P a r t M a n u a l s c o m ...
Page 343: ... 342 6 F 2 S 0 8 3 4 w w w E l e c t r i c a l P a r t M a n u a l s c o m ...
Page 383: ... 382 6 F 2 S 0 8 3 4 w w w E l e c t r i c a l P a r t M a n u a l s c o m ...
Page 395: ... 394 6 F 2 S 0 8 3 4 w w w E l e c t r i c a l P a r t M a n u a l s c o m ...
Page 411: ... 410 6 F 2 S 0 8 3 4 w w w E l e c t r i c a l P a r t M a n u a l s c o m ...
Page 423: ... 422 6 F 2 S 0 8 3 4 w w w E l e c t r i c a l P a r t M a n u a l s c o m ...
Page 443: ... 442 6 F 2 S 0 8 3 4 w w w E l e c t r i c a l P a r t M a n u a l s c o m ...
Page 451: ... 450 6 F 2 S 0 8 3 4 w w w E l e c t r i c a l P a r t M a n u a l s c o m ...
Page 459: ... 458 6 F 2 S 0 8 3 4 w w w E l e c t r i c a l P a r t M a n u a l s c o m ...
Page 463: ...w w w E l e c t r i c a l P a r t M a n u a l s c o m ...


