1.TROUBLESHOOTING FOR THE HARDWARE
Clearing a Paper Misfeed 15
1 TROUBLESHOOTING FOR THE HARDWARE
Clearing a paper misfeed
1
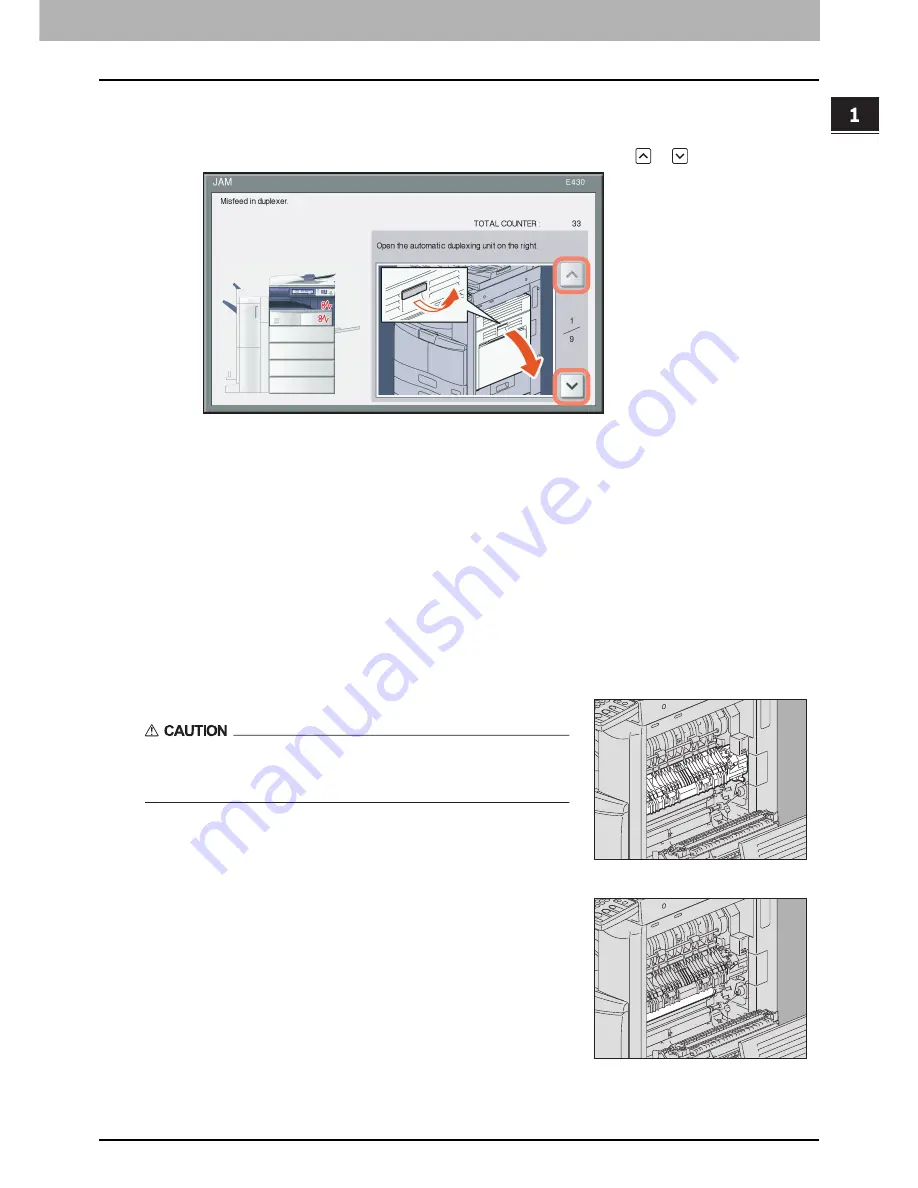
Clear the paper misfeed
Clear the paper misfeed following the guidance shown on the touch panel. Press
or
to scroll the pages.
2
After clearing the misfeed, close all the opened covers.
The equipment starts the warm-up. Follow the guidance on the touch panel.
Tips on removing the misfed paper
Note the following points in removing the misfed paper.
Remove the misfed paper carefully so as not to tear it.
To avoid tearing the misfed paper, remove the paper slowly with both hands. Using force may tear the paper, making it
more difficult to remove. See also that no pieces of torn paper are left inside the equipment.
When the paper misfeed sign remains after removing the misfed paper;
Depending on the timing of the occurrence, no misfed paper may be found where the paper misfeed sign indicates. If the
sign does not disappear after you have removed the misfed paper, follow the steps as instructed on the touch panel.
Do not touch the fuser unit or the metal portion around it.
Do not touch the fuser unit or the metal portion around it when you remove
the paper misfed in the right side of the equipment. This could burn you or
the shock could cause you to get your hand injured in the machine.
Do not touch the photoconductive drum.
When you remove the paper misfed in the right side of the equipment, be
sure not to touch the photoconductive drum. This could stain copy images.
Summary of Contents for e-STUDIO
Page 1: ...MULTIFUNCTIONAL DIGITAL SYSTEMS Troubleshooting Guide ...
Page 8: ...6 CONTENTS ...
Page 10: ...Removal and Installation of the Exit Support Tray 80 ...
Page 64: ...1 TROUBLESHOOTING FOR THE HARDWARE 62 Replacing a Toner Cartridge For e STUDIO306LP ...
Page 86: ......
Page 133: ...DP 2095 2530 3020 3590 4590 5010 DP 3030 OME110056E0 ...


