3-38
●
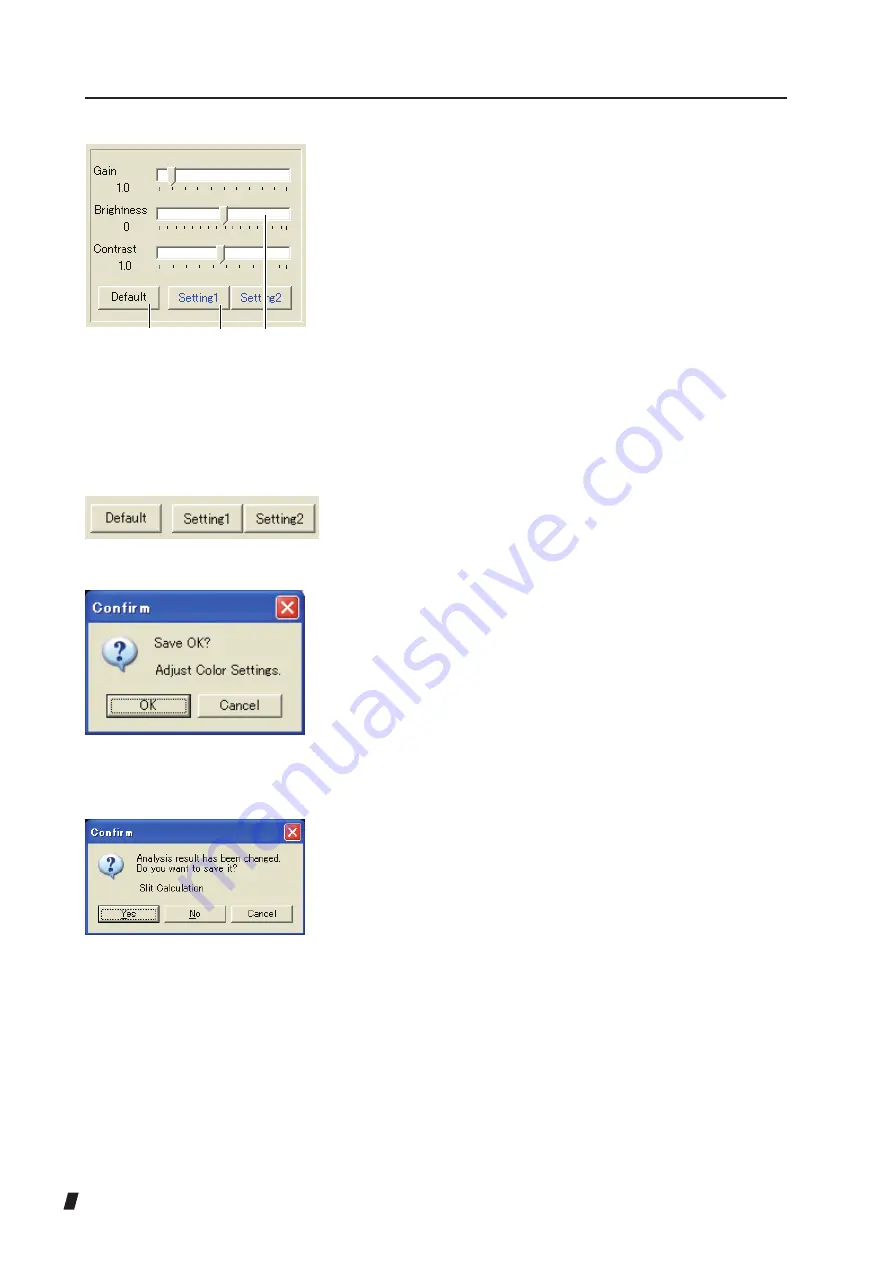
“Default” button
Click the “Default” button (20) to change the current
setting to the default (Grain = 1.0, Brightness = 0, and
Contrast = 1.0).
●
“Setting” button
Click the “Setting 1” button or “Setting 2” button (21)
to change the current value to the registered custom
value. Custom values can be set by registering
correction values currently set on this screen or by
directly entering values on the System Setup screen.
Refer to “3.9 System Setup (System tab)” for details of
settings on the System Setup screen.
If no custom values are registered in a “Setting” button,
the button name is displayed in black (Fig. 3). In this
case, the confirmation screen appears (Fig. 4) when
either “Setting” button is clicked. Click the “OK” button
to register the current setting as a custom value,
and the “Setting” button name turns blue. After this,
the current setting can be changed to the registered
custom value by clicking the “Setting” button. Custom
values can be registered for the “Setting 1” button and
“Setting 2” button. To correct registered custom values,
settings must be changed on the System Setup screen.
When closing the analysis screen without saving the
information using the “Save” button (22) after analyzing
the slit image in item (11), a confirmation message
(Fig. 5) appears prompting you to save the analysis
data.Click the “Yes” button to save the result, “No” to
close the analysis screen without saving the result, and
“Cancel” to not close the analysis screen.
.
(Fig. 2)
(19)
(21)
(20)
(Fig. 3)
(Fig. 4)
(Fig. 5)
Summary of Contents for TMS-5
Page 2: ......
Page 6: ...i 4 This page is intentionally blank...
Page 24: ...1 12 This page is intentionally blank...
Page 97: ...3 47 Fig 1 Fig 2...
Page 127: ...3 77 RING TOPO Viewer Ks Kf MinK AveK Es Em CYL SRI PVA SAI...
Page 186: ...4 6 This page is intentionally blank...
Page 202: ...7 2 This page is intentionally blank...
Page 214: ......
Page 216: ......


