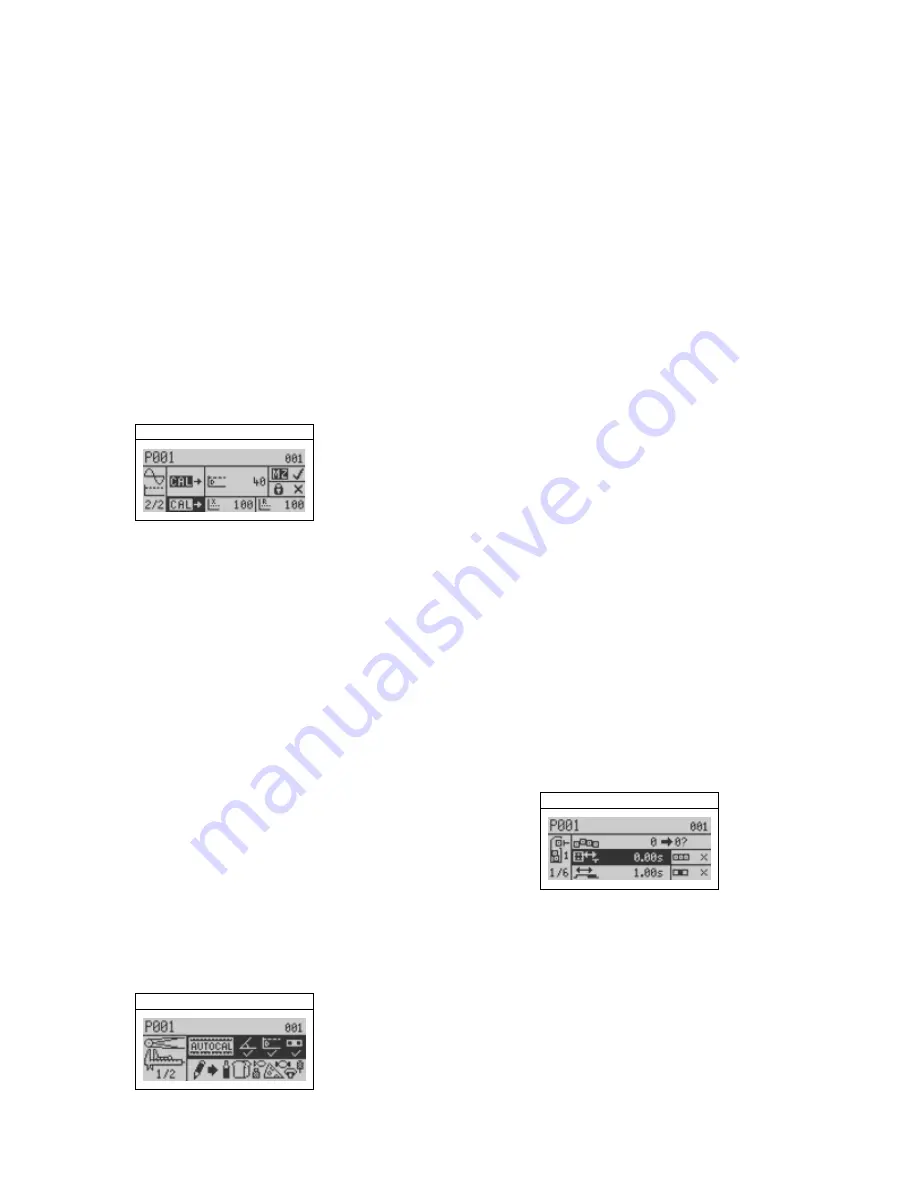
Calibrate X and R Noise
Thresholds
This calibration establishes a noise baseline
for the detector, and must be done with the
conveyor running and
no product present in
the search head.
1)
Make sure the Main Menu is displayed.
2)
Highlight the frequency and gain menu.
3)
Press the Go button.
4)
Navigate to page 2 of the menu.
5)
Navigate to the “Calibrate Noise Thres-
holds” menu. (Note: The
background of
the calibrate function should now be
highlighted in black, as shown below.)
Calibrate Noise Thresholds
Thermo Scientific APEX Quick-Start Guide
REC-F-58E—Part #085555
Page 5
6)
Press the Go button and a monitor screen
appears. The calibration is complete when
the screen above reappears showing the
calibrated values for the
X and R
thresholds. Typical values for these
thresholds are as follows.
•
X threshold < 300
•
R threshold < 100
Full-Product Calibration
A full-product calibration allows the detector
to learn how to identify your
uncontaminated
product, and sets the following basic para-
meters for your product.
•
Phase-angle setting
•
Detection level
1)
Make sure the product name is highlighted
in the Main Menu.
2)
Press the Go button and the “Full Product
Calibration” function is automatically high-
lighted.
Full Product Calibration
3)
Make sure the conveyor is running and
uncontaminated product is passing
through the search head.
4)
Press the Go button and a monitor screen
appears. During the calibration process a
series of frequency/gain mini-screens may
appear, which halts the calibration process
as the detector searches for the optimum
frequency/gain settings for your product.
When this occurs, press the Go button to
restart the calibration process. The Main
Menu screen is displayed when the
calibration is complete.
Gravity-Feed
Applications
Listed below are the most commonly used
functions for setting up a typical gravity-feed
application.
Reject-Delay Time
This function is usually set to 0.00 seconds,
and tells the gate to close immediately when
contaminants are detected. If your gate is a
long way from the search head, you may
need to set a longer delay time.
1)
Make sure the Main Menu is displayed.
2)
Navigate to the rejects menu.
3)
Press the Go button.
4)
On page 1 of the rejects menu, highlight
the “Reject 1 Distance/Delay” function.
Reject 1 Distance/Delay
5)
Press the Go button and an input screen
appears.
6)
Key in an appropriate value (in seconds
and hundredths of a second) for the
reject-delay time.
Summary of Contents for APEX 100
Page 1: ...Thermo Scientific APEX Metal Detector User s Guide REC 4248 Rev K Part number 085381 English ...
Page 10: ...Page 10 Thermo Scientific APEX User s Guide ...
Page 78: ...Page 78 Thermo Scientific APEX User s Guide ...
Page 110: ...Page 110 Thermo Scientific APEX User s Guide ...
Page 258: ...Page 258 Thermo Scientific APEX User s Guide ...
Page 270: ...Page 270 Thermo Scientific APEX User s Guide ...
Page 282: ...Page 282 Thermo Scientific APEX User s Guide ...
Page 310: ...Page 310 Thermo Scientific APEX User s Guide ...
Page 319: ...Thermo Scientific APEX User s Guide Page 319 Appendix A Modbus Communications Card ...
Page 320: ...Page 320 Thermo Scientific APEX User s Guide ...
Page 324: ...Page 324 Thermo Scientific APEX User s Guide ...
Page 340: ...Page 340 Thermo Scientific APEX User s Guide ...
Page 367: ...Thermo Scientific APEX User s Guide Page 367 Appendix B IntelliTrack XR ...
Page 368: ...Page 368 Thermo Scientific APEX User s Guide ...
Page 402: ...Page 402 Thermo Scientific APEX User s Guide ...
Page 404: ...This page intentionally left blank ...
Page 414: ...This page intentionally left blank ...
Page 430: ......
Page 431: ......
Page 432: ......
Page 433: ......
Page 434: ......
Page 435: ......
Page 436: ......
Page 437: ......
Page 438: ......
Page 439: ......
Page 440: ......
Page 441: ......
Page 442: ......


