4)
Press the Go button and the keyboard
screen appears.
5)
Key in a name for the product you are
testing using the keyboard screen.
6)
Highlight the keyboard’s exit-and-save
key (in the bottom right corner) and press
the Go button to exit the keyboard screen.
Thermo Scientific APEX Quick-Start Guide
Page 2
REC-F-58E—Part #085555
Changing Applications
The APEX can be configured to handle four
basic types of applications.
•
Conveyor applications
•
Gravity-feed applications
•
Pipeline applications
•
Pharmaceutical (Rx) applications
When you received your APEX, it was
configured at the factory to meet your
particular working environment (for example,
a conveyor application). However, if you now
wish to use your APEX for a
different
application (for example, an Rx application),
please contact Thermo (see “Contact
Information” below) for instructions on how to
configure the APEX to handle your new
application.
Contact Information
You can telephone technical support at USA
1-800-227-8891 (press option 3), or see
page 399 of the
APEX User’s Guide for more
contact options.
Conveyor Applications
Listed below are the most commonly used
functions for setting up a typical conveyor
application.
Pack Length
This is the length (mm or inches) of the
product you are testing.
1)
Make sure the Main Menu is displayed.
2)
Press the Go button and the full product
calibration screen appears.
3)
Navigate to page 2 of this menu.
(continued…)
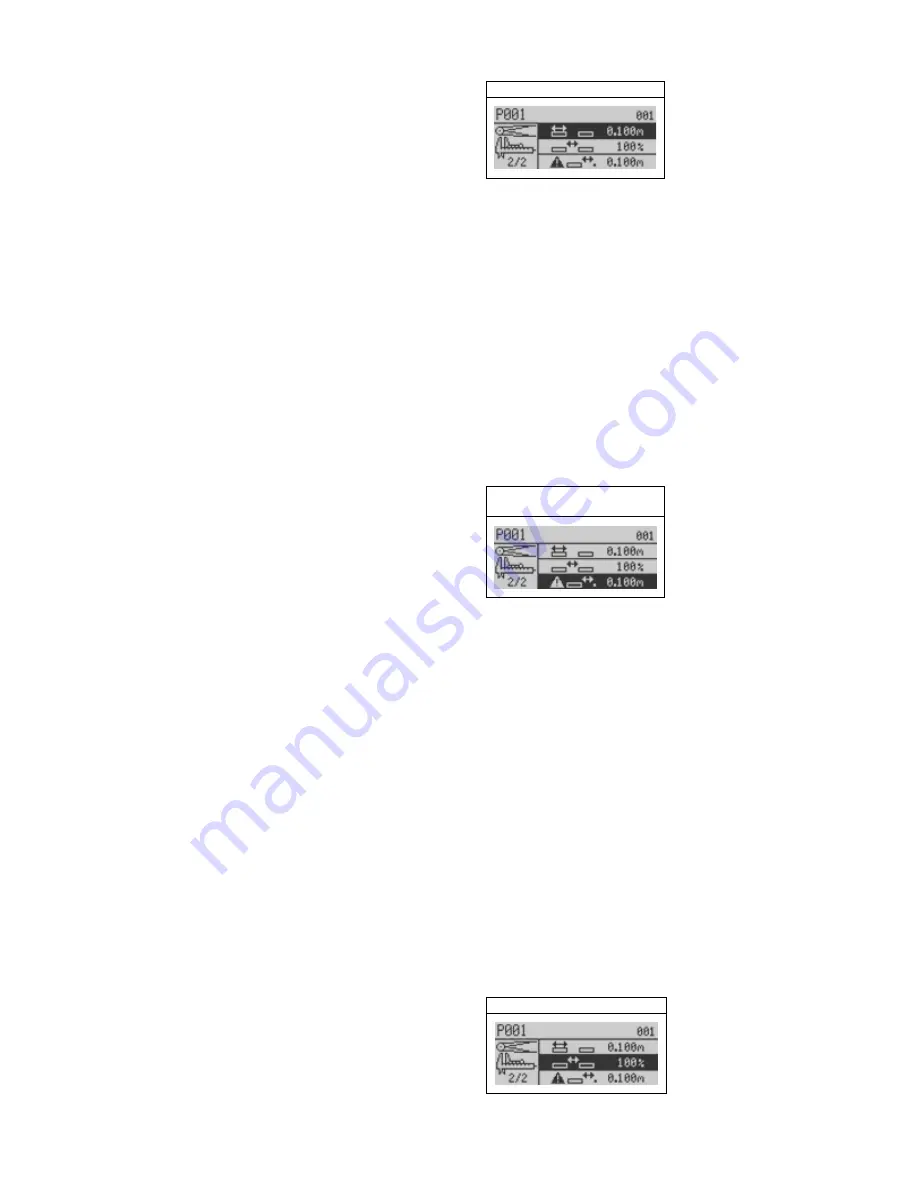
4)
Highlight the pack-length function.
Pack Length
5)
Press the Go button and an input screen
appears.
6)
Key in the pack length (mm or inches).
No-Pack Distance
In most conveyor applications it is best to
enter identical values for the pack length and
no-pack distance (mm or inches).
1)
Make sure the screen shown in the Pack
Length section above is displayed.
2)
Highlight the no-pack distance function.
Detection no-Pack
distance
3)
Press the Go button and an input screen
appears.
4)
Key in the no-pack distance (mm or
inches).
Pack Gap
The pack gap is expressed as a percentage of
the no-pack distance and is best set to 100%.
Changing the pack gap allows you to fine-
tune whether the detector rejects only one or
both units of product based on product
spacing, when there is uncertainty about
which of the packs is contaminated.
1)
Make sure the screen shown in the Pack
Length section is displayed.
2)
Highlight the pack-gap function.
Pack Gap
Summary of Contents for APEX 100
Page 1: ...Thermo Scientific APEX Metal Detector User s Guide REC 4248 Rev K Part number 085381 English ...
Page 10: ...Page 10 Thermo Scientific APEX User s Guide ...
Page 78: ...Page 78 Thermo Scientific APEX User s Guide ...
Page 110: ...Page 110 Thermo Scientific APEX User s Guide ...
Page 258: ...Page 258 Thermo Scientific APEX User s Guide ...
Page 270: ...Page 270 Thermo Scientific APEX User s Guide ...
Page 282: ...Page 282 Thermo Scientific APEX User s Guide ...
Page 310: ...Page 310 Thermo Scientific APEX User s Guide ...
Page 319: ...Thermo Scientific APEX User s Guide Page 319 Appendix A Modbus Communications Card ...
Page 320: ...Page 320 Thermo Scientific APEX User s Guide ...
Page 324: ...Page 324 Thermo Scientific APEX User s Guide ...
Page 340: ...Page 340 Thermo Scientific APEX User s Guide ...
Page 367: ...Thermo Scientific APEX User s Guide Page 367 Appendix B IntelliTrack XR ...
Page 368: ...Page 368 Thermo Scientific APEX User s Guide ...
Page 402: ...Page 402 Thermo Scientific APEX User s Guide ...
Page 404: ...This page intentionally left blank ...
Page 414: ...This page intentionally left blank ...
Page 430: ......
Page 431: ......
Page 432: ......
Page 433: ......
Page 434: ......
Page 435: ......
Page 436: ......
Page 437: ......
Page 438: ......
Page 439: ......
Page 440: ......
Page 441: ......
Page 442: ......


