


Feb 05
4-6
34PPM Laser Printer User Guide
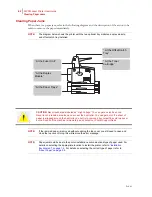
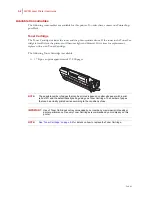
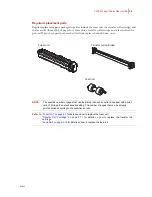
At the Fuser Unit
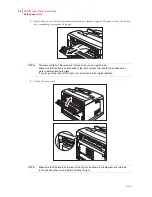
4.
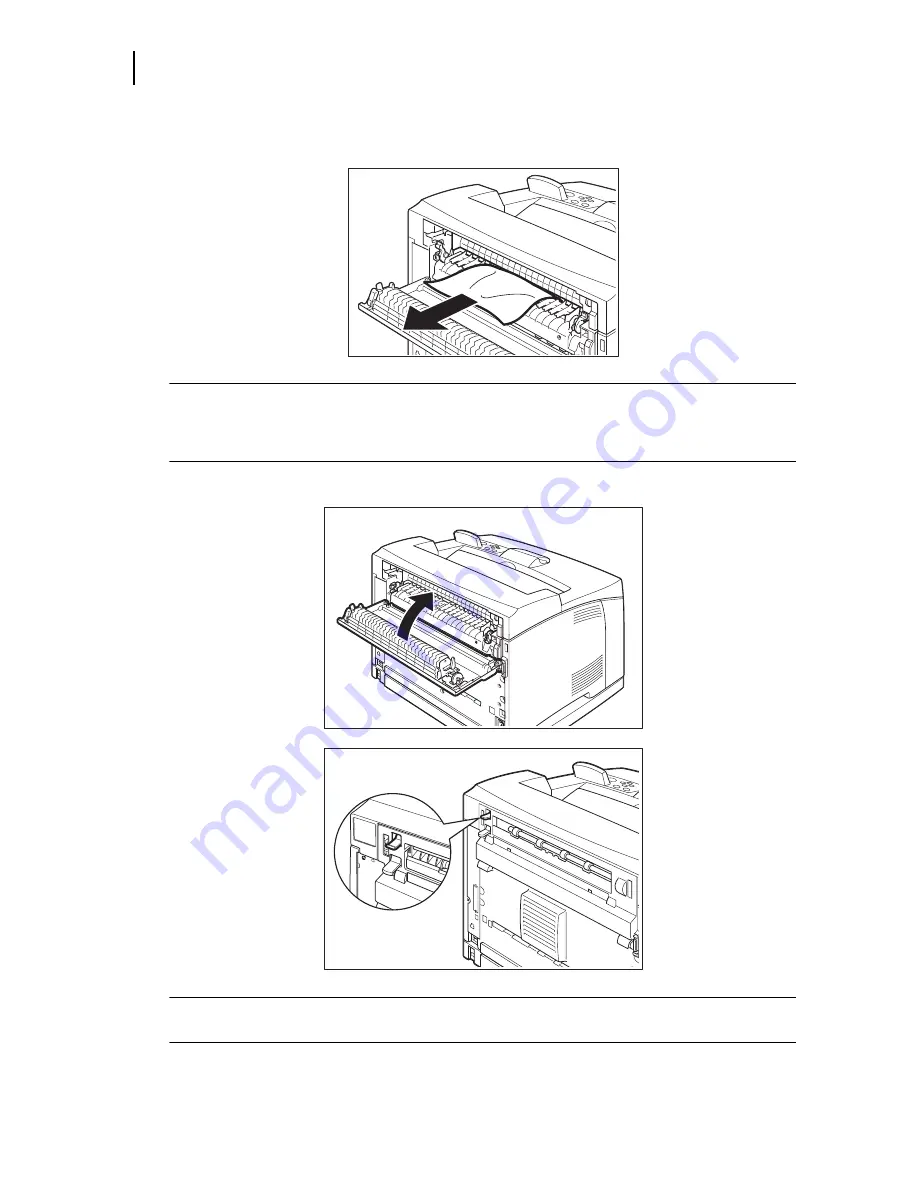
Open the cover of the fuser unit and remove any jammed paper. If paper is torn, check for
any remaining torn pieces of paper.
NOTE:
The fuser unit is hot. Be careful not to touch it as you can get burned.
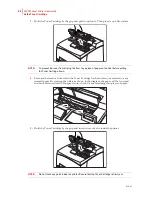
Make sure that the levers at both ends of the fuser unit are returned to the positions they
were in before clearing the jam..
If you let go of the cover of the fuser unit, it will return to its original position.
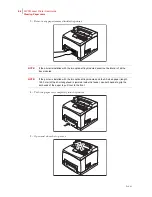
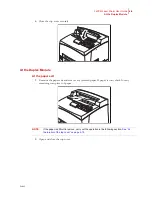
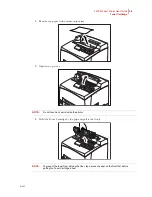
5.
Close the rear cover.
NOTE:
Make sure that the levers at the rear of the printer, as shown in the diagram, are returned
to the positions they were in before clearing the jam.
Summary of Contents for Intelliprint 9035
Page 1: ...Feb 05 User Guide TallyGenicom Intelliprint 9035 Laser Printer ...
Page 14: ...h Feb 05 6 34PPM Laser Printer User Guide Special Features of This Printer ...
Page 37: ...Feb 05 34PPM Laser Printer User Guide 1 23 Printing a Configuration Summary ...
Page 40: ...Feb 05 1 26 34PPM Laser Printer User Guide Printing PCL and PostScript Font Lists ...
Page 66: ...Feb 05 2 26 34PPM Laser Printer User Guide When Moving the Printer ...
Page 80: ...Feb 05 3 14 34PPM Laser Printer User Guide Warning Messages and Error Messages ...
Page 94: ...Feb 05 4 14 34PPM Laser Printer User Guide At the Offset Catch Tray ...
Page 140: ...Feb 05 6 26 34PPM Laser Printer User Guide Rear tray ...
Page 166: ...Feb 05 7 26 34PPM Laser Printer User Guide DISK Menu ...


