T A L K S W I T C H C O N F I G U R A T I O N
43
Import an email list
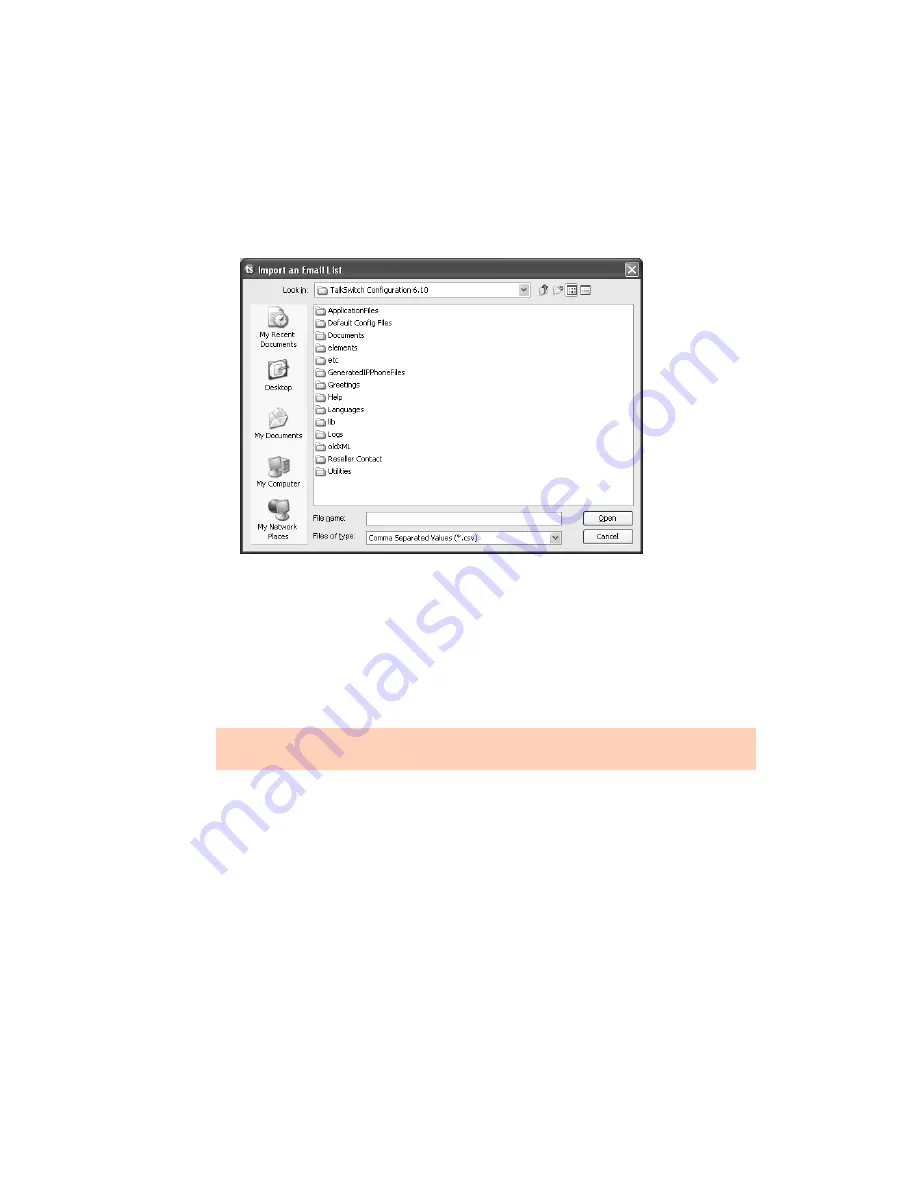
The
Import an Email List
area allows you to import e-mail addresses from a .csv file.
Each entry in the file must be formatted as follows: name,e-mail address. For example:
John Doe,[email protected]
Jane Doe,[email protected]
1. Click
Select File
. The
Import an Email List
window appears.
2. Select the .csv file, and then click
Open
.
E-mail server settings
The
Email Server Settings
area allows you to set up the e-mail server parameters, include links to
delete or save the voicemail message, and test the system’s ability to send e-mail.
You will need an e-mail address to send notifications from. For best results, use an e-mail
associated with an SMTP server that supports Plain authentication.
Use e-mail account information from your Internet service provider (ISP), system administrator,
or alternatively, obtain one from a compatible online e-mail provider.
1. Enter an e-mail address in the
Dedicated email address for sending/receiving emails
box.
When e-mail notifications arrive from the system, this e-mail address will show up in the
From
field.
2. Enter the name of the
Outgoing mail server (SMTP)
.
3. To configure authentication and server port numbers, click
More Settings
. The
Internet
Email Settings
window appears. See
Outgoing server authentication
on page 44 and
Outgoing
server port numbers
on page 45.
4. To include links within the e-mail notification, select the
Enable delete/save messages
option
checkbox. The links will allow the recipient to delete or save the voicemail message.
The e-mail notification can only include the links if the voicemail message is attached.
Notification may not work properly if the SMTP server uses Microsoft Exchange Server, and/or
certain security features are enabled.


