BioStation T2 User Guide
4 Admin Menu
77
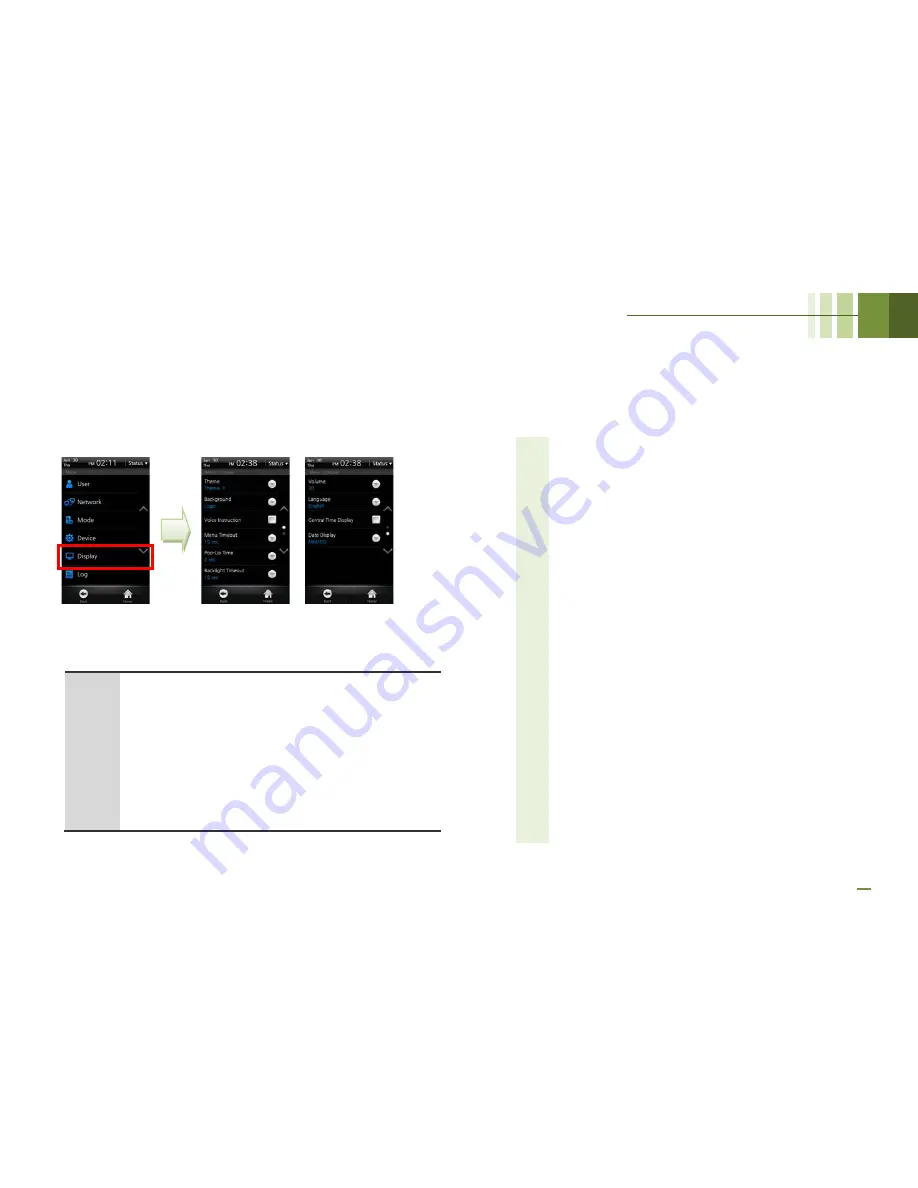
Display
Setup
Select [Menu] > [Display].
Note
If
[Notice]
and
[Slide
Show]
are
selected,
the
logo
screen
will
be
displayed
for
authentication
or
other
operations
and
one
of
the
notice
screen,
the
slide
show
screen,
and
screen
will
appear
when
the
menu
timeout
has
passed
(after
30
seconds
if
the
menu
timeout
has
been
set
to
Unlimited).
When
you
touch
the
screen
in
the
[Notice]
or
[Slide
Show]
status,
the
LCD
backlight
will
be
turned
on
if
it
is
turned
off.
If
the
LCD
backlight
is
already
turned
on,
the
screen
will
be
switched
to
the
logo
screen.
1
Theme: Select a theme for the screen background and then
press [OK]. (Values: Theme 1/Theme 2/Theme 3/Theme 4)
2
Background: Select a background for the Standby screen
and then press [OK]. (Values: Logo/Notice/Slide Show/PDF]
3
Voice Instruction: Select whether or not to use the voice
announcement. You can change pre-defined voice
announcement by an event through BioStar Software.
4
Menu Timeout: If no key is pressed during the selected
timeframe, the display returns to main screen (Values:
Infinite/10 sec/20 sec/30 sec)
5
Pop-Up Time: Select how long the message will be
displayed on the screen during authentication (Values: 0.5
sec/1 sec/2 sec/3 sec/4 sec/5 sec)
6
Backlight Timeout: If no key is pressed during the allotted
timeframe, the LCD backlight will be turned off (Values:
Unlimited/10 sec/20 sec/30 sec/40 sec/50 sec/60 sec)
7
Volume (0~100%): Select volume of the sound effects. 0%
means that no sound will be emitted.
8
Language: Select the language displayed on the terminal
and then press [OK]. You have to reboot the terminal to
activate language changes.
9
Central Time Display: Select whether or not the time and
date will be displayed on the center of standby screen.
10
Date Display (MM/DD,DD/MM): Select the date display
format on the terminal and then press [OK]
Summary of Contents for BioStaion T2
Page 1: ......
Page 7: ...BioStation T2 User Guide http www supremainc com 6 1 Before Getting Started...
Page 18: ...BioStation T2 User Guide http www supremainc com 17 2 Installation...
Page 24: ...BioStation T2 User Guide 2 Installation 23 USB Cable Connection...
Page 26: ...BioStation T2 User Guide 2 Installation 25 Ethernet Connection Direct connection to PC...
Page 32: ...BioStation T2 User Guide 2 Installation 31 RS232 Connection...
Page 35: ...BioStation T2 User Guide 2 Installation 34 Relay Connection Automatic Door 3 pin Connector...
Page 36: ...BioStation T2 User Guide 2 Installation 35 TTL Switch Input Connection 8 pin Connector...
Page 40: ...BioStation T2 User Guide http www supremainc com 39 3 User Menu...
Page 50: ...BioStation T2 User Guide http www supremainc com 49 4 Admin Menu...
Page 53: ...BioStation T2 User Guide 4 Admin Menu 52 Configuration of Admin Menu...
Page 54: ...BioStation T2 User Guide 4 Admin Menu 53...
Page 55: ...BioStation T2 User Guide 4 Admin Menu 54 User Enrollment Process...
Page 81: ...BioStation T2 User Guide http www supremainc com 80 5 Appendix...
Page 88: ......


