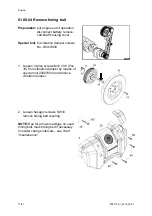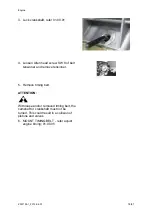
Engine
Z001138-1_2013-02-01
22/87
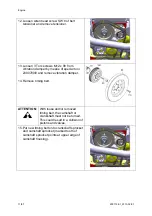
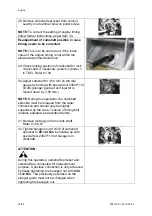
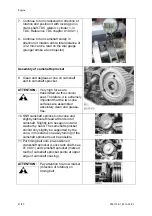
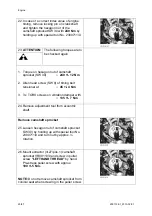
12. Mount vibration damper. Slightly lubricate
thread of 3 TORX screws (Lubricant P/N
VR00207/0) and tighten with torque
wrench to
135 +/-7 Nm
.
NOTE:
Recheck torque after first test run.
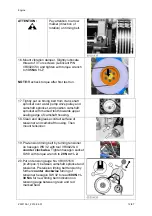
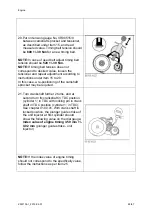
13. Tightly put on timing belt from crank shaft
sprocket over water pump drive wheel and
camshaft sprocket, and position camshaft
sprocket with marked tooth towards upper
sealing edge of camshaft housing.
14. Clean and degrease contact surface of
tensioner and camshaft housing. Then
mount tensioner.
15. Pre tension timing belt by turning tensioner
on hexagon WS 32 with tool VR00228-0
counter clockwise.
Tighten hexagon
socket SW 8 with torque wrench to
20 +/- 2
Nm.
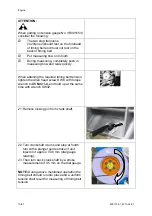
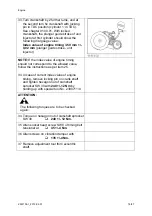
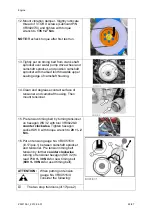
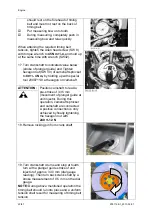
16. Put on tension gauge No. VR00515/0
(ill.17/pos.1) between camshaft sprocket
and tensioner. Pre tension timing belt
tension by further
counter clockwise
turning of tensioner hexagon (SW 32) to
read
710 +/- 30 Nm
for new timing belt
(
600 +/- 30 Nm
for used timing belt).
ATTENTION:
When putting on tension
gauge No. VR00515/0,
consider the following:
The two stop trunnions (ill.17/pos.2)
Summary of Contents for Marine Engine 2012 Series
Page 35: ...General 35 65 Z001138 1_2013 02 01 Trouble Indication ...
Page 36: ...General Preliminary Service Manual MARINE 2012 Z001138 1_2013 02 01 36 65 ...
Page 51: ...General 51 65 Z001138 1_2013 02 01 G Notes on safety ...
Page 69: ...Engine Z001138 1_2013 02 01 4 87 Kapitel MOUNT BRACKET COVER T BELT GASKET SET ...
Page 154: ...Fuel System Z001138 1_2013 02 01 2 51 ...
Page 159: ...Fuel System 7 51 Z001138 1_2013 02 01 03 00 03 Unit injector ...
Page 190: ...Fuel System Z001138 1_2013 02 01 38 51 Schema Injection Timing Device ITD ...
Page 211: ...Cooling System 5 21 Z001138 1_2013 02 01 ...
Page 231: ...Electrical System Z001138 1_2013 02 01 4 47 ...
Page 235: ...Electrical System Z001138 1_2013 02 01 8 47 ...
Page 236: ...Electrical System 9 47 Z001138 1_2013 02 01 ...
Page 238: ...Electrical System 11 47 Z001138 1_2013 02 01 ...


