Making a Master and Prints
55
2
B
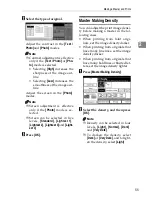
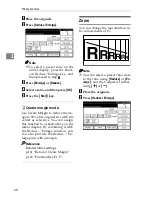
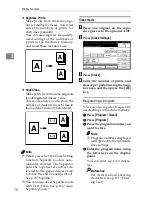
Select the type of original.
Adjust the contrast in the
[
Text /
Photo
]
and
[
Photo
]
modes.
Note
❒
Contrast adjustment is effective
only if the
[
Text / Photo
]
or
[
Pho-
to
]
mode is selected.
• Selecting
[
High
]
increases the
sharpness of the image out-
line.
• Selecting
[
Low
]
increases the
smoothness of the image out-
line.
Adjust the screen in the
[
Photo
]
modes.
Note
❒
Screen adjustment is effective
only if the
[
Photo
]
mode is se-
lected.
❒
Screen can be selected in five
levels,
[
Standard
]
,
[
Lightest 1
]
,
[
Lightest 2
]
,
[
Lightest 3
]
and
[
Light-
est 4
]
.
C
Press
[
OK
]
.
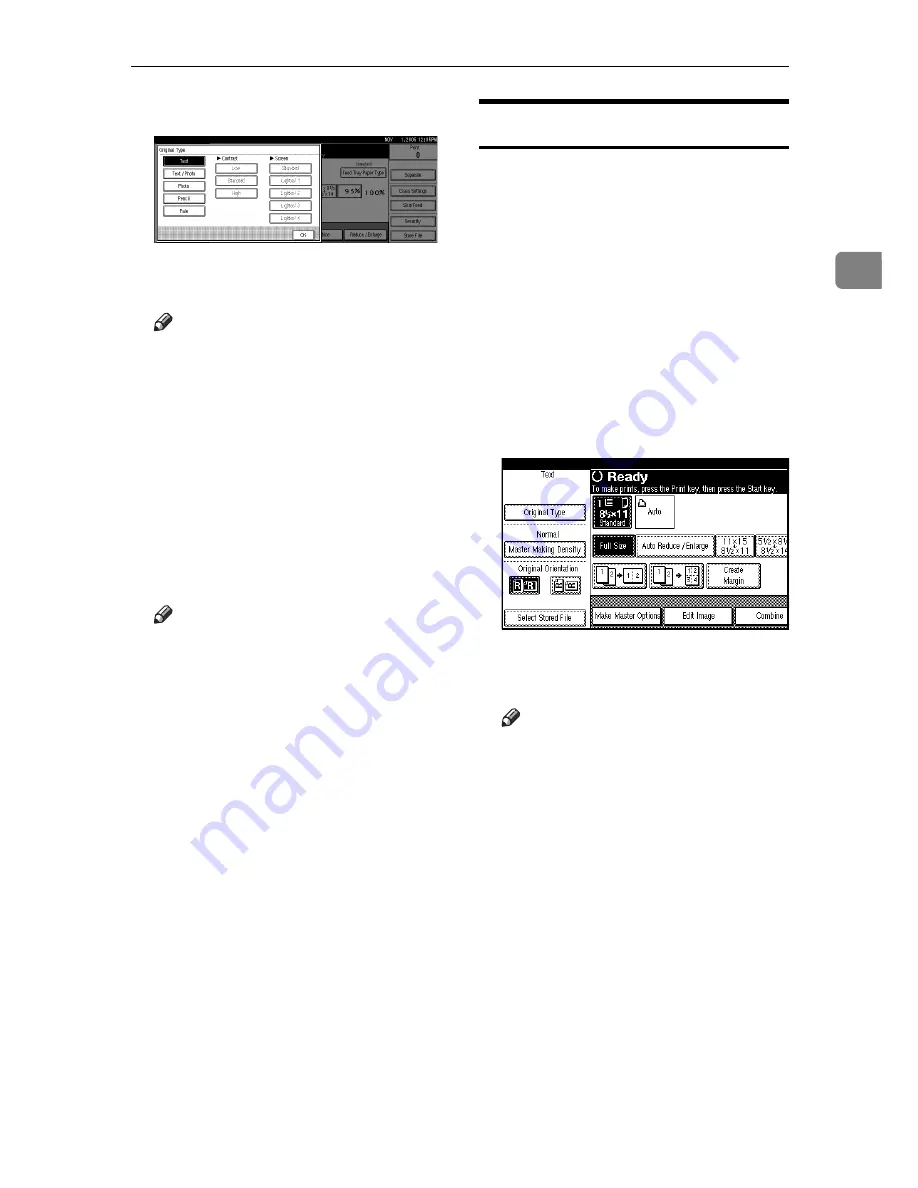
Master Making Density
You can adjust the print image densi-
ty before making a master in the fol-
lowing cases.
• When printing from faint origi-
nals, set the image density darker.
• When printing from originals that
have many fine lines, set the image
density darker.
• When printing from originals that
have many bold lines or blurred let-
ters, set the image density lighter.
A
Press
[
Master Making Density
]
.
B
Select the density, and then press
[
OK
]
.
Note
❒
Density can be selected in four
levels,
[
Light
]
,
[
Normal
]
,
[
Dark
]
and
[
Very Dark
]
.
❒
To darken the density, select
[
Dark
]
or
[
Very Dark
]
, and to light-
en the density, select
[
Light
]
.
Summary of Contents for SD460
Page 2: ......
Page 13: ...x ...
Page 37: ...24 ...
Page 71: ...Basics 58 2 ...
Page 131: ...Printing Functions 118 3 ...
Page 205: ......

