19
7.
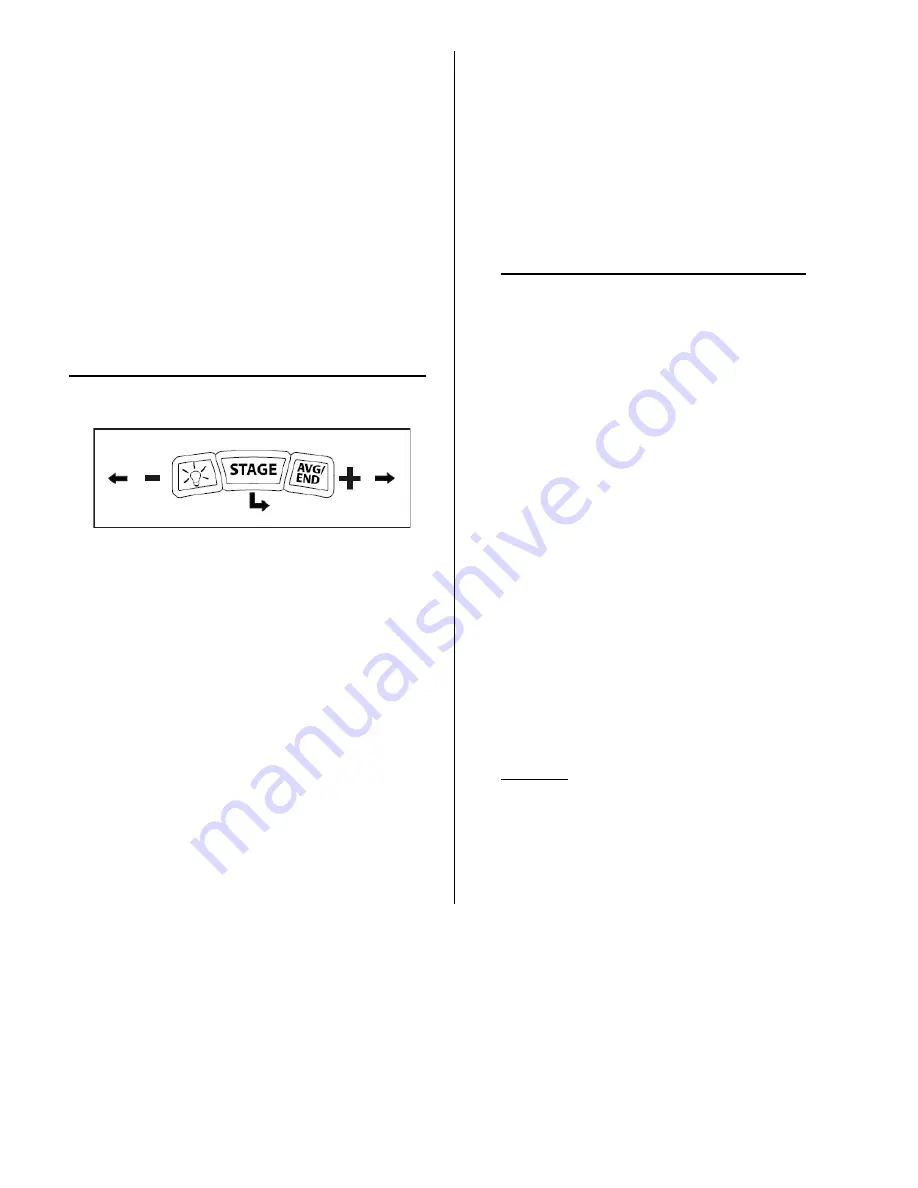
Press the AVG/END button.
8.
Make the selection to “ON” or “OFF” by scrolling to
appropriate setting using the AVG/END button.
9.
Select your setting by pressing the STAGE button.
Note:
Your current selection will be displayed with a dark
background.
10.
Press AVG/END button to scroll to the word BACK and
press the STAGE button for each menu level, until you have
returned to the USB screen.
Trick: If you want to know if the back light has already been
set to “ON” press either the STAGE or AVG/END (not
backlight) buttons and if the console lights up you know it
has been set.
To adjust the backlight settings to 1, 3,5,10 or 15 seconds:
1.
Activate the console by pressing any button.
2.
Enter the menu by holding down the backlight (light
bulb) and AVG/END buttons simultaneously for five seconds
to enter SETTINGS.
3.
Use the AVG/END button to advance the settings menu
and press STAGE to enter DISPLAY.
4.
Use the AVG/END button to advance the settings menu
and press STAGE to enter BACKLIGHT.
5.
The current backlight setting will be displayed under the
heading BACKLIGHT.
6.
Press STAGE to highlight BK LT TIME.
7.
Scroll to DISPLAY and press STAGE.
8.
Scroll to BACKLIGHT and press STAGE. The current
backlight setting will be displayed under the heading
BACKLIGHT.
9.
Adjust the number of seconds that the backlight stays on by
selecting BK LT TIME, by pressing STAGE and then select the
# of seconds you would like it to stay on by pressing STAGE.
10.
Select your setting by pressing the STAGE button.
Note:
Your current selection will be displayed with a dark
background.
11.
Press AVG/END button to scroll to the word BACK and
press the STAGE button for each menu level, until you have
returned to the USB screen.
Setting Autopause to OFF on the instructor bike:
This setting allows for the instructor to get off their bike and go
help riders in their class without their bike turning off, (up to 10
minutes).
1.
Activate the console by pressing any button.
2.
Enter the menu by holding down the backlight (light bulb)
and AVG/END buttons simultaneously for five seconds to enter
SETTINGS.
3.
Use the AVG/END button to advance the settings menu and
press STAGE to enter SYSTEM.
4.
Use
the AVG/END button to advance the settings menu and
press STAGE to enter AUTOPAUSE.
5.
Make the selection to “ON” or “OFF” by scrolling to
appropriate setting using the AVG/END button.
6.
Select your setting by pressing the STAGE button.
Note:
Your current selection will be displayed with a dark
background.
7.
Press AVG/END button to scroll to the word BACK and press
the STAGE button for each menu level, until you have returned
to the USB screen.
Next Step:
Proceed to the Pre/Post Installation Checklist section of this SOP.


