Chapter 3 Dubbing/Editing
38
Chapter 3
Dubbing/Editing
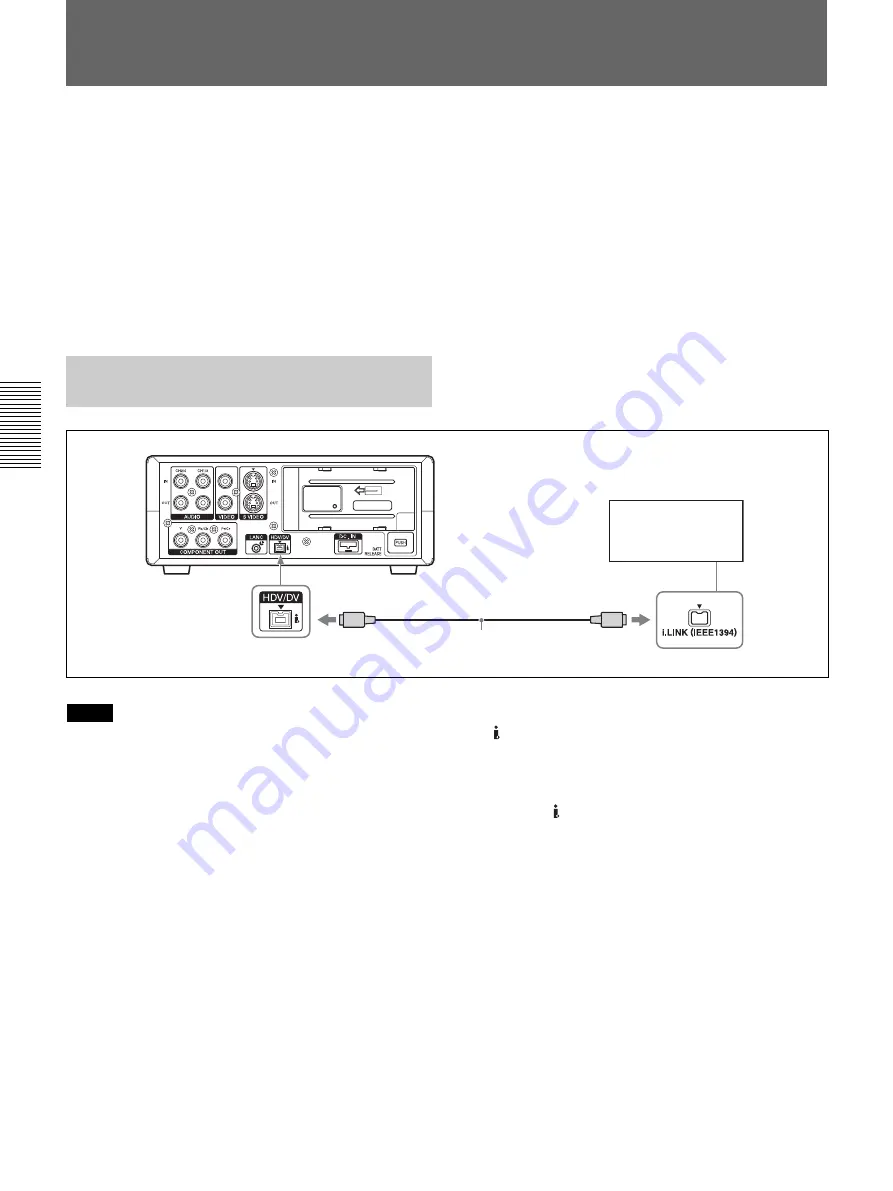
Editing (Connecting with a Personal Computer)
You can set up an editing system by connecting this
unit to a personal computer (editor) using the i.LINK
jack on the unit.
• For details about the connecting method of peripheral
equipment for the editing machine, refer to the
supplied instruction manual of your editing machine.
• The editing functions you can use depend on the
editing software. For details about editing methods,
refer to the instruction manual of your editing
software.
Connecting the Unit to a
Personal Computer
Notes
• When you connect with the i.LINK cable, confirm
the direction of the jack. If you forcibly insert the
jack, the terminal may be damaged or cause the unit
to malfunction.
• Always connect the i.LINK cable to a personal
computer (editing machine) first and then connect it
to the unit. If you connect the i.LINK cable to this
unit first, it may cause the unit to malfunction
because of static electricity.
• Before connecting the i.LINK cable, set [VCR HDV/
DV] and [i.LINK CONV] in the [IN/OUT REC]
menu. If you perform the settings after connecting
the cable, the personal computer (editing machine)
may not recognize the unit correctly or may hang up.
• If you input or output signals in a format that cannot
be processed by the personal computer (editing
machine), the personal computer (editing machine)
may not recognize the unit correctly or may hang up.
i.LINK cable (not supplied)
Personal computer (editing machine)
• When this unit outputs an analog signal input from
the HDV/DV jack to a personal computer in the EE
mode, the S VIDEO signal or VIDEO signal selected
by the INPUT SELECT switch will be output. To
output only the playback image from this unit
through the HDV/DV jack, switch the INPUT
SELECT switch to HDV/DV.
• There are some restrictions when you use EE pictures
output from the COMPONENT OUT jack of the unit.
Refer to
4
COMPONENT OUT (OUTPUT) jack in
“Location and Function of Parts” on page 15.
Summary of Contents for HVR-M10C
Page 2: ... 2 HVR M10C M10E M10J M10N M10P M10U SPECIFICATIONS ENGLISH JAPANESE ENGLISH JAPANESE ...
Page 3: ... 3 HVR M10C M10E M10J M10N M10P M10U ENGLISH JAPANESE ENGLISH JAPANESE ...
Page 5: ... 5 HVR M10C M10E M10J M10N M10P M10U ENGLISH JAPANESE ENGLISH JAPANESE ...
Page 13: ...1 5 HVR M10C M10E M10J M10N M10P M10U ENGLISH JAPANESE ENGLISH JAPANESE 1 SERVICE NOTE ...
Page 14: ...1 6 HVR M10C M10E M10J M10N M10P M10U ENGLISH JAPANESE ENGLISH JAPANESE ...
Page 15: ...1 7 HVR M10C M10E M10J M10N M10P M10U ENGLISH JAPANESE ENGLISH JAPANESE ...
Page 16: ...1 8E HVR M10C M10E M10J M10N M10P M10U ENGLISH JAPANESE ENGLISH JAPANESE ...
Page 123: ...5 13 5 REPAIR PARTS LIST 5 REPAIR PARTS LIST HVR M10C M10E M10J M10N M10P M10U J MODEL ...
Page 328: ...ENGLISH JAPANESE ENGLISH JAPANESE ...


