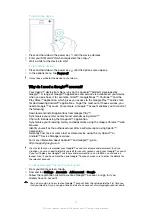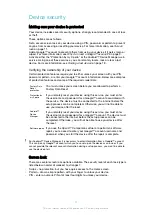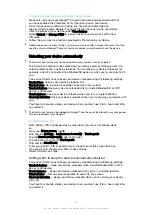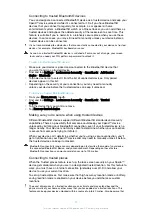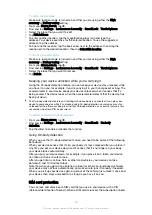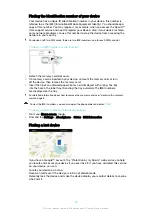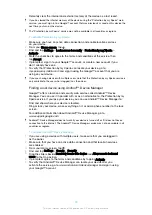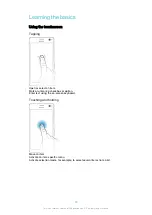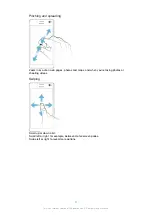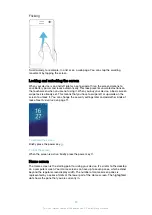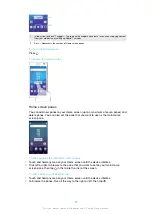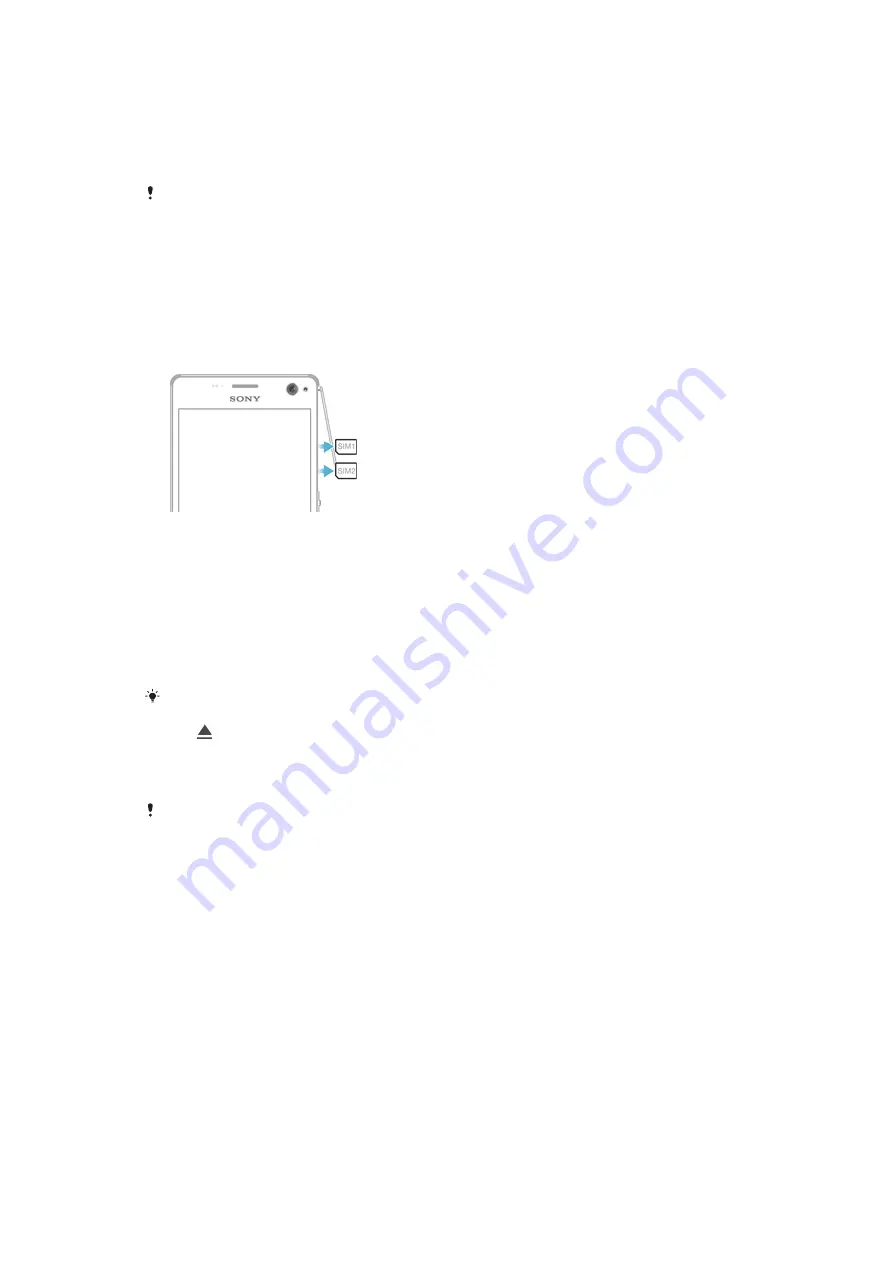
To insert the nano SIM cards
1
Detach the cover for the nano SIM card and memory card slots.
2
With the gold coloured contacts facing down, insert the nano SIM card (or
cards) into the relevant nano SIM card slot (or slots).
3
Re-attach the cover.
Do not insert a nano card which has been cut from a micro SIM card or a standard SIM card.
The size of such a cut card may be slightly different and could therefore damage your device, if
inserted.
To insert the memory card
1
Detach the cover for the nano SIM card and memory card slots.
2
With the gold coloured contacts facing down, insert the memory card into the
memory card slot, then re-attach the cover.
To remove a nano SIM card
1
Detach the cover for the nano SIM card and memory card slots.
2
Press the relevant nano SIM card inwards and then release it quickly.
3
Re-attach the cover.
To remove the memory card
1
Turn off the device and detach the memory card slot cover.
2
Press the memory card inwards and then release it immediately.
3
Draw the memory card fully outwards and remove it.
4
Re-attach the cover.
You can also remove the memory card without turning the device off as described in step 1.
To use this method, you must first unmount the memory card. Tap
Settings
>
Storage
, then
tap beside
SD card
, then follow the rest of the instructions above.
Screen protection
Before using your device, remove the protection film by pulling up on the protruding tab.
It is recommended to protect your device with a Sony branded screen cover or a
protector intended for your Xperia™ model. The use of third party screen protection
accessories may prevent your device from working correctly by covering sensors,
lenses, speakers, or microphones and can invalidate the warranty.
Starting your device for the first time
It is recommended that you charge the battery for at least 30 minutes before starting
up your device for the first time. You can still use your device while it is charging, see
Charging your device on page 34.
The first time you start your device, a setup guide helps you to configure basic
settings, personalise your device and sign in to your accounts, for example a
Google™ account.
8
This is an internet version of this publication. © Print only for private use.


