Fax to E-mail Transmission
46
2
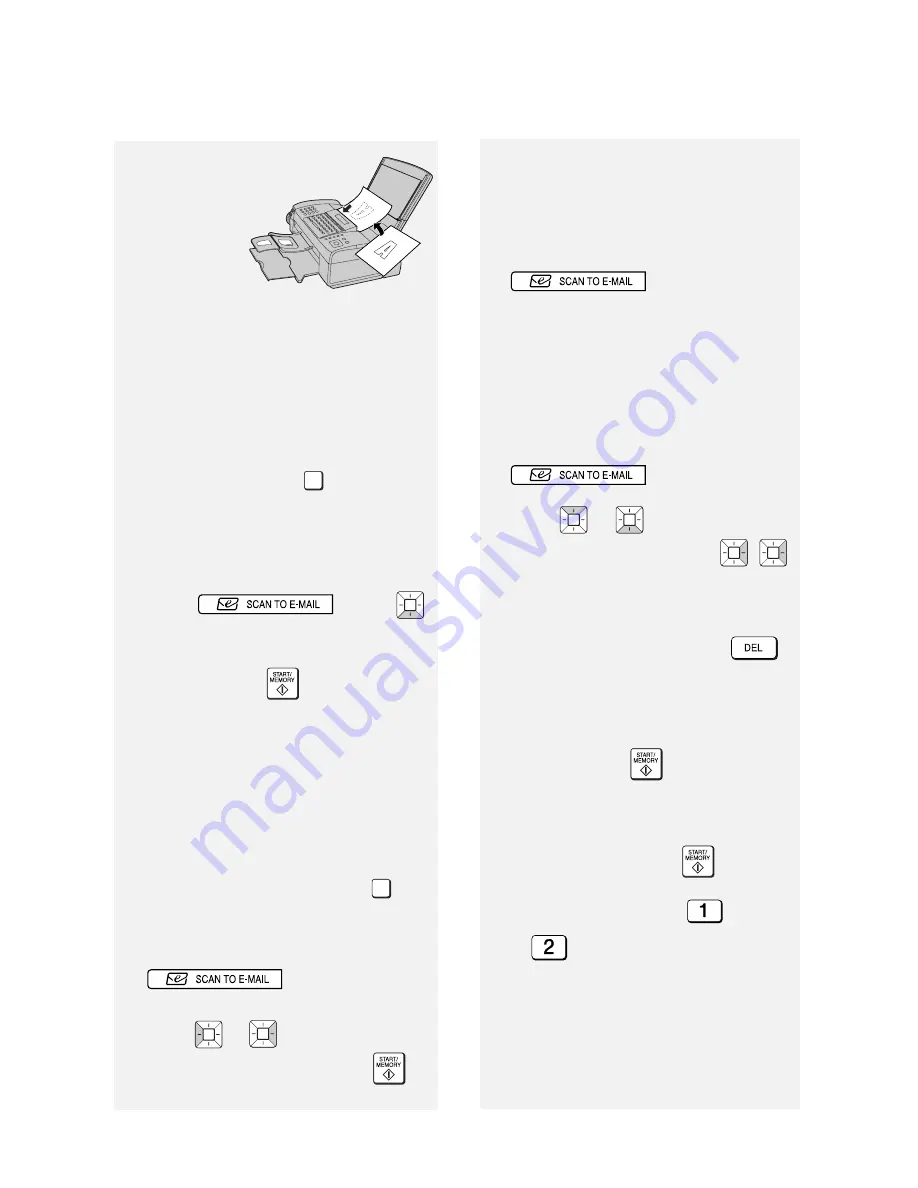
Insert the
document
face down
with the top
edge going
in first.
•
Up to 20 letter-size sheets (5 legal-
size sheets) can be placed in the
feeder at once.
•
For more information on loading the
document, see page 49.
•
If desired, press
to set the
resolution and contrast (see p. 50).
3
Enter the destination e-mail address
using one of the following methods:
•
Press ,
press
,
and enter the address with the letter
and number keys (p. 8). When
finished, press
.
•
If the address has been stored in the
A
,
B
, or
C
key, press the key.
•
If the address has been stored in a
Rapid Key, press the Rapid Key.
•
If the address has been stored in a
Speed Dial number, press
and enter the Speed Dial number.
•
To search for a stored address, press
(this eliminates
stored fax numbers from the search),
press
or
until the name or
address appears, and press
.
Note:
If [
CHECK E-MAIL SETTING
]
RESOLUTION/
RECEPTION MODE
SPEED DIAL
appears, your SMTP server or
sender address has not been
entered in the e-mail settings (p. 42).
4
If you need to select or change any
of the e-mail options, press
and follow Steps
5 and 6 below. (Note that settings
selected here are temporary. To
make permanent changes, see p.
42.)
If you do not wish to change the e-
mail options, go directly to Step 7.
•
To exit the e-mail options, press
and go to Step 7.
5
Press
or
until the desired
option appears, and press
(
is not necessary for the FILE
FORMAT setting). Change the
option as explained below (use the
letter keys to enter text and
to delete text; p. 8).
•
E-MAIL SUBJECT: Enter a subject
(max. 128 characters). When
finished, press
.
•
E-MAIL MESSAGE: Enter a
message (max. 256 characters).
When finished, press
.
•
FILE FORMAT: Press
for TIFF
or
for PDF. (Make sure the
recipient has an image viewer that
can show images in the selected
format.)
•
FILE NAME: Enter a name for the
scanned file (max. 40 characters).


