


37 |
P a g e
R e v 5 - 1 9
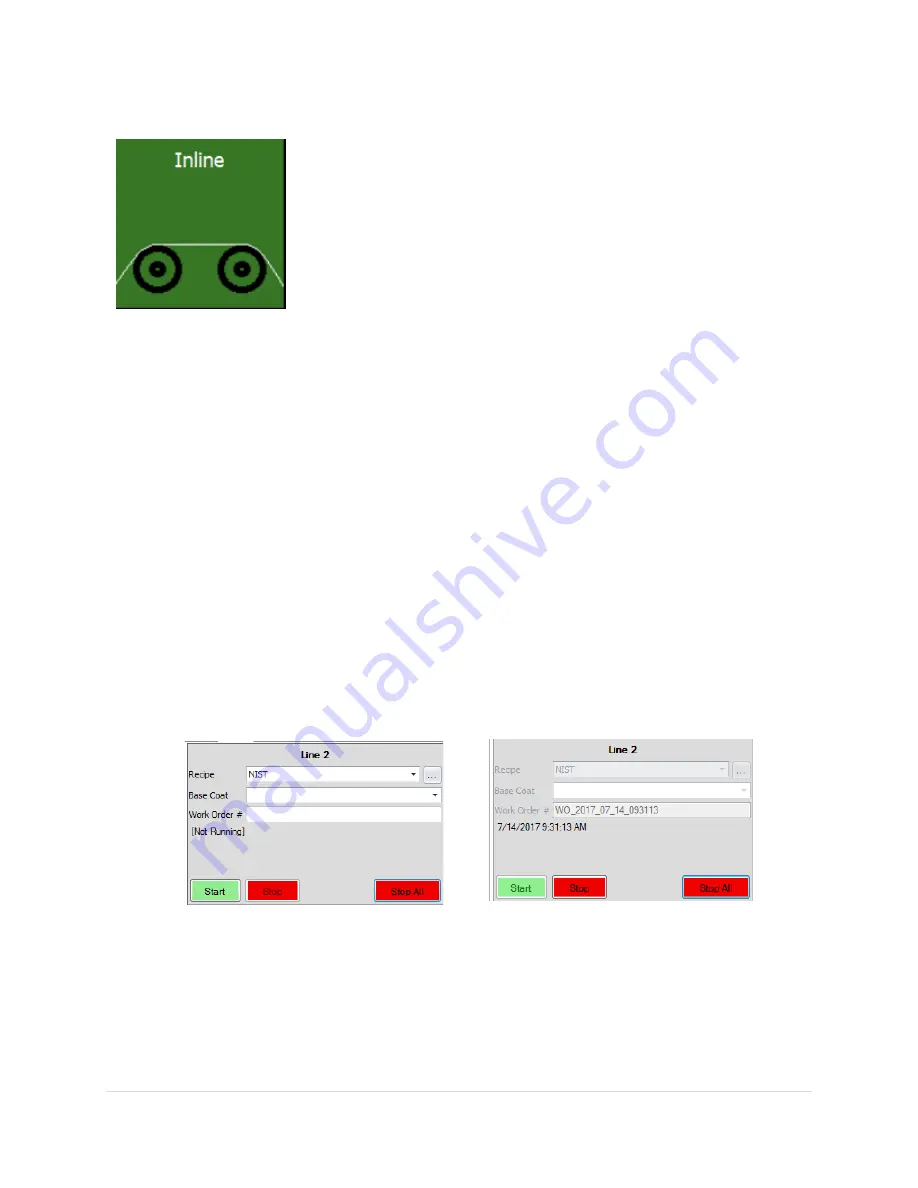
Figure 20 - Work Order field (unpopulated)
Figure 21 - Work Order field (populated)
SpecMetrix
® SA Inline Measurements
SA Inline Measurement Manager –
This interface allows you to monitor
measurements taken from your probes. The interface is largely
dependent on settings are chosen in the User Configuration tool.
Main User Interface
Click the “In-line” Tile; this will open the Inline UI. Verify the correct Line by selecting the appropriate
tab (for multi-line systems only). Click the drop-down arrow in the “Recipe Name” selection box and
select the correct recipe for the coating or film being measured. Click the “Start” button The
SpecMetrix
® System should now be measuring.
The image above is an example of what users see when the SA Inline application is initiated. The image
below offers a closer look at the drop-down menus for recipe selection in a 2-line system:
1.
Recipe
: This menu is a list of all recipes available to the user for the appropriate sensor. This
means that each recipe is set up to work for a specific sensor. Recipes are created, edited, and
deleted in the SA Data Manager (see the previous section).
2.
Basecoat
: Drop-down items are generated when “
Also, used as dry Basecoat
?” option is
checked on the Recipe Assistant’s General Information page.
3.
Work Order#:
This field populates itself automatically when the measurement process starts
unless the user specifies the Work Order # manually. The automatic WO# is in the format:
WO_YYYY_MM_DD_HHMMSS (WO_YEAR_MONTH_DAY_TIME).
Below is an example of what these fields look like when idol and when active:
4.
Line Tabs
: The top two tabs in the example represent each line running in the system and are
determined by customers’ specifications in the SA User Configuration. They can be named
whatever the customer chooses and can be a single or multiple line configurations. The line
setup will coincide with the orientation of the probes in the system.
5.
Start
: Begins taking measurements for the probe(s) on that line/tab. Separate lines must be
started independently of each other in multi-line configurations.
Work Order field (unpopulated)
Work Order field (populated)