


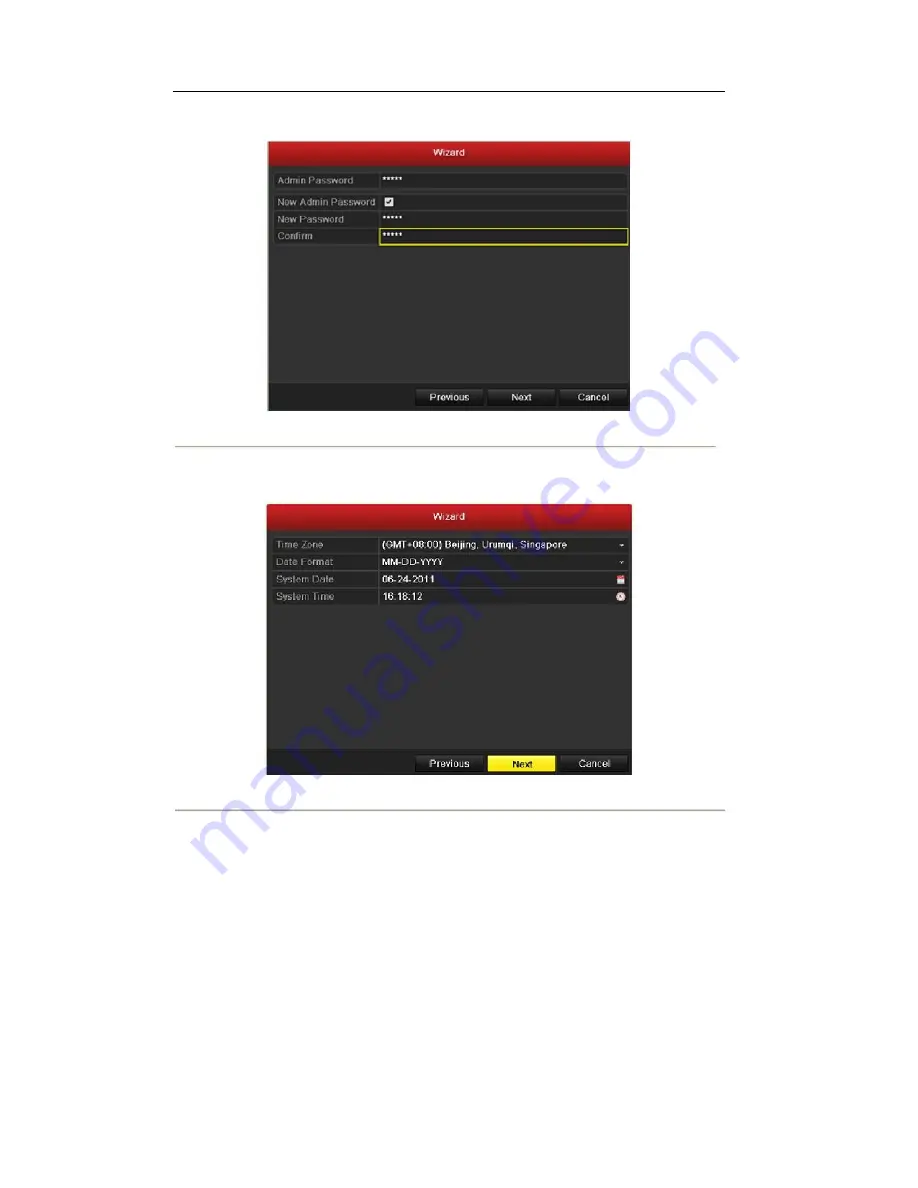
password and confirm the password in the given fields.
Figure 2.3 Login Window
4.
Click the
Next
button to enter the
Date and Time
settings window, as shown in Figure 2.4.
Set the time zone, date format, system date and system time.
5.
Figure 2.4 Date and Time Settings
Click
Next
button which takes you back to the
Network
Setup Wizard window, as shown in Figure 2.5.
Set the network parameters, including the NIC type, IPv4 address, IPv4 subnet mask, default gateway,
etc. You can enable the DHCP to automatically obtain an IP address and other network settings from
that server.
23
Summary of Contents for The Econ D1
Page 1: ...SCW Support 866 414 2553 User Manual for The Econ D1 Standard Pro line of DVRs...
Page 12: ...C HAPTE R 1 Introduction 11...
Page 22: ...C HAPTE R 2 GettingStarted 21...
Page 27: ...C HAPTE R 3 LiveView 26...
Page 38: ...C HAPTE R 4 PTZControls 37...
Page 47: ...C HAPTE R 5 RecordSettings 46...
Page 68: ...C HAPTE R 6 Playback 67...
Page 86: ...Figure 6 33 Interface of Playback by Log 85...
Page 91: ...CHAPTER7 Backup 90...
Page 105: ...Check for compatibility from vendor Figure 7 28 USB Writer Management 104...
Page 106: ...CHAPTER8 AlarmSettings 105...
Page 118: ...CHAPTER9 NetworkSettings 117...
Page 136: ...CHAPTER10 HDDManagement 135...
Page 151: ...C H A P T E R 11 CameraSettings 150...
Page 155: ...CHAPTER12 DeviceManagementandMaintenance 154...
Page 158: ...Figure 12 4 HDD Information Interface 157...
Page 166: ...CHAPTER13 Others 165...
Page 178: ...CHAPTER14 Appendix 177...


