73
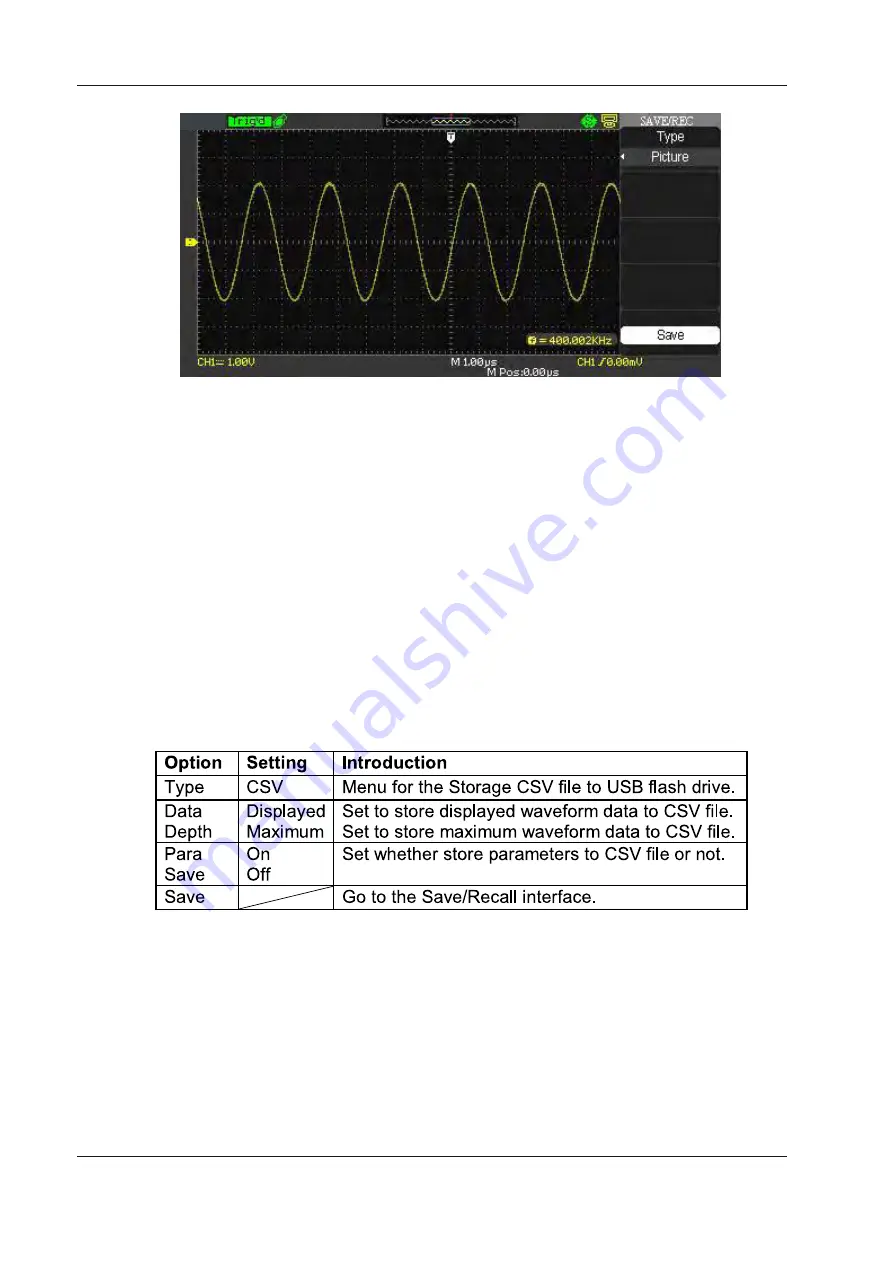
Save waveform image to USB flash drive, follow next steps:
1. Select the screen image that you want.
2. Press the “SAVE/RECALL” button to enter “SAVE/RECALL” menu.
3. Press the “Type” option button to select “Pictures”.
4. Insert USB flash drive to USB host port of the oscilloscope and wait that the oscilloscope has initialized
USB flash drive (about five seconds).
5. Press the “Print Key” option button to select “Save Picture”.
6. Press the “Save” option button then go into the Save/Recall interface”.
7. Press the “Save” button then you’ll go into the Save/Recall interface
8. Create the picture name then press the “Confirm” button (about five seconds, there is a prompting
message that “Save data success” displaying on the screen), now picture data have been saved to USB
flash drive.
Save/Recall CSV
Save CSV file to USB flash drive, follow these steps:
1. Press the “SAVE/RECALL” button to enter “SAVE/RECALL” menu.
2. Press the “Type” option button to select “CSV”.
3. Insert USB flash drive to USB host port of the oscilloscope and wait that the oscilloscope has
initialized USB flash drive(about five seconds).
4. Press the “Data Depth” option button to select “Displayed” or “Maximum”.
5. Press the “Para Save” option button to select “On” or “Off”.
6. Press the “Save” option button then you’ll go into the Save/Recall interface
Fig. 57 SAVE/ RECALL Screen I
Table 48: CSV storage function menu
User Manual SMO702, SMO1002
Summary of Contents for SMO1002
Page 1: ...Digital Oscilloscopes SMO702 SMO1002 User Manual ...
Page 59: ...59 Fig 45 B Cursor Measurement Auto Mode User Manual SMO702 SMO1002 ...
Page 62: ...62 Table 40 All Measurement function menu User Manual SMO702 SMO1002 ...
Page 63: ...63 Table 41 Introduction of the Measure Type User Manual SMO702 SMO1002 ...
Page 91: ...91 User Manual SMO702 SMO1002 ...
Page 92: ...92 User Manual SMO702 SMO1002 ...
Page 93: ...93 User Manual SMO702 SMO1002 ...
Page 98: ...98 Default Setting User Manual SMO702 SMO1002 ...
Page 99: ...99 User Manual SMO702 SMO1002 ...


