Shooting using the LCD monitor
1
Press the flash button to set the flash mode.
œ
Each time the flash button is pressed, the flash mode changes as follows:
œ
This completes the flash setting.
œ
The flash setting is retained even if the main switch is set to “MONITOR OFF” or
Ô
, or
the digital camera is turned off.
2
Press the shutter release button.
œ
The image is captured in the desired flash mode.
When you have finished capturing images, turn off the digital camera.
HINT
œ
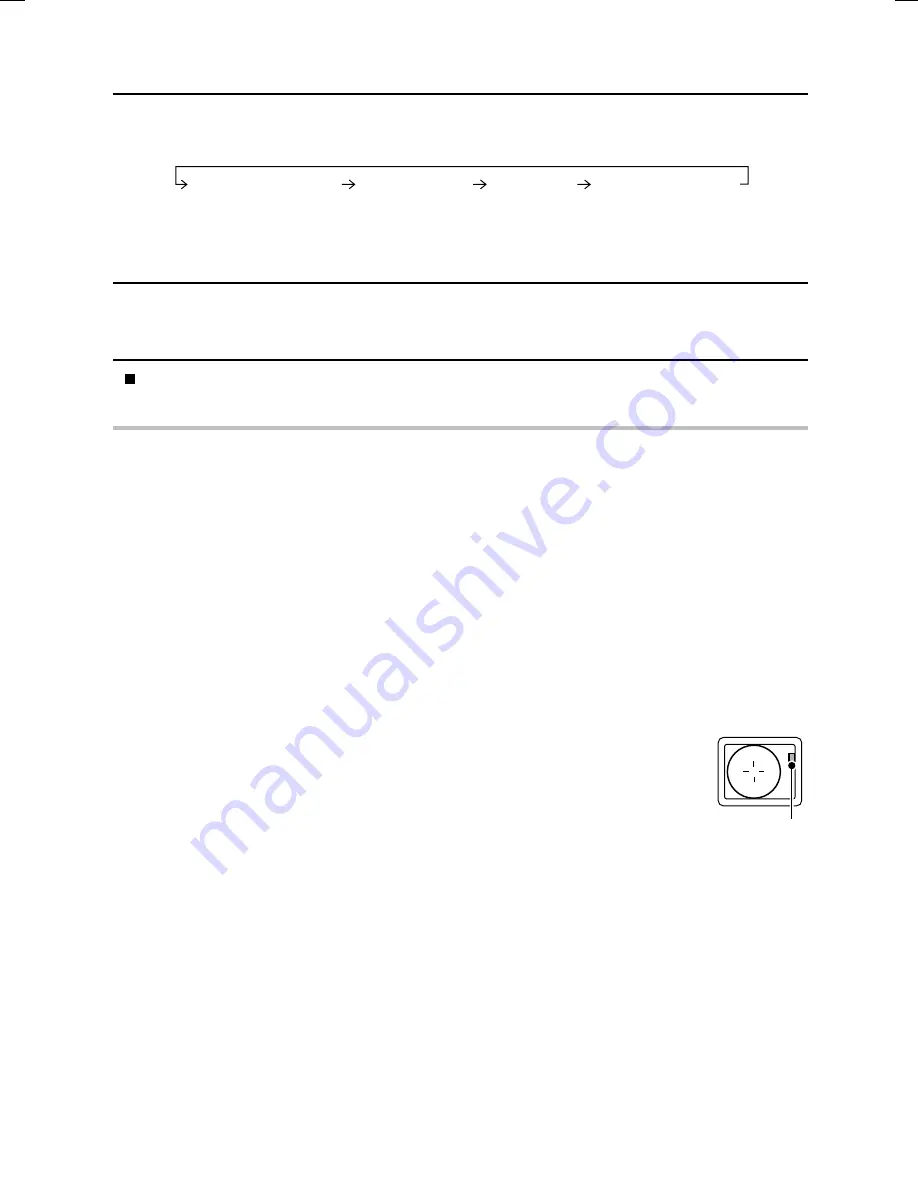
In the automatic flash mode using the LCD monitor, at the time of the flash, when you depress
the shutter release button halfway, the
f
icon appears in the upper right area of the LCD
monitor to let you know.
NOTE
œ
The flash cannot be used in the sequential shot shooting (see page 63), video clip shooting
(see page 69), and audio recording (see page 79) modes.
HELP
œ
While the flash is being charged, the stand-by indicator in the viewfinder will flash red. During
this time an image cannot be captured, even if the shutter release button is pressed. Wait until
the stand-by indicator lights green to capture the next image.
No icon (automatic flash)
d
(forced flash)
j
(flash off)
È
(red-eye reduction)
Stand-by indicator (red/green)
SX511/EX, /E, /U (VPC-AZ1EX, VPC-AZ1E, VPC-AZ1 GB) Thu. Nov., 29/2001
English
74
Summary of Contents for VPC-AZ1
Page 144: ...SANYO Electric Co Ltd ...


