DISPLAYING THE SETTING SCREEN AND
OPTION SETTING SCREEN
For both shooting and playback, there is a Setting Screen and an Option Setting Screen. These
screens allow you to perform various settings and operations.
Displaying the Setting and Option Setting
Screens
1
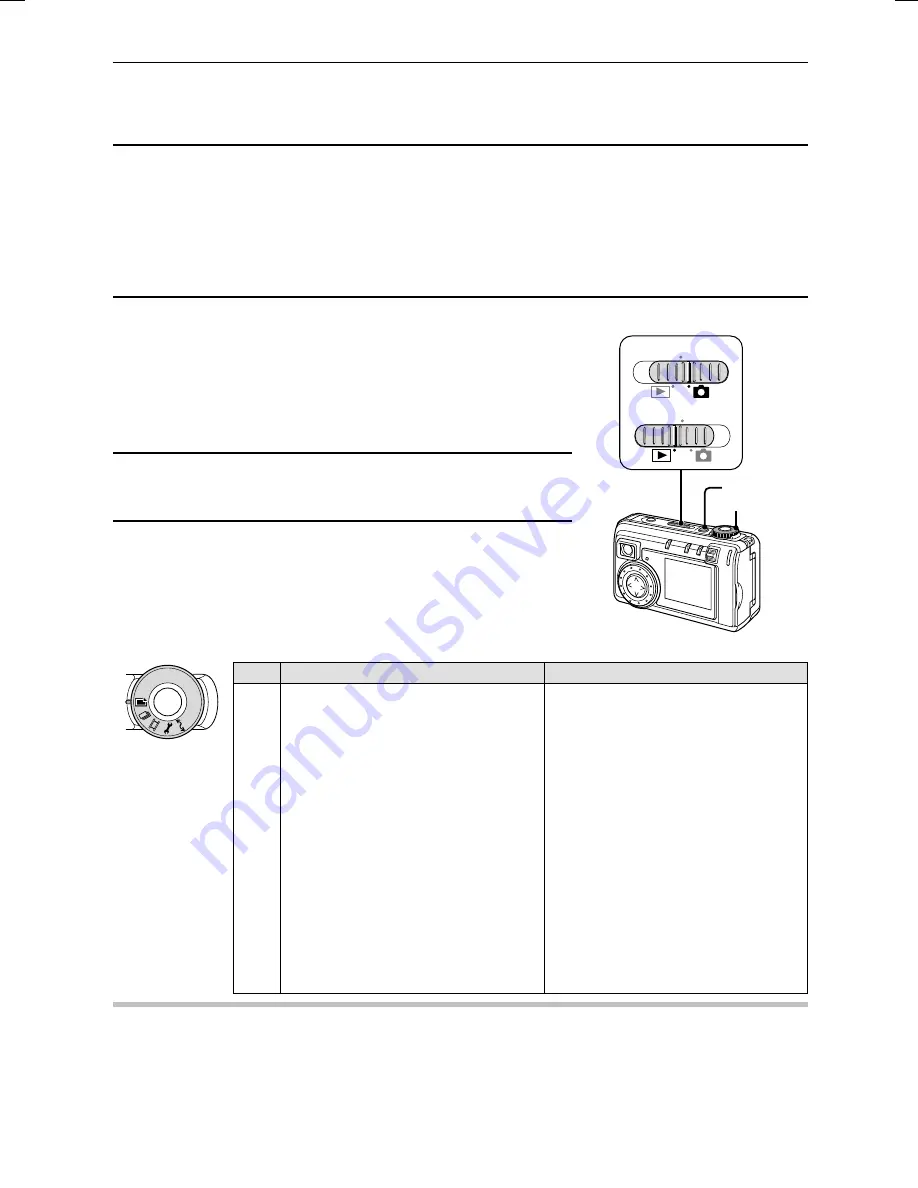
Set the main switch.
To display the Shooting Setting Screen or the Shooting
Option Setting Screen: Set to
Õ
.
To display the Playback Setting Screen or the Playback
Option Setting Screen: Set to
Ô
.
2
Press the power button.
3
Turn the selector dial to the mark for the desired
setting screen.
œ
When set to
P
, the Shooting Option Setting Screen or
the Playback Option Setting Screen is displayed (see
page 41).
Shooting
Playback
W
Still Image Shooting Setting Screen Still Image Playback Setting Screen
Y
Sequential Shot Shooting Setting
Screen
Sequential Shot Playback Setting
Screen
X
Video Clip Shooting Setting Screen
Video Clip Playback Setting Screen
P
Shooting Option Setting Screen
Playback Option Setting Screen
œ
Audio recording
œ
Sound playback
œ
Date and time setting
œ
Auto rotate playback setting
œ
Operational sound setting
œ
Date and time setting
œ
Battery discharging
œ
Operational sound setting
œ
Language selection
œ
Battery discharging
œ
TV system selection
œ
Language selection
œ
Card initializing (reformatting)
œ
TV system selection
œ
Card initializing (reformatting)
Ü
PC connection mode
(the LCD monitor turns off)
PC connection mode
(the LCD monitor turns off)
NOTE
If “NO IMAGE” appears
œ
This appears if there is no image for the playback mode you selected. Turn the selector dial to a
playback mode for which images exist.
MONITOR OFF
MONITOR OFF
Power button
Selector dial
Main switch
SX511/EX, /E, /U (VPC-AZ1EX, VPC-AZ1E, VPC-AZ1 GB) Thu. Nov., 29/2001
31
English
Summary of Contents for VPC-AZ1
Page 144: ...SANYO Electric Co Ltd ...


