41
Connecting to this unit
To start this software, double-click the desktop shortcut icon (
), the main screen is displayed. When connecting a camera to
this unit following the procedure below, the camera live video is displayed.
b
Connecting for the first time
1
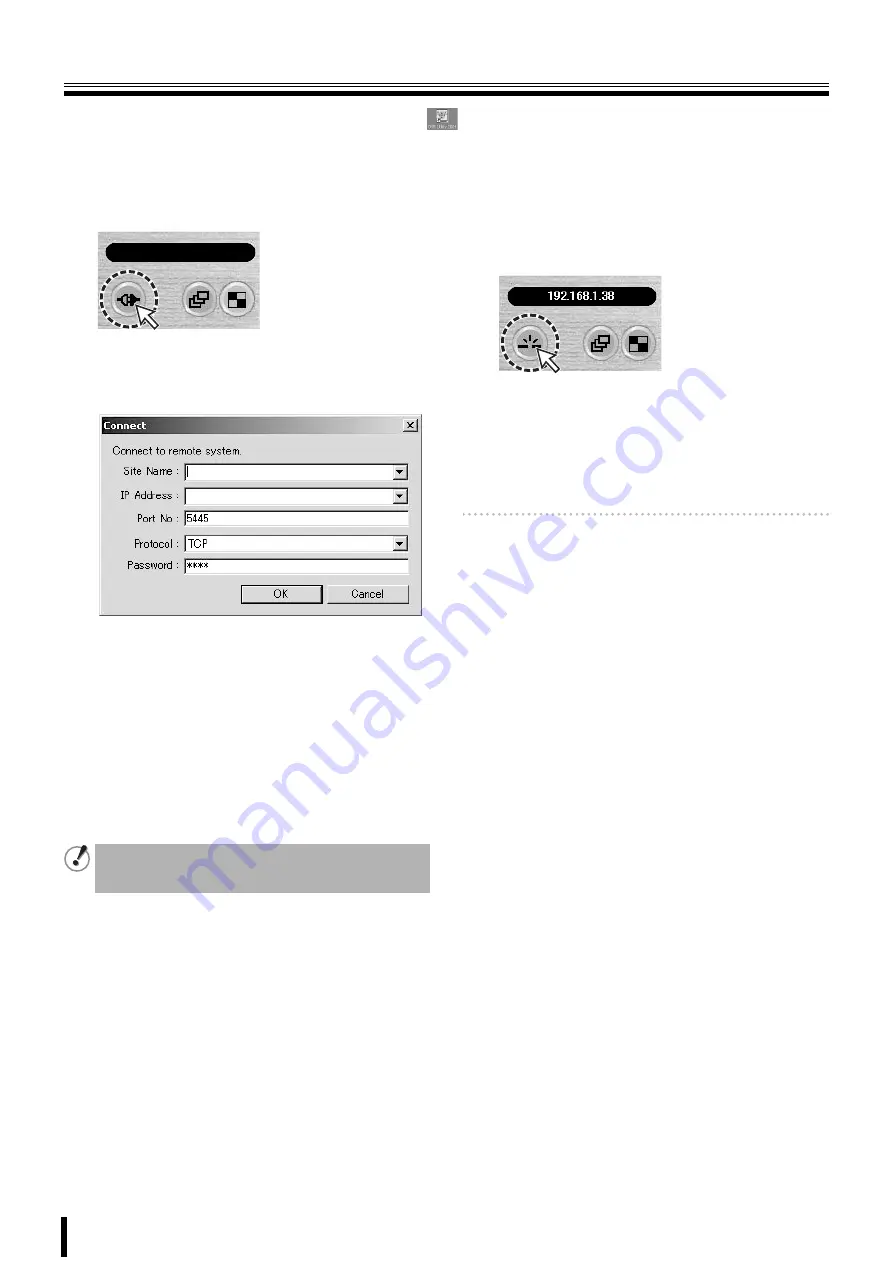
Click the connect button on the operation panel.
The connection dialog [Connect] is displayed.
2
Input information such as the address information
and settings required for the connection.
• Site Name:
Set up an administrative designation for this unit. If
no designation is input it is substituted by the IP
address.
• IP Address/Port No.:
Input the IP address and PORT number set on the
NETWORK screen of this unit.
• Protocol:
Select the protocol (TCP/UDP).
• Password:
Input the network password set on the SYSTEM
screen of this unit.
3
Click [OK] on the dialog [Connect].
The camera connects to this unit and the live video of
the camera is displayed on the main screen.
b
Disconnecting
Once connected, the
connect
button on the operation panel
changes to the
disconnect
button.
Clicking this button disconnects the connection with this unit
and the displayed video disappears.
b
When there are several connections
This unit can retain and display, in the dialog [Connect], the
connection information for up to a maximum of 16
connections.
Select 1 unit in the pull down menu of the [Site Name] of the
dialog and click [OK] to connect.
Memo:
To change the connection destination, disconnect the
present connection and perform the connection
operations once again.
This unit cannot be connected to the network if the
[CLIENT ACCESS] on the NETWORK screen is not set to
"ON". (P33)


