NETWORK settings
34
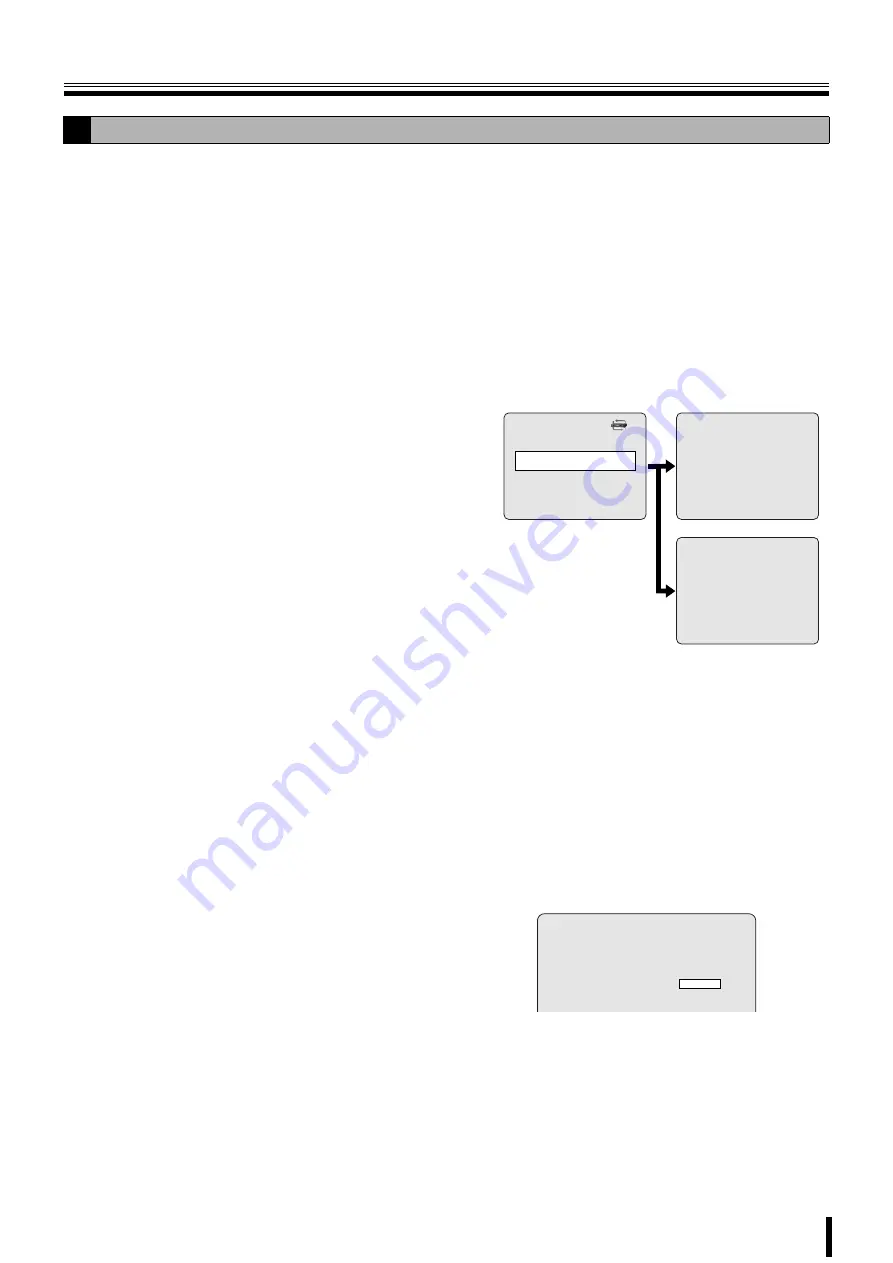
Select NETWORK TYPE to be connected, and set each
setting. Consult the network manager for all necessary
information.
1
Select NETWORK TYPE using the control button
(
{|
).
2
Select a type using the control button (
{|
).
b
If selecting DHCP
Information, such as the IP address, is automatically
distributed and does not therefore need to be set.
b
If selecting ADSL
1
Select ID using the control button (
{|
) and press
the ENTER button.
The ADSL ID input screen is displayed.
2
Change the ID number using the control button
(
{|
), move the cursor to the right using the
control button (
}~
) and repeat the operation, and
then press the ENTER button.
The screen returns to the NETWORK screen.
3
Select PASSWORD using the control button (
{|
)
and press the ENTER button.
The ADSL PASS input screen is displayed.
4
Display "A: Ex" using the control button (
{|
),
move to the right using the control button (
}~
)
and repeat the operation, and then press the
ENTER button
The screen returns to the NETWORK screen.
5
Press the EXIT/STOP button.
The APPLY NETWORK ADDRESS screen is displayed.
6
Select "CONFIRM" using the control button (
}~
)
and press the ENTER button.
Once the settings are complete, restart the unit. The
screen switches to live video.
D
Setting the NETWORK TYPE
• ADSL
• LAN
NETWORK
PORT
5445
CLIENT ACCESS
ON
BANDWIDTH SAVING
ON
NETWORK TYPE
ADSL
ID
PASSWORD
DDNS
OFF
SEND E-MAIL
1 2 3 4 5
- - - - - - - - - - - - - - - -
- - - - - - - - - - - - - - - -
A B C D E
- - - - - - - - - - - - - - - -
- - - - - - - - - - - - - - - -
ADSL ID
ADSL PASS
APPLY NETWORK ADDRESS
CANCEL
CONFIRM


