


English
98
Salmson 05/2015
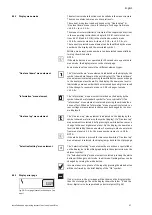
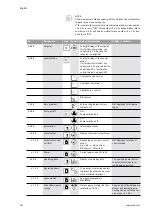
8.5.4
Menu groups
Basic menu
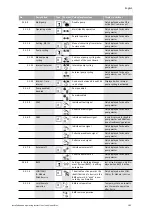
Basic settings are shown in the main menus <1.0.0.0>, <2.0.0.0> and
<3.0.0.0>, which provide access to set values that may have to be
changed during regular pump operation.
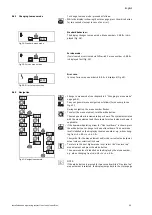
Info menu
The main menu <4.0.0.0> and its sub-menu elements show measur-
ing data, device data, operating data and current states.
Service menu
The main menu <5.0.0.0> and its sub-menu elements provide access
to basic system settings for commissioning. The sub-elements are in
a write-protected mode as long as service mode is not activated.
CAUTION! Risk of property damage!
Improper setting changes can lead to pump operation errors, which
can lead to material damage to the pump or system.
• Settings in service mode should only be made during commission-
ing and only by qualified personnel.
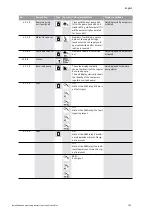
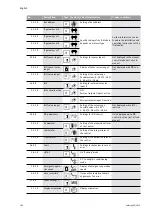
Error acknowledgement menu
In the event of an error, the error page is displayed instead of the sta-
tus page. Pressing the white button from this position opens the error
acknowledgement menu (menu number <6.0.0.0>). Any fault signals
present can be acknowledged after a waiting period.
CAUTION! Risk of property damage!
Errors which are acknowledged without their cause having been
remedied can result in repeated faults, which could lead to prop-
erty damage to the pump or system.
• Only acknowledge errors after they have been remedied.
• Only have faults remedied by qualified personnel.
• If in doubt, consult the manufacturer.
Access disable menu
The main menu <7.0.0.0> is only displayed when DIP switch 2 is in the
ON position. It cannot be reached via normal navigation.
In the “Access disable” menu, the access disable can be activated or
deactivated by turning the white button. The change is confirmed by
pressing the white button.
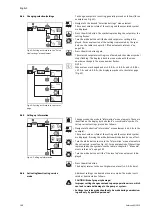
8.6
Operating instructions
8.6.1
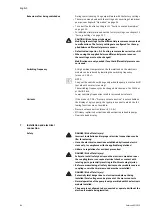
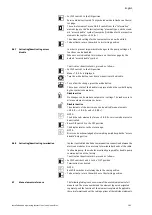
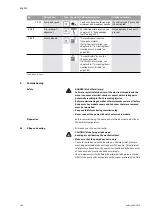
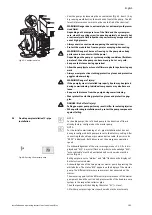
Adjusting the setpoint
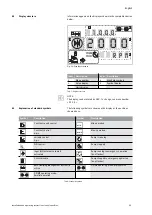
On the status page of the display, the setpoint can be adjusted as fol-
lows (Fig. 37):
• Turn the white button.
The display changes to menu number <1.0.0.0>. The setpoint begins
to flash and is increased or decreased by continuing to turn.
• To confirm the change, press the white button.
The new setpoint will be accepted and the display will return to the
status page.
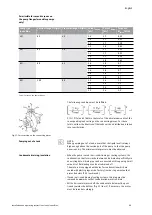
Fig. 37: Entering the setpoint
12.3
1.0.0.0
RPM
RPM
2200
1800
1.0.0.0
Summary of Contents for IXENS
Page 2: ......
Page 3: ......
Page 8: ...Fig 7 Ixens 13 20 22 21 15 16 17 18 19 14 13 12 11 10 9 8 7 4 3 2 1 6 5 20b 20a ...
Page 75: ...Français Notice de montage et de mise en service Ixens Ixens Bloc 67 ...
Page 137: ...English Installation and operating instructions Ixens Ixens Bloc 129 ...
Page 203: ...Italiano Istruzioni di montaggio uso e manutenzione Ixens Ixens Bloc 195 ...
Page 335: ......