3-14
Setting your machine
Date en cours : 29 juin 2004
D:\CLIENTS\sagem\Pour dossier MFK V2\MFK V2 LU 251597054A MF3760_3780 GB\Configuration Gb.fm
Press E
NTER
to enter the IP address. A cursor (_) starts to flash in the right-hand segment (3
figures). Press the
key to increment the value and the
key to decrement it. Once you have
set the value for the right-hand segment, press the < key to place the cursor in the next segment.
Again, press the
key to increment the value and the
key to decrement it. Proceed in the
same way for all of the segments. Press E
NTER
once all the segments have been set up.
Press .
Enter the subnet mask address in the same way as for the IP address.
Press .
Enter the gateway's IP address in the same way as for the IP address.
Press the M
ENU
key.
Switch your terminal off and then back on again. You have now finished configuring the IP
address.
Remarque
:
Other print-related settings are described in the Print Functions chapter.
R
EMOTE
CONFIGURATION
You can configure the same settings either remotely or locally.
System requirements
To remotely configure your machine you will need:
• a Web browser (preferably Internet Explorer version 4),to make the Local Network settings for
your machine (IP address, subnet mask, etc.). You should ask your network administrator for
• these settings. Once you have this information, please see the paragraph on Local Network Set-
tings (depending on model), on page 3-11 on how to fill out the necessary fields.
Accessing the Web Server
Open a Web browser from a PC registered on the network.
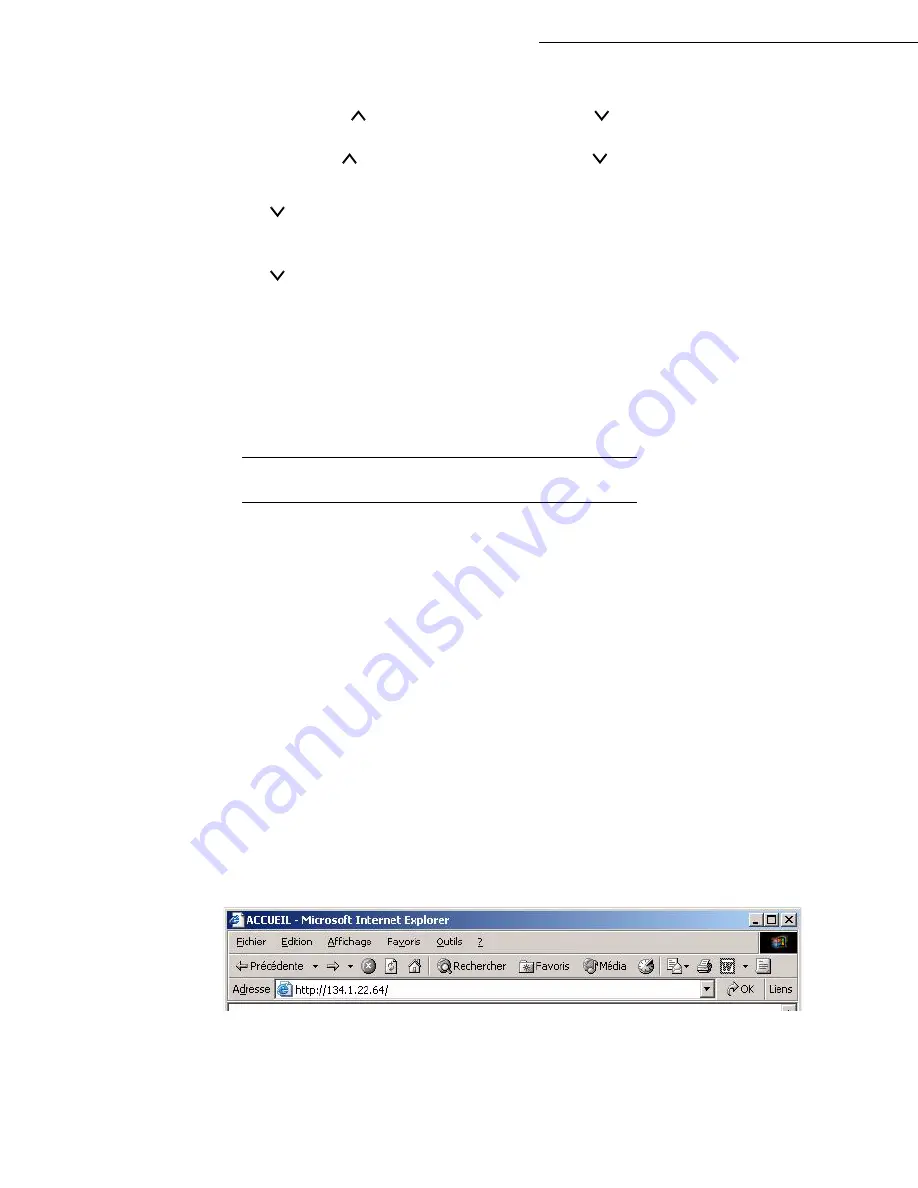
Enter the IP address of the terminal you want to configure in the Address field, as shown in the
window below:
Confirm by pressing E
NTER
.
The welcome window is displayed, choose the interface language.
Change the settings of your choice on the screen then confirm.
Summary of Contents for MF 3760
Page 1: ...S User Manual SAGEM MF 3760 MF 3780...
Page 44: ...1 34 Installation...
Page 82: ...3 26 Setting your machine...
Page 140: ...6 22 Contents...
Page 158: ...18 Contents Remove the jammed paper A without tearing it Then close the scanner cover A...
Page 168: ...28 Contents...


