


© Safe Fleet | 2020 | All rights reserved | Part #: 700-1213 R1
DH4C Installation Guide
p. 9
DH4C Installation
To update the Firmware version:
1. Power up the DVR using the vehicle ignition.
2.
Insert the USB memory device with the new firmware version into the USB port on the DVR.
3.
After the DVR starts up, right-click in the On-screen Display
and select
Configuration
System
Program
Update
4.
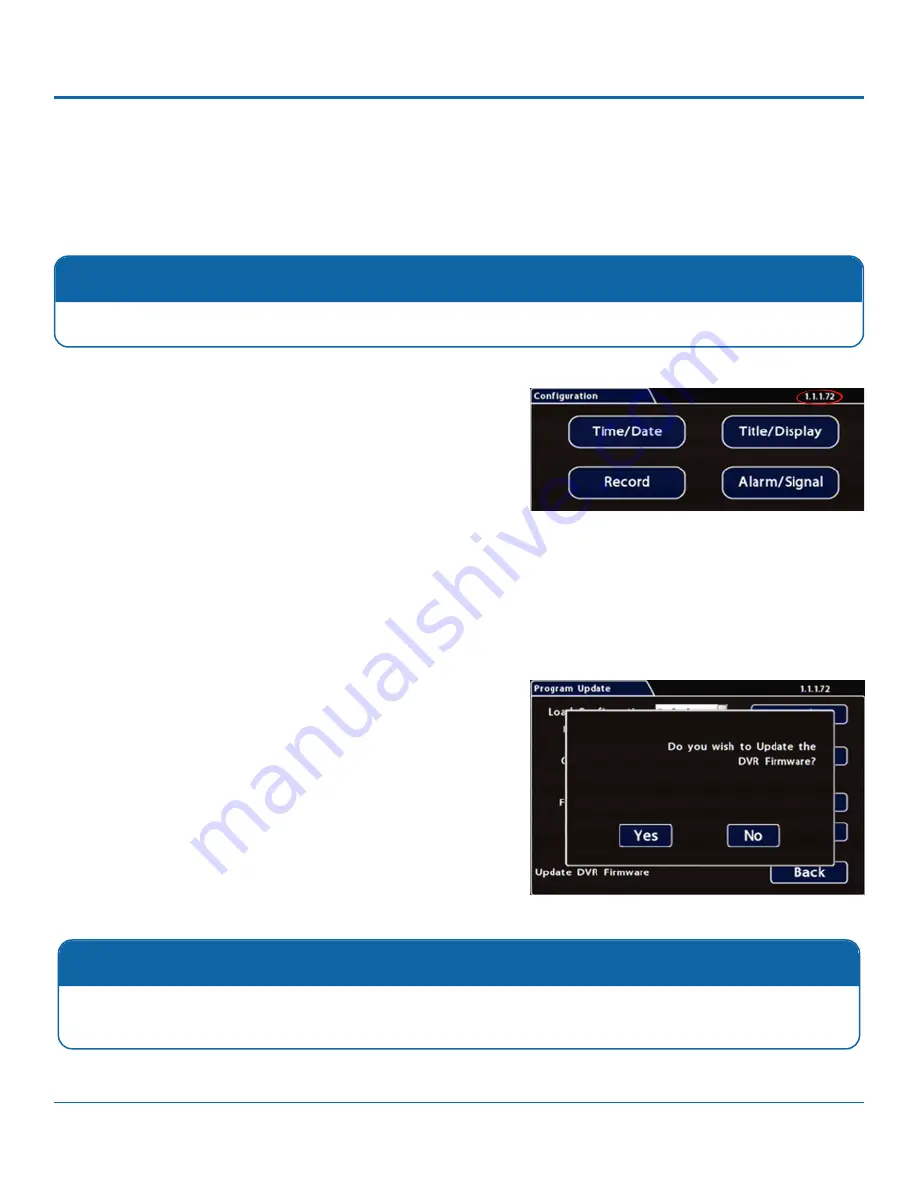
In the Program Update tab, click
Update
. A confirmation
window appears.
5. Click
Yes
to proceed or
No
to cancel. Yes starts the
firmware update, and a progress bar displays the percentage
complete.
6.
Once the update is finished, the DVR automatically restarts.
7. Remove the USB memory device.
Completing Upgrade
After restarting, the DVR may take up to 3 minutes to load and complete the upgrade. Wait until the DVR finishes
loading.
Firmware Updates
Firmware controls how DVR features operate, including the Playback and Configuration menu displays. Safe Fleet Technical
Support may direct you to install a firmware update when new features are added or specific issues are addressed.
The current firmware version appears in the top-right corner
of every Configuration menu. For instructions on opening the
Configuration menus, see
DH4C Administration: Accessing the On-
Firmware Updates
Only install firmware updates as directed by Safe Fleet Technical Support.


