


© Safe Fleet | 2020 | All rights reserved | Part #: 700-1213 R1
DH4C Installation Guide
p. 32
DH4C Basic Configuration
Copying DVR Configuration
Understanding Configuration Files
A configuration file preserves a particular DVR setup, so you can apply the settings to other DVRs in a single operation. You
create a named configuration file, which contains all a DVR's current Configuration menu settings.
If you need more than one system setup for your fleet (for example, a specific number of cameras and viewpoints for different
vehicle configurations), build a separate configuration file for each situation.
You can load a configuration file onto DVRs during installation or when changes are required, and all settings are applied
automatically.
Copying DVR Settings
Before copying configuration, ensure the DVR is set up for specific vehicle type and mobile surveillance requirements, including
camera names/channels, recording parameters, Alarm and Signal assignments, system preferences, and networking details.
For more information, see
DH4C Configuration: Setting up the DVR
This procedure requires physical access to the DVR you want to copy settings from, a portable video monitor, a USB mouse,
and a USB storage device formatted by a Windows computer using the FAT.
3. Right-click anywhere in the OSD view to access the Main
Menu.
4. Select
Configuration
System
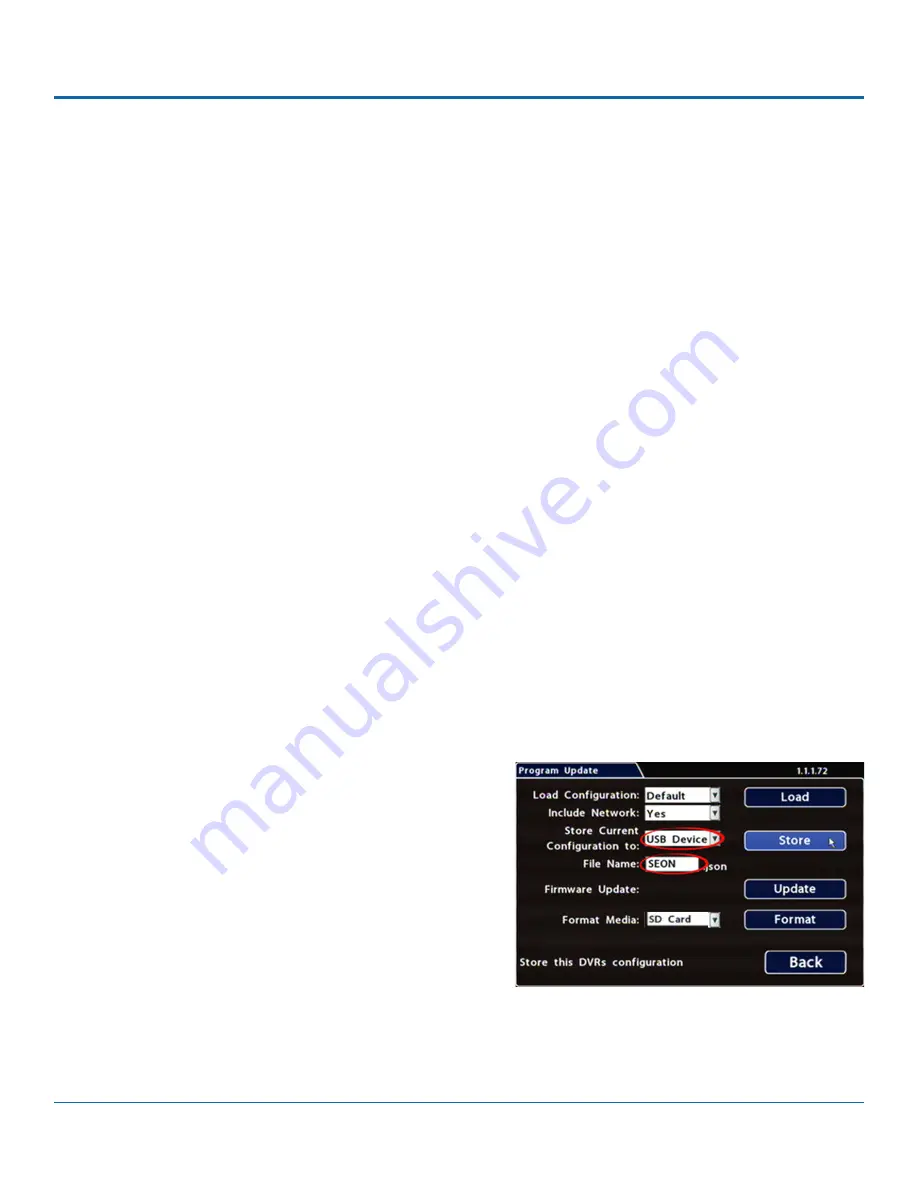
Program Update
.
5. In the
Store Current Configuration to
: pull-down menu,
select USB Device.
6. Click the
File Name
field and use the on-screen keyboard to
change the configuration file name (maximum 4 characters).
Best practice is to choose a name that references the fleet
and/or configuration type (e.g. "SB5C" for a school bus with
5 cameras).
7. Click
Store
. In the confirmation that appears, click
Yes
.
8. Click
OK
. The configuration file is created on the USB device.
To create a configuration file:
1.
Insert the USB storage device in the USB port on the DVR's front panel. For more information, see
.
2.
Access the OSD (On-Screen Display). For details, see


