


© Safe Fleet | 2020 | All rights reserved | Part #: 700-1213 R1
DH4C Installation Guide
p. 24
DH4C Basic Configuration
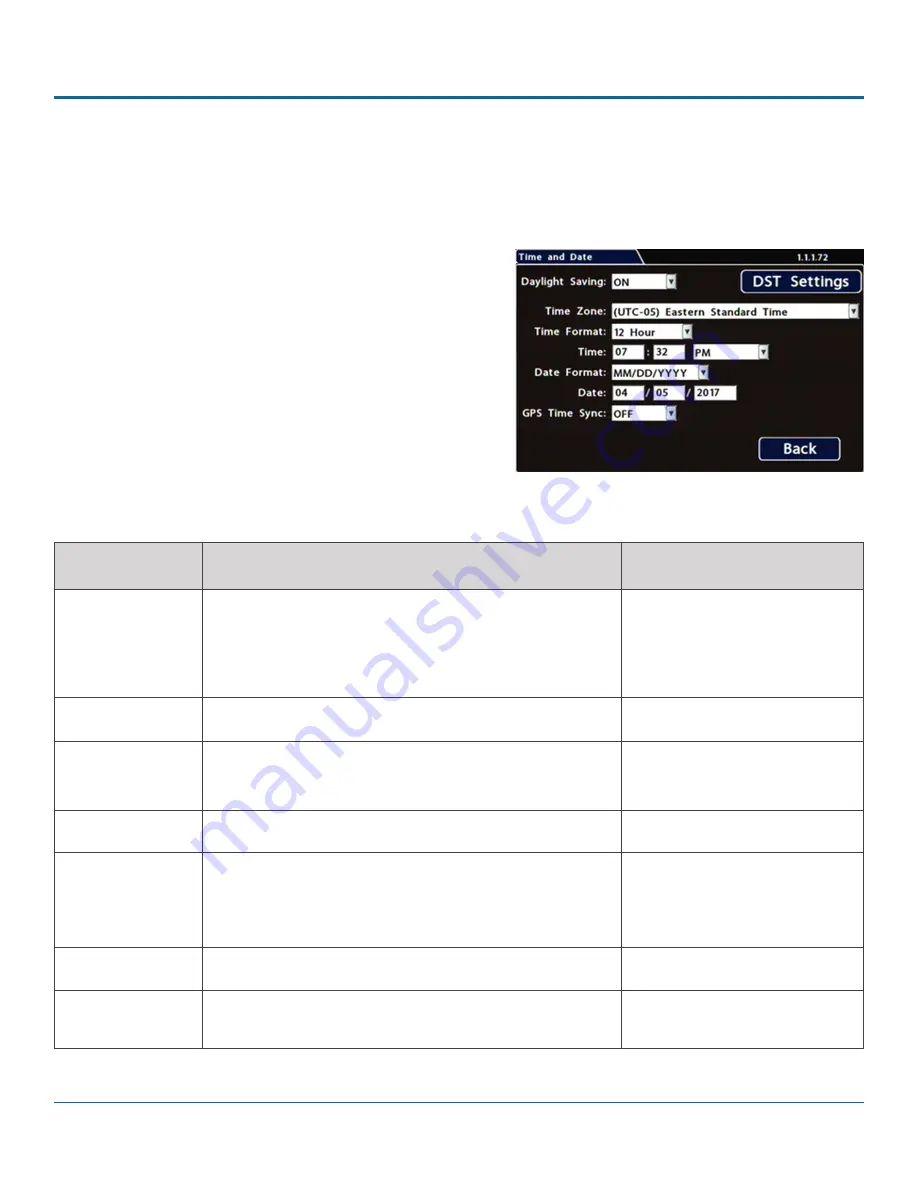
Time and Date
Ensure that the Time/Date settings are correct for the customer location/time zone - the DVR date and time are used as an
index for searching, archiving, and downloading video, and appear during playback.
To update Date/Time settings:
1. Select
Time/Date
to display the tab.
2.
Select fields and/or use menus to make your changes
(menu options are described below). For details on entering
data with the mouse, see
DH4C Operation: Using On-screen
3. Click
Back
to save the settings and return to the
Configuration menu.
MENU ITEM
DESCRIPTION
Daylight Saving
Leave ON and at default dates unless in an area that does
not use daylight savings (e.g. Arizona, Saskatchewan).
Click DST Settings and ensure the Start/End dates and
times apply to your location.
[ON]
Time Zone
Select your local time zone.
[UTC-05 Eastern Standard Time]
Time Format
Choose 12 or 24-hour display.
[12 hour]: 12:00 am to 11:59 pm
[24 hour]: 00:00 to 23:59
Time
Input the correct time
Date Format
Select the preferred date format
[MM/DD/YYYY]
[YYYY/MM/DD]
[DD/MM/YYYY]
Date
Set the date for the DVR.
GPS Time Sync
If GPS is installed, set this ON to have the system time
automatically updated when satellites are detected.
[OFF]
Menu Options


