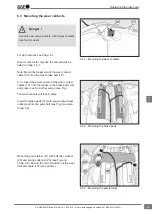
6.2 Installing the brake pads
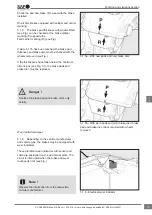
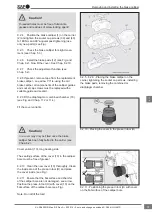
Note: The inner (12
1
) and outer (12
2
) brake
pads have different designs (see Fig.). Note the
installation position of the inner and outer brake
pads.
Replace the brake pads axially only. Only use
brake pads that have been approved by the
vehicle, axle and brake manufacturer.
Danger !
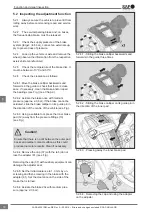
6.2.1 Free the pad carrier guide shafts of rust
and residues with a suitable tool (wire brush, calli-
per file, flat scraper, belt grinder) according to the
degree of soiling and corrosion.
Take care not to damage the carrier and
elastomer seals!
Caution!
6.2.2 Check the carrier and elastomer seals for
damage and replace if necessary.
The guide surfaces of the carrier and on the pad
carrier plate must be clean and free of residues,
dirt and moisture.
Caution!
6.2.3 Apply a thin layer of non-conductive,
heat-resistant and solid-free (metal-free) paste to
the guide surfaces of the carrier and to the pad
carrier plate.
• Do not use copper paste.
• The paste must not come into contact with
the friction surfaces of the pad, brake disc or
elastomer parts!
Caution!
Observe the regulations from the vehicle, axle and
brake system manufacturer!
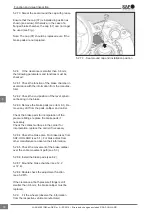
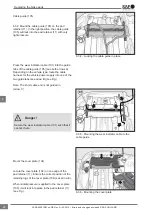
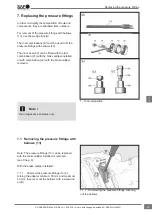
6.2.4 Install the brake pads (see Fig. 'a' and 'b').
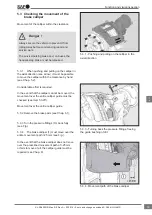
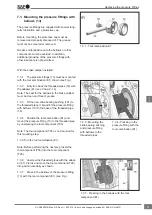
6.2.5 Insert the pad retainer (11) into the brake
calliper groove (1), then press these down in
order to position the bolt (44) (use only new parts)
(see Fig.).
6.2 - The inner and outer brake pads have different
designs
6.2.4a - Installing the inner brake pad (ST7)
6.2.4b - Installing the outer brake pad (ST7)
Replacing the brake pads
23
en
XL-SA40001RM-en-DE Rev A • 02.2016 • Errors and changes excluded © SAF-HOLLAND

