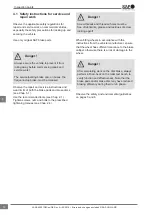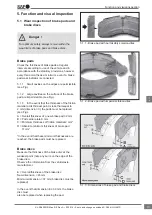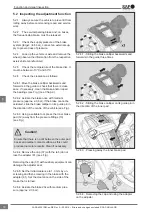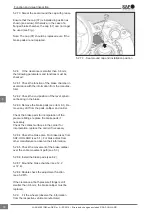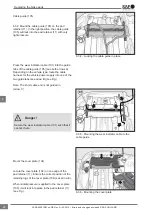
6.2.6 Fit the washer (45) and spring cotter pin
(26) to the bolt (44) (use only new parts) (see Fig.).
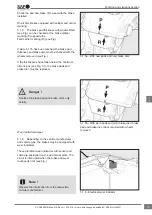
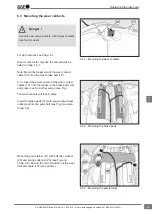
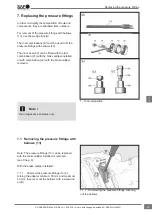
6.2.7 Turn the adjuster (23) in a clockwise direction
until the pads come into contact with the brake disc.
Do not over-turn the adjuster (23).
Then adjust the clearance. See Chap. 5.2.6.7.
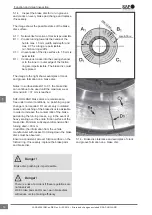
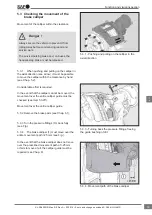
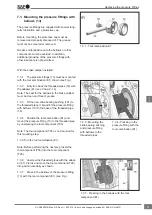
6.2.8 Replace the cap (37). First, smear the seal
around the cap with grease (see Fig.).
Note: Ensure that the cap (37) is installed in
position as shown (see arrow). Otherwise, in the
case of a flanged brake chamber, the cap tab (37)
can no longer be used.
If necessary, re-install the cable guide plate and
wear contacts (see Chap. 6.3).
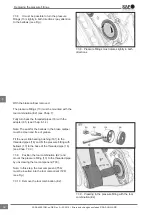
6.2.9 Fit the wheels (observe the information
from the respective vehicle manufacturer).
Once the brake has been actuated and released, it
must be possible to turn the wheel hub by hand.
6.2.6 - Installing the pad retainer
6.2.7 - Fitting the washer and spring cotter pin to
the bolt
6.2.8 - Replacing the cap
After completing work on the disc brake, always
perform a final check on the roller test bench to
verify function and effectiveness. Note that the
brake pads and/or brake disc may have reduced
braking efficiency during their run-in phase.
Danger !
We recommend fitting the washer (45) and spring
cotter pin (26) underneath.
Note !
Replacing the brake pads
24
en
XL-SA40001RM-en-DE Rev A • 02.2016 • Errors and changes excluded © SAF-HOLLAND


