


97
Try Out the Sounds
5.
Press the
[MENU]
button to turn off its illumination.
*
The “
PC indicator
” on the front panel of the VariOS shows the current MIDI Mode status. When this is lit, “
PC
”
mode is selected. When dark, “
Internal
” mode is selected.
The VariOS will receive
Note-on
and
Control change
messages on the channel you specify here. If
you’ve connected a MIDI keyboard, set this channel to match the transmit channel of your MIDI
keyboard.
fig.12-11
1.
Press the
[MENU]
button so it’s lighted, and access the
MENU
screen.
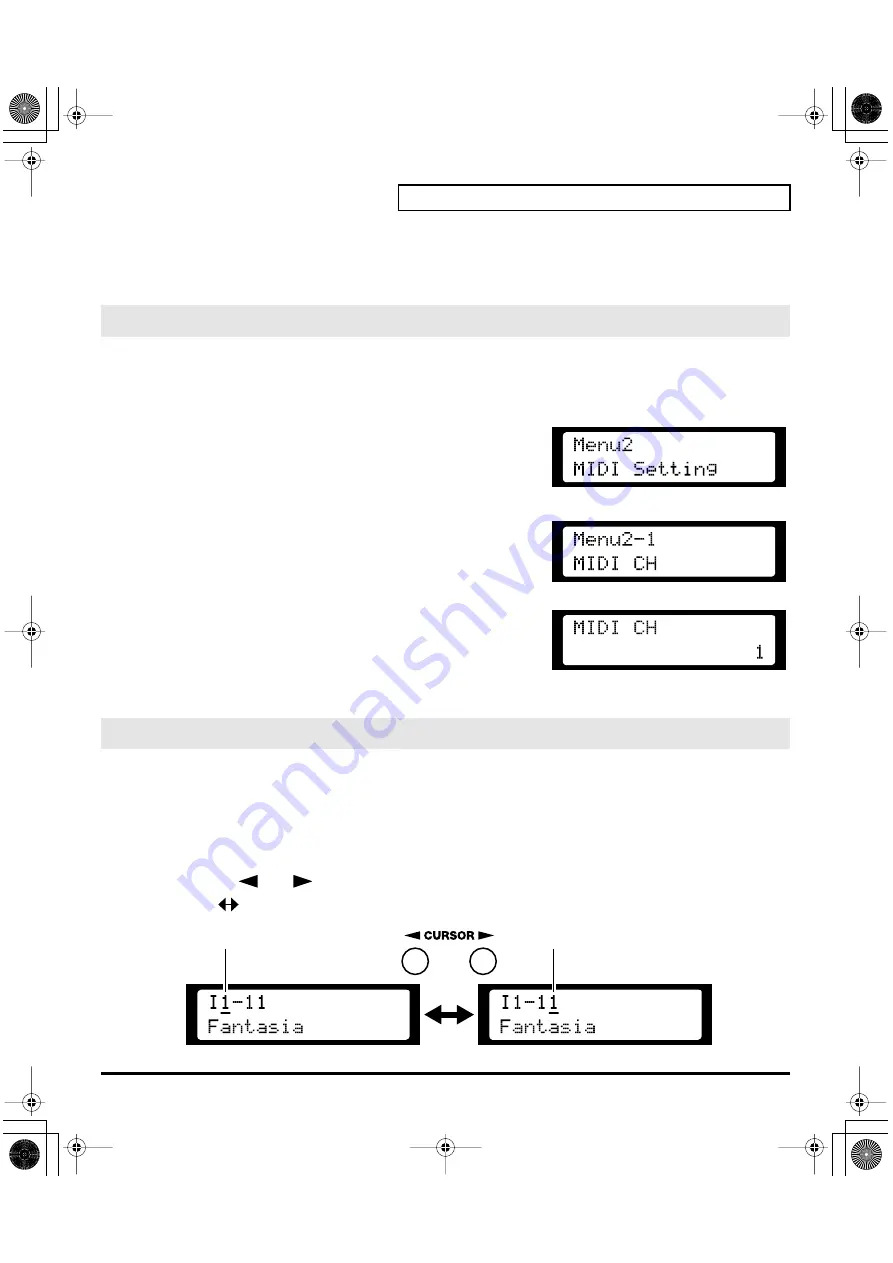
2.
Turn the
[VALUE]
knob to select “
MIDI Setting
,” and press the
[VALUE]
knob.
fig.12-12
3.
Turn the
[VALUE]
knob to select “
MIDI CH
,” and press the
[VALUE]
knob.
4.
Turn the
[VALUE]
knob to specify the receive channel (1 – 16).
fig.12-13
MIDI CH
Sets the
Basic Channel
(MIDI channel on which the VC-1
receives and transmits messages).
Value:
1 – 16
5.
Press the
[MENU]
button to turn off its illumination.
1.
Make sure the
PATCH TOP
screen is displayed. If the
PATCH TOP
screen is not displayed, press
[EXIT]
several times until the
PATCH TOP
screen appears.
2.
Play the keyboard to hear what the selected patch sounds like. To change to a different patch, turn the
[VALUE]
knob.
• At this time you can switch more rapidly by holding down
[VALUE]
knob while you perform these
operations.
• Use the
[
]
or
[
]
buttons to move the cursor to the value you want to edit. (Patch
Bank
Number)
fig.12-14e
Setting the MIDI Receive Channel
Selecting Patches with the VALUE knob
Cursor
Cursor
vc1_e.book 97 ページ 2004年4月2日 金曜日 午後3時21分
Summary of Contents for V-Card VC-1
Page 154: ...154 Index vc1_e book 154...


