


46
Documentation, Storage and Recall
soft menu key LOAD. To remove files that are no longer
required you can use the knob to select the respective set-
tings file and remove it by pressing the soft menu key Re-
move File. If a USB stick is connected, you can also change
or delete directories.
The menu item DEFAULT SETTINGS also allows you to load
the factory default settings.
7.2 Screenshot
The most important format to store information for docu-
mentation purposes is the screenshot. A screenshot is an
image file which shows the current screen content at the
time that storage takes place.
Screenshots may only be stored to a USB stick. If a USB
stick is connected, you can also change, create or delete
directories. Press Accept to confirm the location of the
target directory.
The FILE NAME can be changed or adjusted to the corres-
ponding setting (SCR is the default label).
The file format of a graphics file determines the color depth
and the type of compression. The quality of the various
formats is identical for the multimeter graphics. You can
choose from the following file formats in the soft menu
Format:
❙
BMP
= Windows Bitmap Format
❙
PNG
= Portable Network Graphic
Use the soft menu key Color Mode and the knob to select
between Grayscale, Color and Inverted. If Grayscale is
selected, the colors are converted to gray scales when the
data is stored, if Color is selected, the data is stored as it
displays in the screen, and if Inverted is activated, data will
be stored in color with a white back-ground. If you press
the key Save, the current screen will be saved immediately
to the selected storage location with the selected name
and format.
Fig. 7.2: Screenshot menu
Pressing and holding the HELP key allows you to save a screens-
hot to a connected USB stick.
8 General Settings
Important general settings, such as basic settings or in-
terface settings may be selected via SETUP key. Press the
key to move up one level.
8.1 Update (Instrument Firmware / Help)
Firmware and help (if available) are packed in one ZIP file.
Depending on the required extent of the update, the ZIP file
might include either all updates or simply the instrument
firmware, for instance. After downloading the ZIP file, un-
pack the data to the base directory of a USB stick. Then
connect the USB stick with the USB port of the multimeter
and press the SETUP key. Press the soft menu key Update
to access the update menu. Selecting this menu item
opens a window displaying version number, date and build
information of the currently installed firmware.
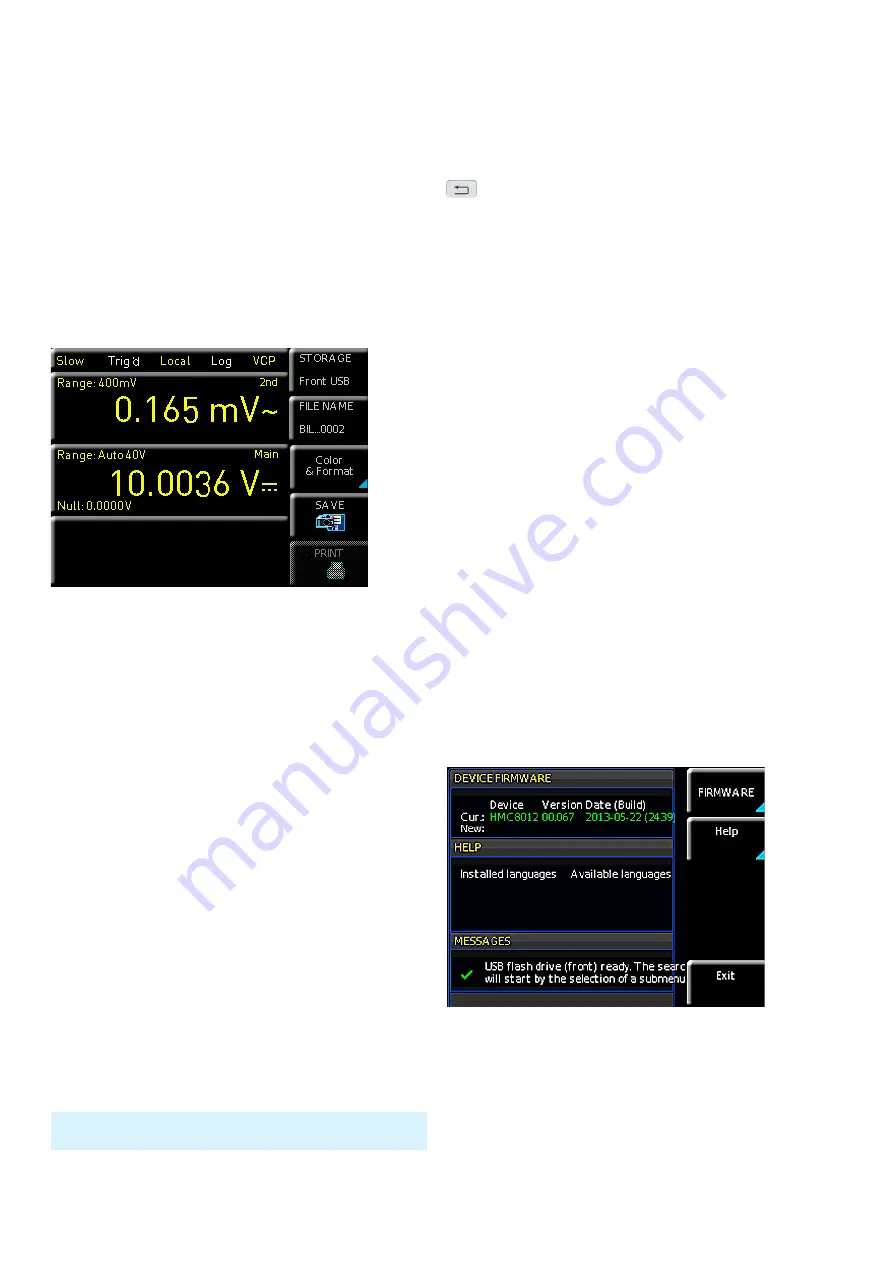
Pressing the soft menu key FIRMWARE to update the
instrument firmware will result in a search for the corres-
ponding file on the USB stick. The information for the new
firmware to be installed will then be displayed on the stick
below the row labeled NEW:. The version number will
be displayed in red in case the existing firmware on the
instrument is identical to the latest version; otherwise the
version number will be shown in green. Only if this is the
case, press the soft menu EXECUTE to start the update. To
update the help, select the menu item HELP in the update
menu. The information window will now display all ins-
talled languages, the date and relevant information about
the languages available on the stick. The soft menu allows
you to add, remove or update languages. Please note the
date format (YYYY-MM-DD) in compliance with multilin-
gual help ISO 8601 standards.
8.2 Interface Setting
The soft menu Interface enables you to select the settings
for:
❙VCP (Virtual COM Port)
❙USB (TMC)
❙Ethernet (IP address, sub-net mask etc.) and
❙IEEE-488 GPIB interface (GPIB address)
Fig. 8.1: Firmware update menu


