RICOH Ri 1000
User Manual
80
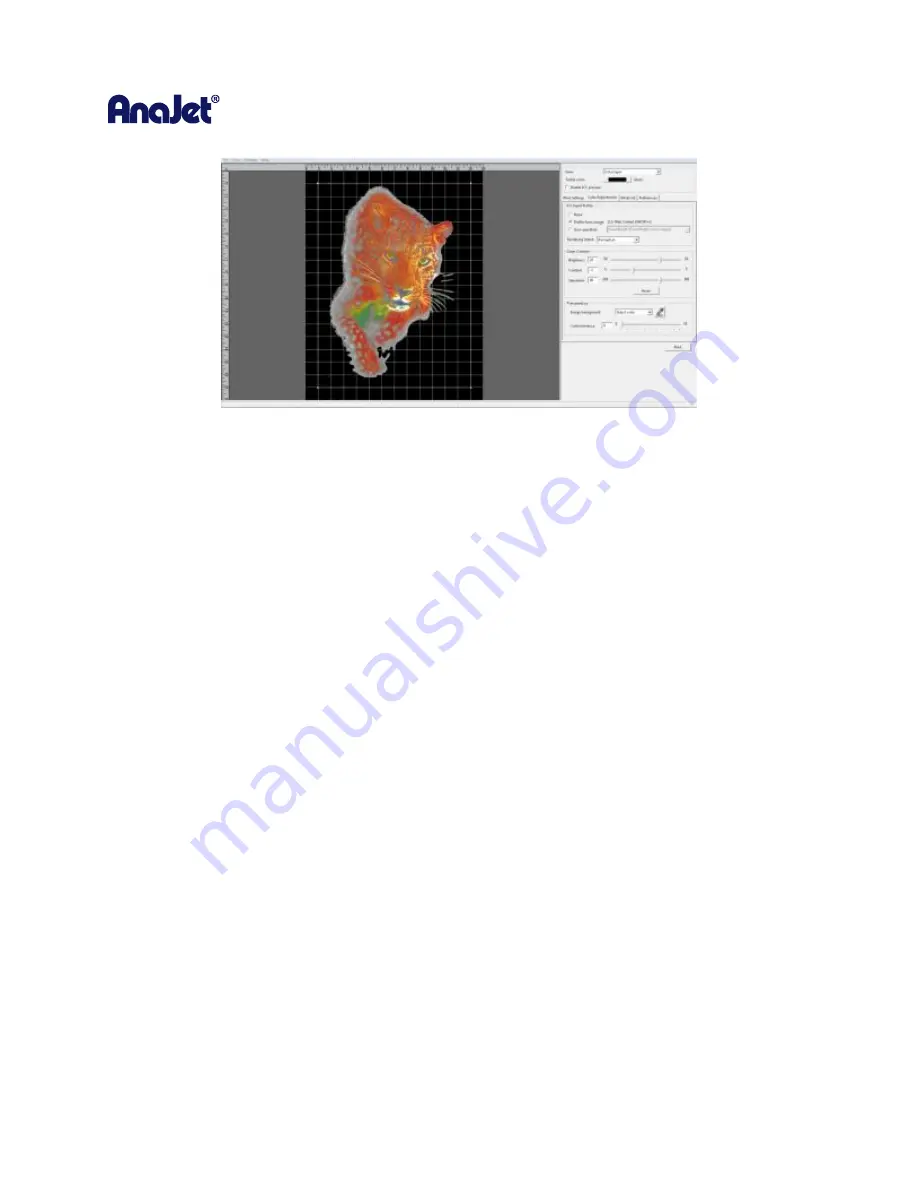
5.6 Select Border Color to be Removed
You can also select to remove a Border color. This removes a contiguous color up to when it changes to
another color. Please note that better results will be achieved by using your image editing software to
create transparencies.
Once you have completed your settings and adjustments you can now send your image to the printer
by pressing Print or save the graphic to your computer or an USB drive by selecting Print to file.
The Printer will first print the White layer. Once completed, the printer will print the Color Pass. Since
the white Underbase layer may not be dry enough to receive the color layer, there is an adjustment on
the printer’
s options menu to set a wait color layer wait time before the color layer is printed. By default,
it is set to 0.
Summary of Contents for Ri 1000
Page 5: ...5 ...
Page 11: ...RICOH Ri 1000 User Manual 11 Printer Specifications ...
Page 12: ...RICOH Ri 1000 User Manual 12 1 2 Part Identification ...
Page 27: ...RICOH Ri 1000 User Manual 27 Select PROGRAM and click NEXT ...
Page 29: ...RICOH Ri 1000 User Manual 29 Select the ALLOW THE CONNECTION radial button and click NEXT ...
Page 64: ...RICOH Ri 1000 User Manual 64 Selecting ICC Preview ...
Page 90: ...RICOH Ri 1000 User Manual 90 After agitating cartridges insert the cartridges ...
Page 95: ...RICOH Ri 1000 User Manual 95 ...
Page 108: ...RICOH Ri 1000 User Manual 108 Fig 11 Fig 12 Fig 13 ...
Page 132: ...RICOH Ri 1000 User Manual 132 8 Click the install option on the screen to continue ...
Page 134: ...RICOH Ri 1000 User Manual 134 ...
Page 141: ...RICOH Ri 1000 User Manual 141 ...


