RICOH Ri 1000
User Manual
111
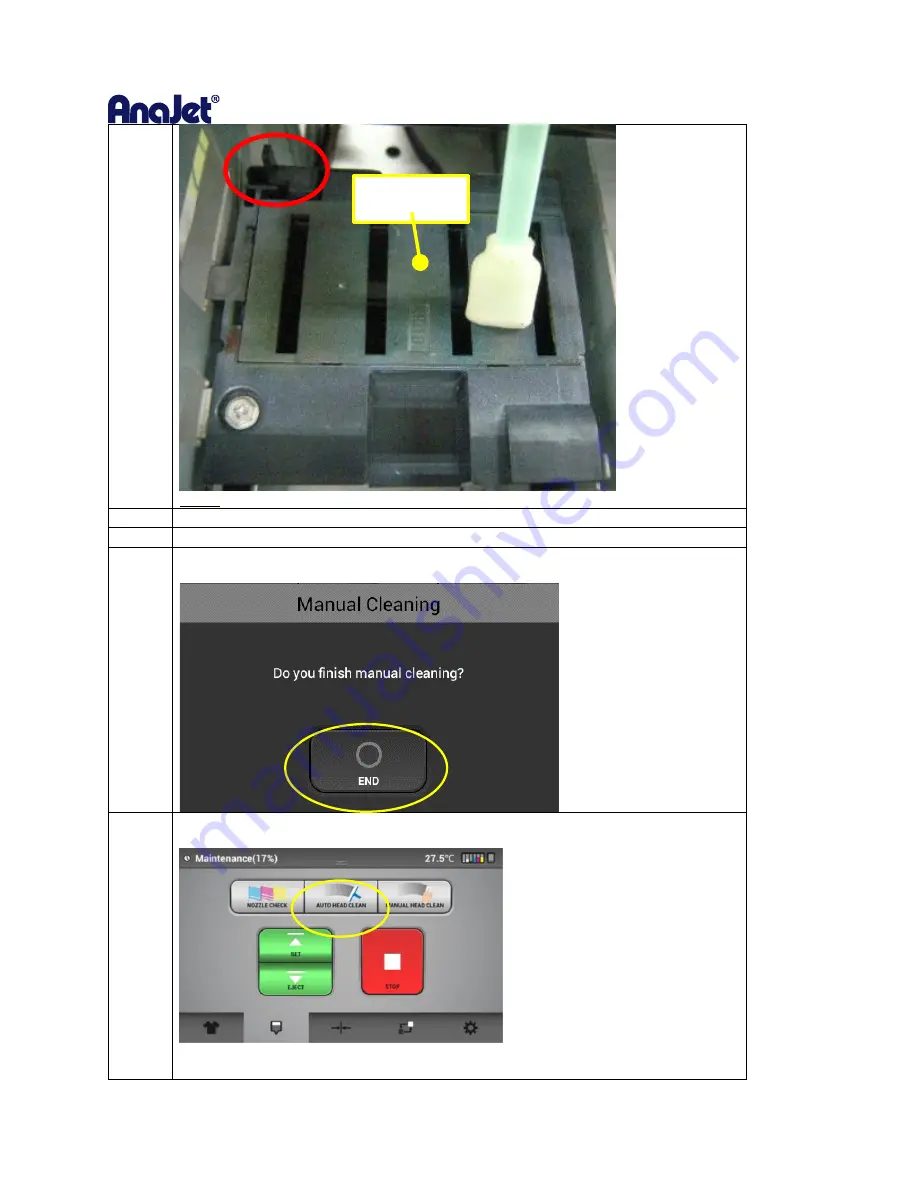
Fig. 18
Step 12
Clean the Encoder Sheet, if necessary. (See clean the encoder sheet instruction)
Step 13
Close the Front Cover.
Step 14
Press the “END” button.
The carriage moves to the right end, and the Head is capped.
Step 15
After completion of cleaning, perform “AUTO HEAD CLEANING”. (Recommendation)
It prevents the ink from drying out and clogging the nozzles.
After completion, it is recommended to print the Nozzle Check and check that the ink
discharge is normal.
The Flushing
box
Summary of Contents for Ri 1000
Page 5: ...5 ...
Page 11: ...RICOH Ri 1000 User Manual 11 Printer Specifications ...
Page 12: ...RICOH Ri 1000 User Manual 12 1 2 Part Identification ...
Page 27: ...RICOH Ri 1000 User Manual 27 Select PROGRAM and click NEXT ...
Page 29: ...RICOH Ri 1000 User Manual 29 Select the ALLOW THE CONNECTION radial button and click NEXT ...
Page 64: ...RICOH Ri 1000 User Manual 64 Selecting ICC Preview ...
Page 90: ...RICOH Ri 1000 User Manual 90 After agitating cartridges insert the cartridges ...
Page 95: ...RICOH Ri 1000 User Manual 95 ...
Page 108: ...RICOH Ri 1000 User Manual 108 Fig 11 Fig 12 Fig 13 ...
Page 132: ...RICOH Ri 1000 User Manual 132 8 Click the install option on the screen to continue ...
Page 134: ...RICOH Ri 1000 User Manual 134 ...
Page 141: ...RICOH Ri 1000 User Manual 141 ...


