RICOH Ri 1000
User Manual
45
3
Printing your image
Once you have made all of your adjustments to the printing Size, Position, Quality and Color Adjustments
you are ready to save your design or print your image. See section 4 for light shirts and 5 for dark shirt
details on how to prepare the image
1.
Load the substrate onto the table as described in
section 2.3
2.
Confirm the table height is correct and there are no obstructions detected
3.
With the garment on the table press the SET
button
4.
The
Status Bar
will show
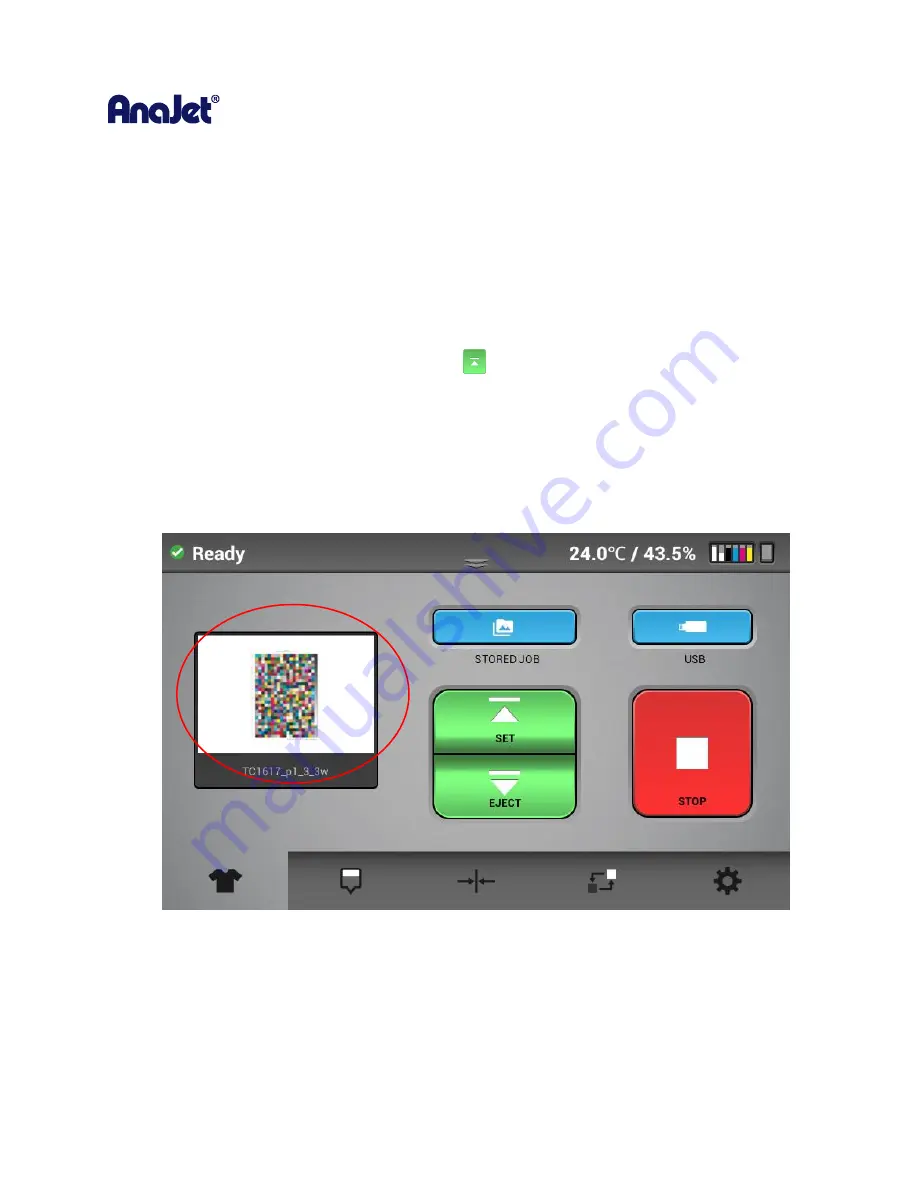
READY
in the upper left-hand corner. If the status bar shows anything
else such as maintenance or ink error etc., you will not be able to print
You can print in three ways
1)
Send the printable file from the PC through the ethernet port. This is done by selected the
printer in AnaRIP and pressing the print button (Details in section 5) The job ready to print will
show in the preview window.
Summary of Contents for Ri 1000
Page 5: ...5 ...
Page 11: ...RICOH Ri 1000 User Manual 11 Printer Specifications ...
Page 12: ...RICOH Ri 1000 User Manual 12 1 2 Part Identification ...
Page 27: ...RICOH Ri 1000 User Manual 27 Select PROGRAM and click NEXT ...
Page 29: ...RICOH Ri 1000 User Manual 29 Select the ALLOW THE CONNECTION radial button and click NEXT ...
Page 64: ...RICOH Ri 1000 User Manual 64 Selecting ICC Preview ...
Page 90: ...RICOH Ri 1000 User Manual 90 After agitating cartridges insert the cartridges ...
Page 95: ...RICOH Ri 1000 User Manual 95 ...
Page 108: ...RICOH Ri 1000 User Manual 108 Fig 11 Fig 12 Fig 13 ...
Page 132: ...RICOH Ri 1000 User Manual 132 8 Click the install option on the screen to continue ...
Page 134: ...RICOH Ri 1000 User Manual 134 ...
Page 141: ...RICOH Ri 1000 User Manual 141 ...


