RICOH Ri 1000
User Manual
18
5.
Insert ink cartridges
❖
Please note, each cartridge is designed for its corresponding slot. WH1 will go
in the first slot (closest to the control panel) then WH2 then Black, Cyan,
Magenta, and lastly Yellow towards the back of the printer
6.
To power
on
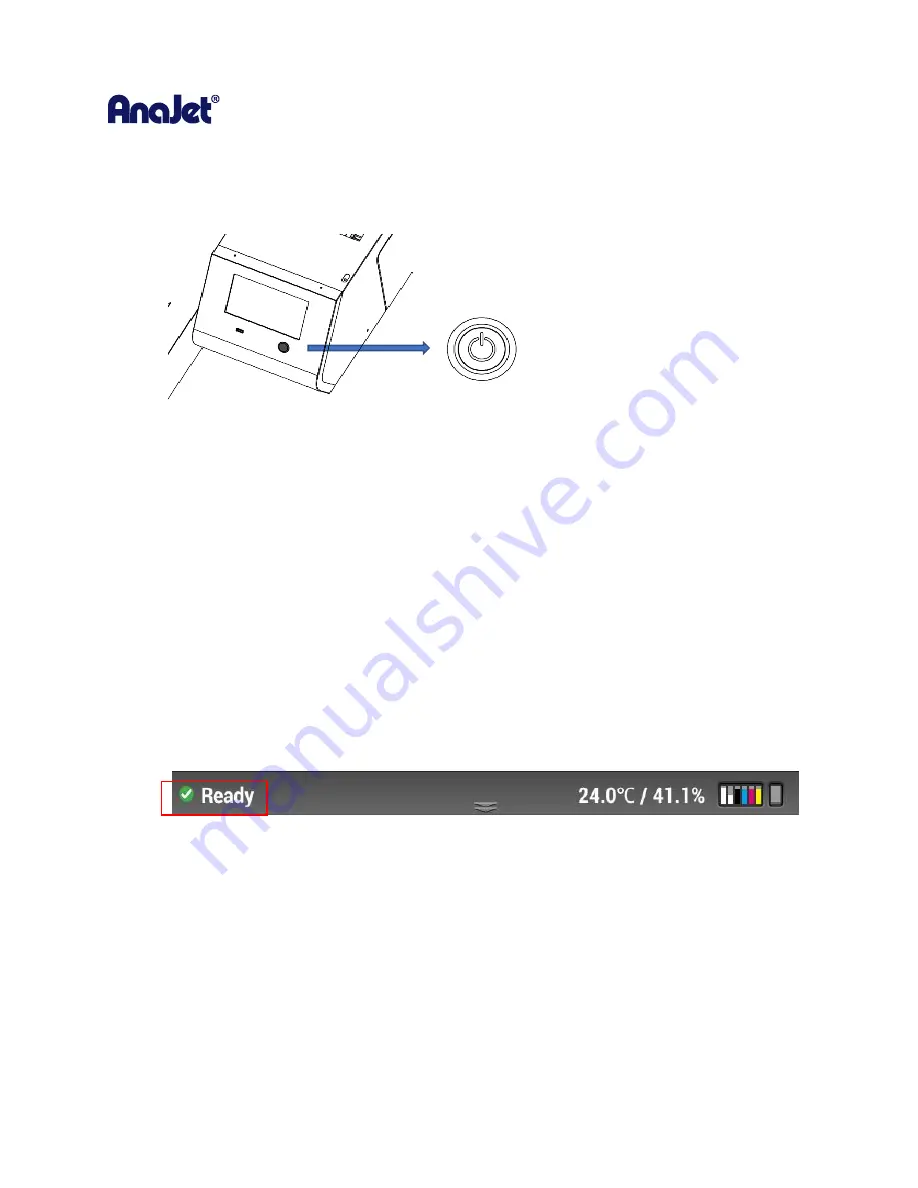
, after flipping the I/O switch to | (on I ), hold down the power button on the front
near the LCD screen, for 3 seconds
.
❖
To power off, hold down the power button on the front near the LCD screen, for more
than 3 seconds and return the I/O switch to O (off)
7.
The printer is starting to boot.
8.
After booting, the printer will perform initial charging if the printer is not charged.
❖
Initial charging takes about 15-20 minutes and the display will show a status
percentage (%)
Warning
During the initial ink charging, don’t open front cover or cartridge cover.
9.
Once the initial charge is completed, the printer will show READY in the upper left-hand corner
of the LCD screen
Summary of Contents for Ri 1000
Page 5: ...5 ...
Page 11: ...RICOH Ri 1000 User Manual 11 Printer Specifications ...
Page 12: ...RICOH Ri 1000 User Manual 12 1 2 Part Identification ...
Page 27: ...RICOH Ri 1000 User Manual 27 Select PROGRAM and click NEXT ...
Page 29: ...RICOH Ri 1000 User Manual 29 Select the ALLOW THE CONNECTION radial button and click NEXT ...
Page 64: ...RICOH Ri 1000 User Manual 64 Selecting ICC Preview ...
Page 90: ...RICOH Ri 1000 User Manual 90 After agitating cartridges insert the cartridges ...
Page 95: ...RICOH Ri 1000 User Manual 95 ...
Page 108: ...RICOH Ri 1000 User Manual 108 Fig 11 Fig 12 Fig 13 ...
Page 132: ...RICOH Ri 1000 User Manual 132 8 Click the install option on the screen to continue ...
Page 134: ...RICOH Ri 1000 User Manual 134 ...
Page 141: ...RICOH Ri 1000 User Manual 141 ...


