RICOH Ri 1000
User Manual
56
•
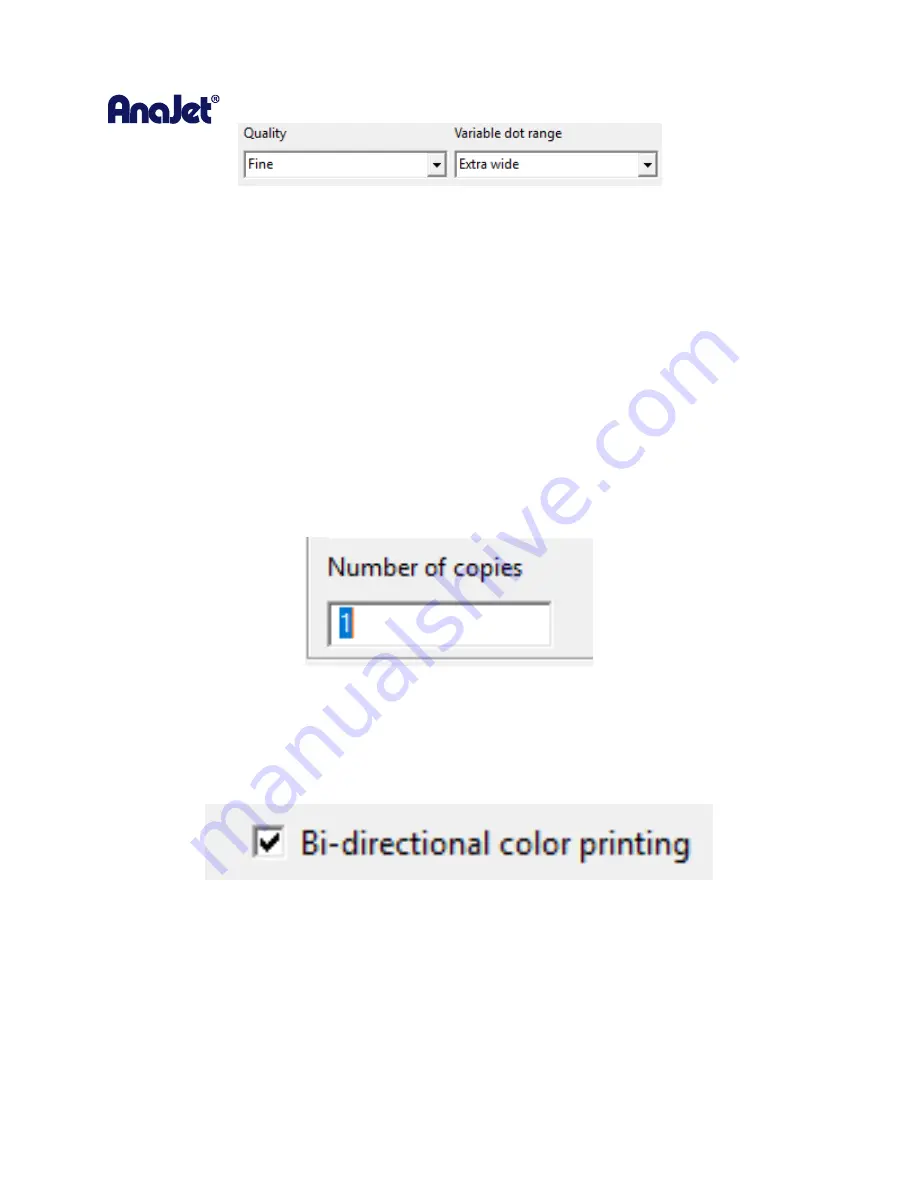
Quality and Variable Dot Range:
When the Ri 1000 is selected the default print setting will BE
set to a
fine QUALITY
and an
extra wide VARIABLE DOT RANGE
•
The
Quality
has two other options described below:
o
SPEED:
Used to test substrates not recommended for final print or solid color blocks
o
SUPER FINE:
Used to provide finite details and provides an overall improved detail
print *Note, will be more saturated when using this setting and is recommended for
the ink set to be changed the SuperFine ink set (described later)
** Not available in
AnaaRip 5.2 will be added soon
•
The
Variable Dot Range
has two other options described below:
o
Narrow:
Must be used with UNI-DIRECTIONAL enabled, provided a smaller droplet size
resulting in less saturation, ideal for thinner substrates, like polyester, normally should
not be used as prints will be faint ** Disabled in AnaRip with this dot size**
o
Wide:
Must be used with UNI-DIRECTIONAL enabled, provides a slightly larger droplet
size than
Narrow
** Disabled in AnaRip with this dot size**
o
Extra Wide: This is the default that should be used for most prints
•
Number of Copies
is where you enter the amount of prints you would like to send to the printer.
**This feature is disabled for the Ri 1000 and is grayed out**
•
Bi-directional Color Printing
: By default, this option will be enabled. This will allow the printer to
print in both directions (left to right, right to left) allowing for maximum productivity and speed.
o
By unchecking the
Bi-directional color printing
option, you can achieve a much more
accurate CMYK Print but it will sacrifice the speed/productivity as you will be printing
ONLY from right to left.
Summary of Contents for Ri 1000
Page 5: ...5 ...
Page 11: ...RICOH Ri 1000 User Manual 11 Printer Specifications ...
Page 12: ...RICOH Ri 1000 User Manual 12 1 2 Part Identification ...
Page 27: ...RICOH Ri 1000 User Manual 27 Select PROGRAM and click NEXT ...
Page 29: ...RICOH Ri 1000 User Manual 29 Select the ALLOW THE CONNECTION radial button and click NEXT ...
Page 64: ...RICOH Ri 1000 User Manual 64 Selecting ICC Preview ...
Page 90: ...RICOH Ri 1000 User Manual 90 After agitating cartridges insert the cartridges ...
Page 95: ...RICOH Ri 1000 User Manual 95 ...
Page 108: ...RICOH Ri 1000 User Manual 108 Fig 11 Fig 12 Fig 13 ...
Page 132: ...RICOH Ri 1000 User Manual 132 8 Click the install option on the screen to continue ...
Page 134: ...RICOH Ri 1000 User Manual 134 ...
Page 141: ...RICOH Ri 1000 User Manual 141 ...


