Locked Print
Sending a Locked Print File
1.
Click the WordPad menu button in the upper left corner of the window, and then click
[Print].
2.
In the "Select Printer" list, select the printer you want to use.
3.
Click [Preferences].
4.
In the "Job Type:" list, click [Locked Print].
5.
Click [Details...].
6.
Enter a User ID in the "User ID:" box, and then enter a password in the "Password:" box.
7.
Click [OK].
8.
Click the [Detailed Settings] tab.
9.
In the "Menu:" box, click the [Print Quality] icon.
10.
In the "Select Print Quality:" list, select [Speed Priority], [Standard], or [Quality Priority].
11.
Change any other print settings if necessary.
12.
Click [OK].
13.
Start printing from the application's [Print] dialog box.
Printing a Locked Print File Using the Control Panel
• When printing is completed, the stored file will be deleted.
1.
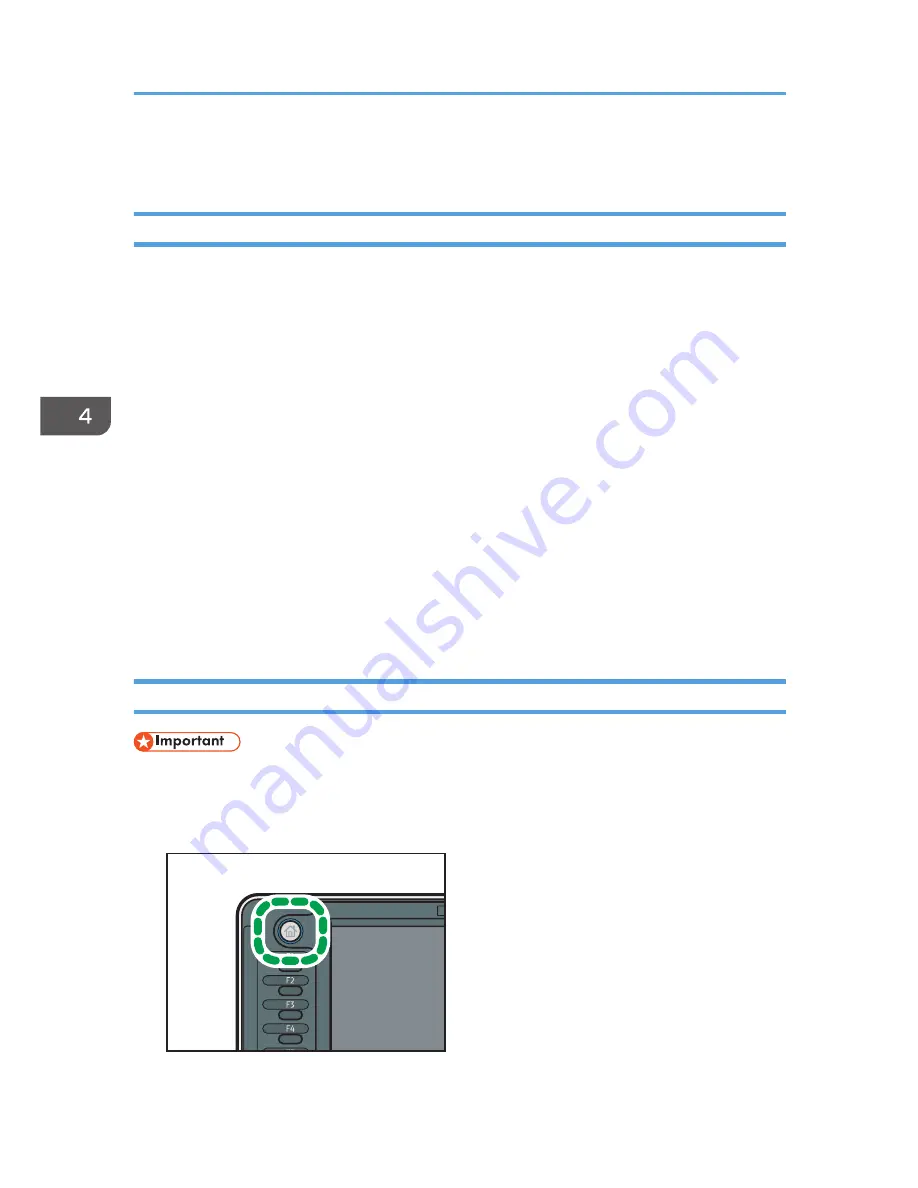
Press the [Home] key on the top left of the control panel, and press the [Printer] icon on
the [Home] screen.
CPL011
4. Print
74
Summary of Contents for MP CW2200
Page 2: ......
Page 10: ...8...
Page 82: ...4 Print 80...
Page 102: ...6 Document Server 100...
Page 150: ...8 Adding Paper and Ink 148...
Page 218: ...MEMO 216 EN GB EN US D124 7502...
Page 219: ...2012...
Page 220: ...D124 7502 US EN GB EN...


