Registering a Fax Destination
1.
Display the Address Book screen.
• When using the standard operation panel
Press the [Home] key on the bottom left of the control panel, and press the [Address Book
Management] icon on the [Home] screen.
• When using the Smart Operation Panel
Press the [Home] key on the top left of the control panel. Flick the screen to the left, and then
press the [Address Book Management] icon on the Home screen 4.
2.
Check that [Program / Change] is selected.
3.
Press [New Program].
4.
Press [Change] under "Name".
The name entry display appears.
5.
Enter the name, and then press [OK].
6.
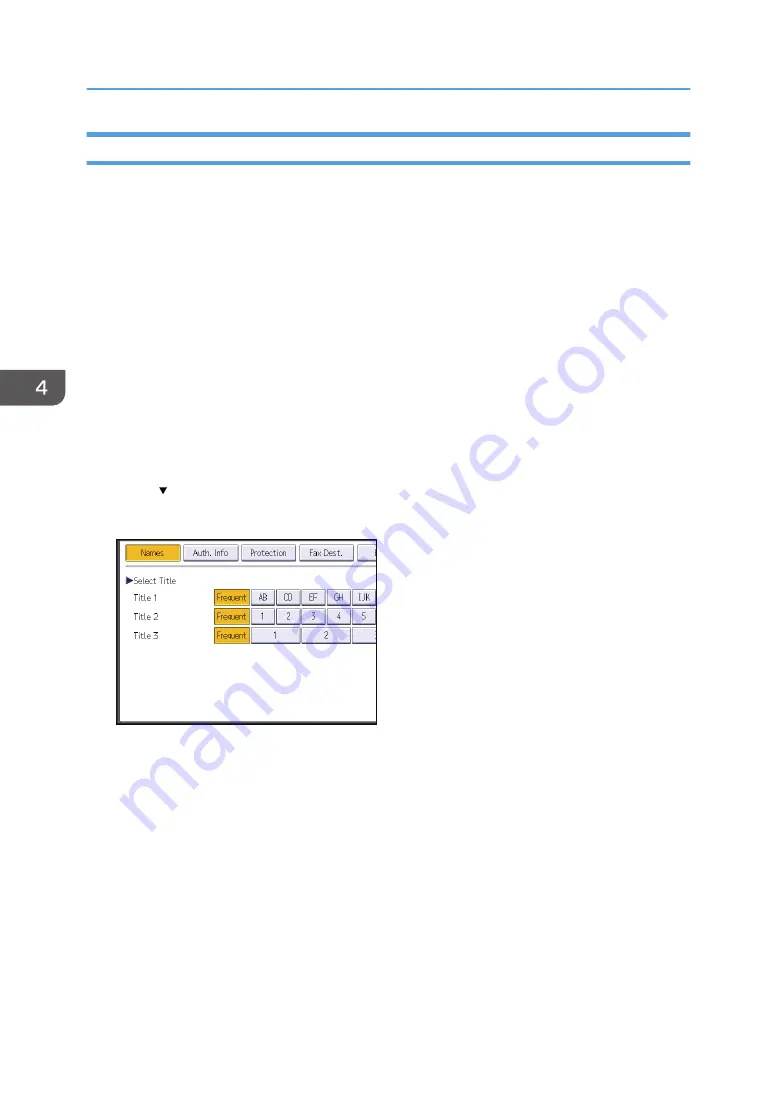
Press [ Next].
7.
Press the key for the classification you want to use under "Select Title".
The keys you can select are as follows:
• [Frequent]: Added to the page that is displayed first.
• [AB], [CD], [EF], [GH], [IJK], [LMN], [OPQ], [RST], [UVW], [XYZ], [1] to [10]: Added to the
list of items in the selected title.
You can select [Frequent] and one more key for each title.
8.
Press [Fax Dest.].
9.
Press [Change] under "Fax Destination".
4. Fax
82
Summary of Contents for MP C401
Page 2: ......
Page 8: ...INDEX 219 6 ...
Page 12: ...10 ...
Page 42: ...3 Press Edit Home 4 Press Add Icon 5 Press the Program tab 2 Getting Started 40 ...
Page 102: ...4 Pages per Sheet Right then Down Down then Right Left then Down Down then Left 5 Print 100 ...
Page 126: ...6 Scan 124 ...
Page 130: ...7 Document Server 128 ...
Page 156: ...9 Adding Paper and Toner 154 ...
Page 216: ...10 Troubleshooting 214 ...
Page 220: ...11 Information for This Machine 218 ...
Page 224: ...MEMO 222 ...
Page 225: ...MEMO 223 ...
Page 226: ...MEMO 224 EN GB EN US D193 7501 ...
Page 227: ... 2013 ...
Page 228: ...D193 7501 US EN GB EN ...


