User’s Manual
34
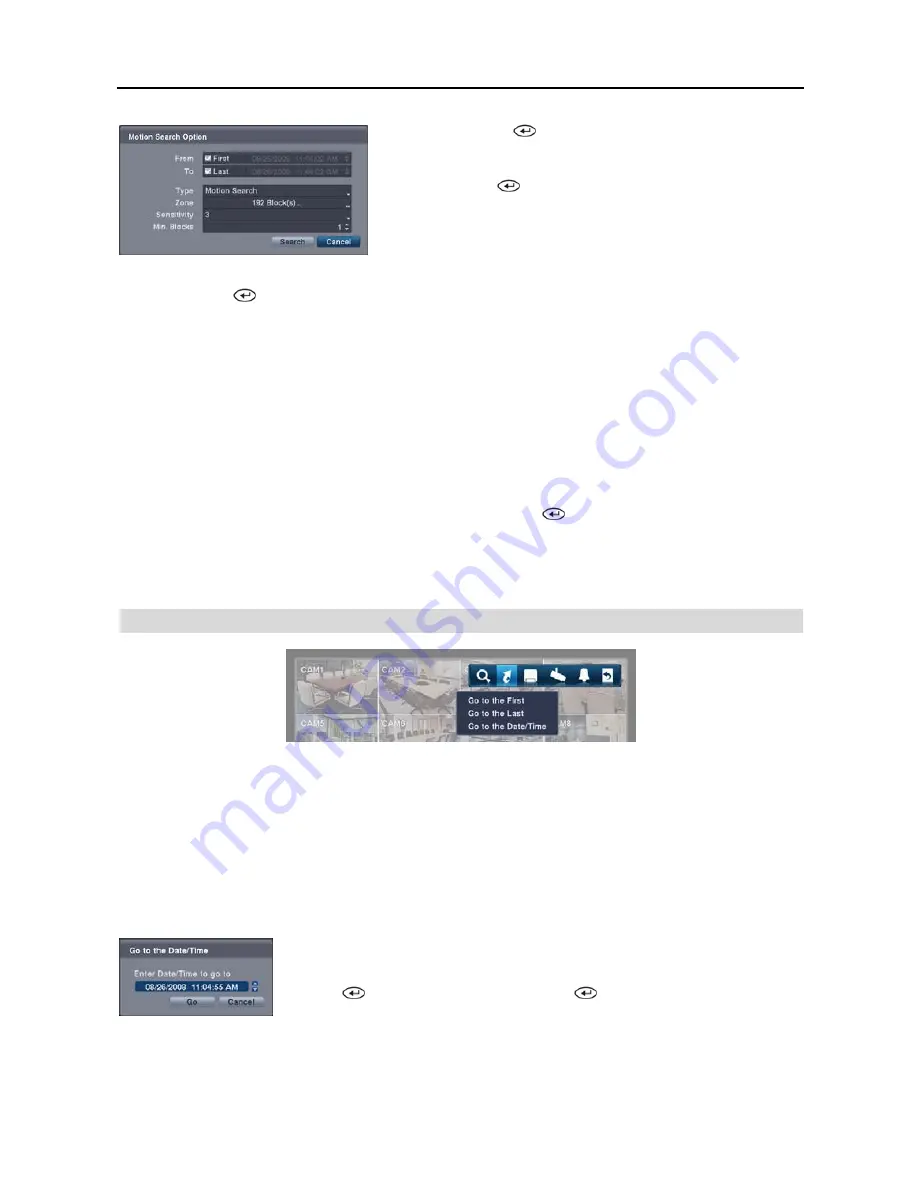
From
: Pressing the
button toggles between On and Off. When set
to Off, you can enter a specific Date and Time. When set to On, the
search will be from the first recorded image.
To
: Pressing the
button to toggles between On and Off. When set
to Off, you can enter a specific Date and Time. When set to On, the
search will be to the last recorded image.
Type
: Select between
Motion Search
and
Museum Search
.
Motion
Search
detects motion in the defined area.
Museum Search
detects
if a defined object has moved.
Zone
: Press the
button, and an image from the video appears with a grid overlay. You can turn sensor blocks
On and Off to define the area of the picture in which you want to search for motion. The zone should be placed or
focused on the centre or, at least, within the outline of targeted object.
NOTE: Defining the area of the image in which you want to search for motion is nearly identical to setting up
the DVR for Motion Detection. Please refer to the
Motion Event Settings
section in
Chapter 2 — Installation &
Configuration – Main Setup, Event Setup
for more detailed instructions on setting up the detection blocks.
NOTE: When setting the Museum Search Zone, the zone should be placed inside of the border line of the target
object. If the selected block is placed on the boarder line, the sensitivity of the Museum Search may decrease.
Sensitivity
: Select the sensitivity from
1
(low sensitivity) to
5
(high sensitivity).
Min. Blocks
: Set the number of sensor blocks that must be activated. Setting the Min Blocks will only be available
if Motion Search is selected in the Type field.
Once you set your desired search conditions, select
Search
and press the
button to display the search results in the
Motion
Search
screen. Selecting
Cancel
exits the screen without saving the changes.
When you search for motion events for another camera, you will be asked whether or not you want to delete the previous
search results from the list.
GO TO
Go to the First
Selecting
Go to the First
displays the first recorded image.
Go to the Last
Selecting
Go to the Last
displays the last recorded image.
Go to the Date/Time
You can use the
Left
and
Right
arrow buttons on the remote control to select the year,
month, day, hours, minutes and seconds. Use the
Up
and
Down
arrow buttons to change
to the date and time you want to search for video. Once you have set the date and time,
press the
button. Then select
Go
and press the
button to display the image recorded
at the selected time. The Playback buttons on the remote control can now be used to review
the surrounding video. (If no video was recorded during the selected time, a message
appears alerting you that no image was recorded at that time.)
Summary of Contents for R4-8-16DVR2
Page 1: ......
Page 2: ......
Page 3: ......
Page 4: ......
Page 8: ...User s Manual iv...
Page 53: ......
Page 54: ......
Page 56: ...User s Manual ii...
Page 58: ...User s Manual 2...
Page 63: ...Netcon Remote Administration System 7 14 Click Finish to complete the MSXML installation...
Page 64: ...User s Manual 8...
Page 86: ...User s Manual 30...
Page 96: ...User s Manual 40...


