15
Program Features
Transfer and Save Pictures from the Camcorder to the PC
After you have connected the camcorder to the PC using the supplied cable, you
can save the pictures in albums on the PC’s hard drive. These pictures can be
viewed using the slide show feature, moved between albums, and transferred to
a compatible editing program.
1. Transfer the pictures in the
camcorder’s memory to the PC
as
described on page 5.
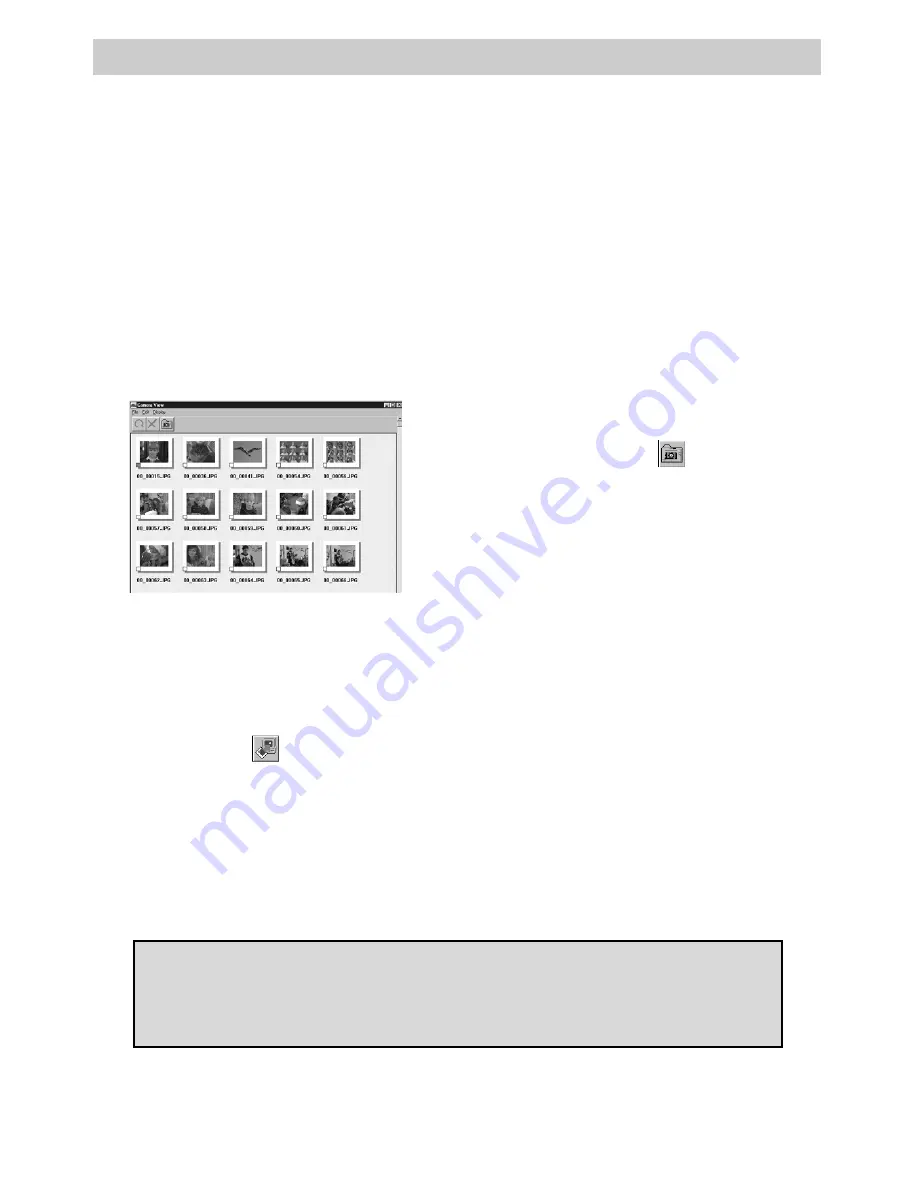
When transfer is
complete, thumbnail images are
displayed in the
Camera View
window.
Notes:
These images are not automati-
cally stored on the PC’s hard drive.
Transferring the pictures does not delete
them from the camcorder’s memory.
2. To save all of the pictures, click the
save all icon (
) in the bookshelf.
A new album is created and all the
images are saved on the hard drive.
Note:
The pictures are saved in the same
mode you stored them in the camcorder
(Fine or Standard).
CAUTION:
Do not turn off the camcorder or disconnect the power source
while the camcorder is transferring or deleting the pictures. It will damage
the camcorder’s built-in memory.
3. To select an individual picture to save,
click on the thumbnail of the image.
The lower left corner will be
highlighted.
Note:
Hold
CTRL
and click other pictures
to highlight and save several pictures.
Select
File – save
in
Camera View or
click the save icon (
).
The
Select Stored Album
window
appears. Select the album where you
want to store the pictures.
Note:
Before you can save individual
pictures, you must have an album created
as described on page 16.
When the album you want to store the
pictures in is highlighted, click OK.
The pictures are stored in the album
on the PC’s hard drive.
Summary of Contents for CC6393
Page 105: ...Connection and Software Guide ...
Page 131: ......


