13
Preferences Menu
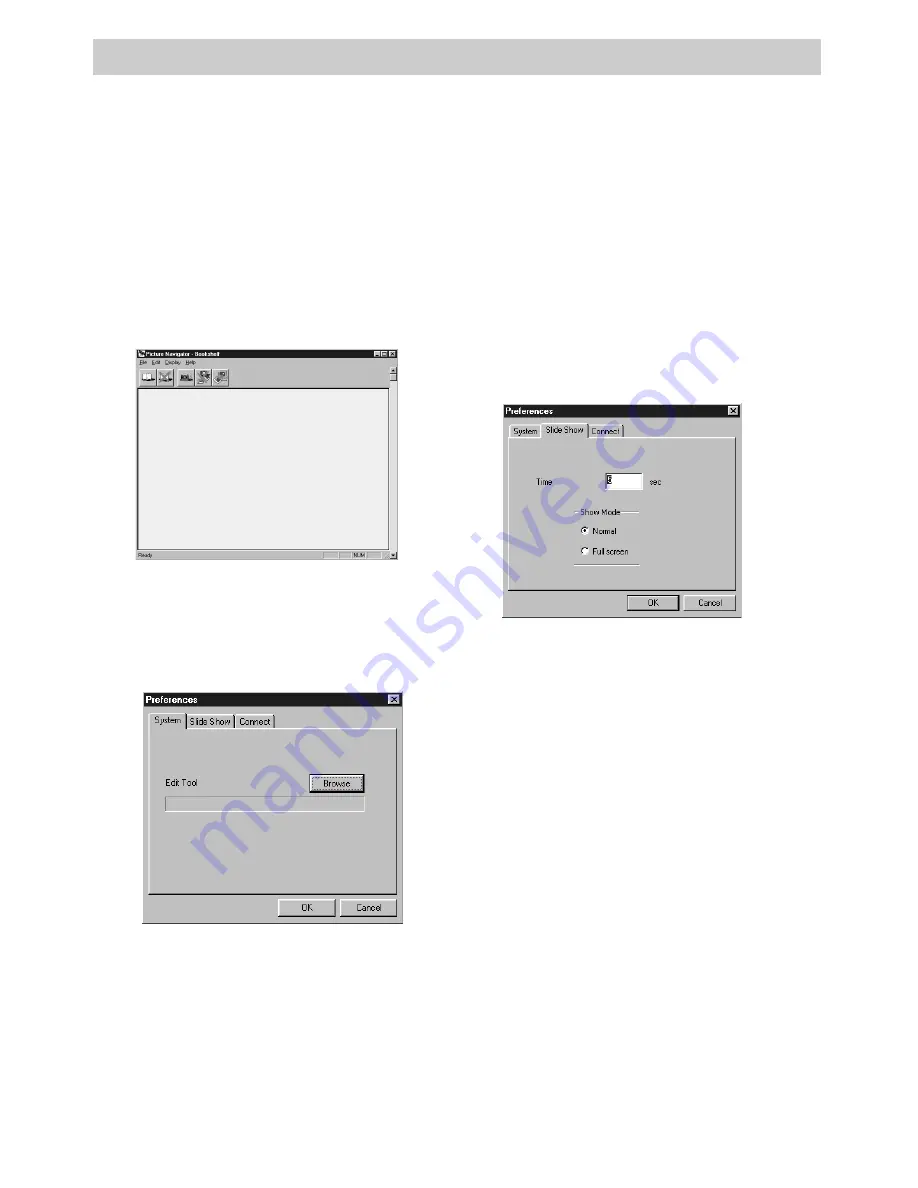
2. Select
Preferences
under the
File
pulldown menu to display the
Preferences
menu. The
System
tab
appears.
Preferences Menu
The
Preferences
menu lets you set and change your program preferences. You can
select a compatible editing program to edit your pictures, select the time you want
each picture to appear in the slide show, and select connection options.
3. Click the
Browse
button. Select the
program you want to use to edit your
pictures.
4. Double click the program to enter it in
the
System tab
window of the
Preferences
menu.
5. Press
OK
.
Select an Editing Program
1. Launch the Picture Navigator
software. The Bookshelf window
appears.
Select Slide Show Modes
1. Display the
Preferences
menu as
described in steps 1 and 2 of “Select
an Editing Program.” The
System
tab
appears. Click
Slide Show
to display
the
Slide Show
tab.
2. Enter the number of seconds (1 to 60)
you want each picture to appear when
you use the slide show feature.
3. Select the type of pictures you want to
be displayed during the slide show.
• Select
Normal
to have the pictures
displayed in the center of the screen
with a black frame.
• Select
Full screen
to have the
image fill the screen.
Note:
If the pictures are larger than the
window when
Full screen
is selected, they
may appear distorted. The picture will not
be damaged, but you may want to select
Normal
.
4. Press
OK
.
Note: For specific instructions on viewing
slide show presentations, see page 18.
Summary of Contents for CC6393
Page 105: ...Connection and Software Guide ...
Page 131: ......


