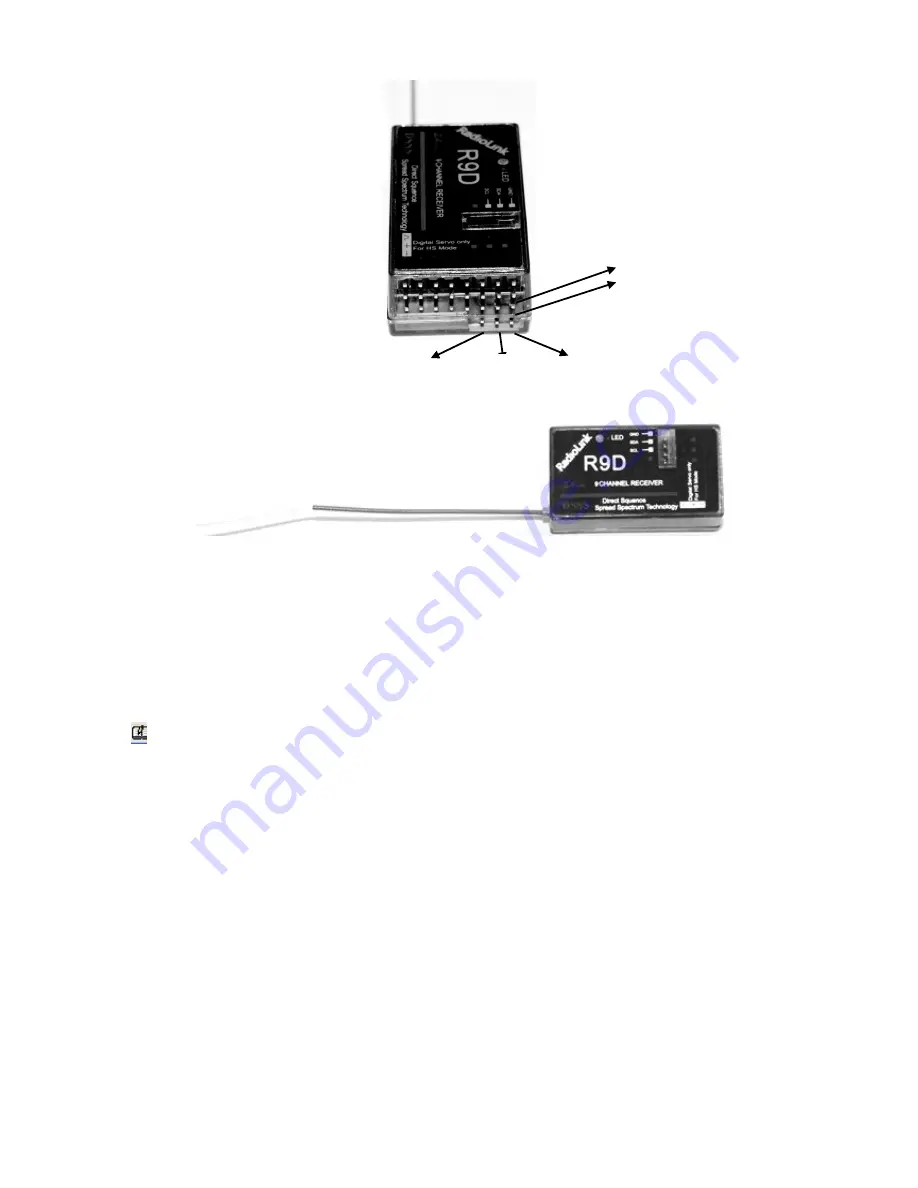
11
1.2.3 Installment of antenna
(1) Installment of receiver antenna
1. The antenna must be kept as straight as possible. Otherwise it will reduce the effective range.
2. Large model aircraft may of some metal part interfering signal; in this case the antennas should be
placed at both sides of the model. Then the best RF signal condition is obtained at any flying
attitude.
3. The antennas must be kept away from conductive materials, such as metal and carbon by at least a
half inch. The coaxial part of the antennas does not need to follow these guidelines, but do not
bend it in a small radius.
4. Keep the antennas away from the motor, ESC, and other noise sources as much as possible.
5. Press and hold the Easy Link (ID SET) one second, now the receiver starts work.
6. After all of the above steps finished, the LED indicator will turn and keep in red.
The receiver can be packed by sponge or foam for shocking proof when it is installed to the model
△
!
After all of the above steps finished, turn off the transmitter and then power it on, now the program
functions to assure it under control of transmitter with a right connection
(2) Installment of transmitter
1.
The transmitter antenna is adjustable so please make sure that the antenna is never Pointed directly
at the model when flying as this creates a weak signal for the receiver.
2.
Keep the antenna perpendicular to the transmitter's face to create a better RF condition for the
receiver. Of course this depends on how you hold the transmitter, but in most cases, adjusting the
transmitter antenna so that it is perpendicular to the face will give the best results. Please adjust the
transmitter antenna to the way you hold the transmitter.
3.
Never grip the antenna when flying as this degrades RF quality.
1.3 RADIO BASIC SETTING
1.3.1 Basic setting of the transmitter
1.
Display language: can be selected the display language of the function name, etc. in each function menu.
The screen reads "LANGUAGE". Change this to the desired language.
2.
Stick Mode: The screen reads "STK-MODE". Change this to the correct mode. Note that this will NOT
change the throttle and elevator rachets, etc. Those are mechanical changes that must be done by a
service center.
3.
RF Mode: the LED indicator will become solid green when RF Mode is active.
CH9
VCC INTERFACE
GND INTERFACE
VCC
GND


