Designing and Printing Labels
Kiaro! 50 User Guide
43
7
If necessary, you can change the print speed. However, the
Auto
print speed is
recommended. This option automatically adjusts printing speed based on the
speed of the print job data received by the printer.
When the printer does not have enough data it will stop printing, wait for the
required amount of data, then retract media to the next label and resume printing.
If automatic speed is used, printing will continue at a slower speed. If a specific
speed is selected, printing will continue at the same speed.
8
If necessary, you can set up the cutter options.
•
Check the
Cutter Enabled
option to enable the auto-cutter.
•
Use the
Labels Between Cut
field to indicate the number of labels to print
between each cut. The minimum cut length is 1 inch (25.4 mm).
9
Choose
OK
.
Printing Labels
1
Ensure the label media has been loaded.
2
If you are printing from a third-party design application, ensure the printer driver
preferences are configured.
3
Open the label file using the appropriate software. Then choose to print the label,
and enter the number of copies you would like to print.
Note:
If your software has a collate option, disable it before printing.
4
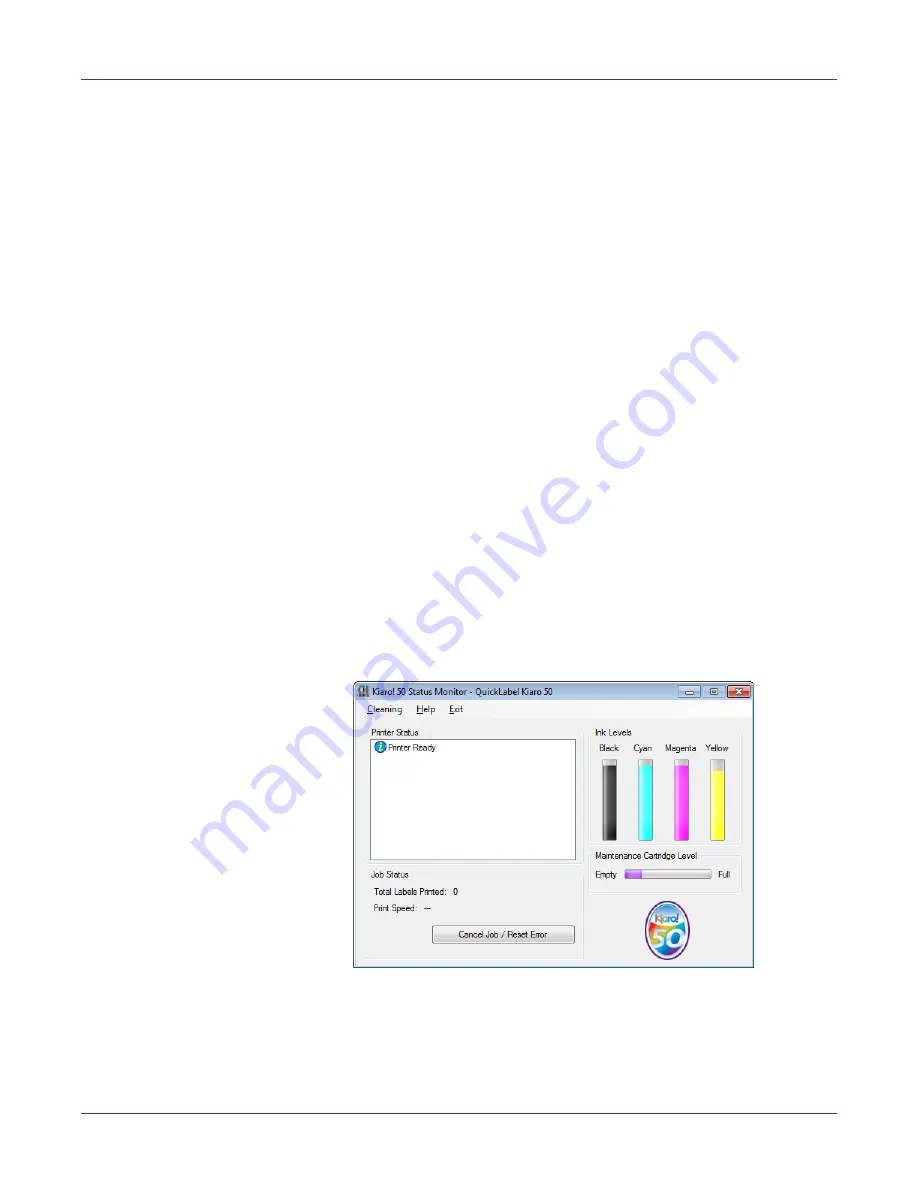
Print the labels. The Status Monitor will automatically open and display information
about printer and job status.
The job progress will be displayed in the Status Monitor.
If necessary, you can cancel the print job by choosing
Cancel Job/Reset Error
on
the Status Monitor.
5
Receive the printed labels.
Summary of Contents for Kiaro! 50
Page 2: ......
Page 12: ......
Page 16: ...Contents iv Kiaro 50 User Guide...
Page 46: ...Introduction 30 Kiaro 50 User Guide...
Page 72: ...Designing and Printing Labels 56 Kiaro 50 User Guide...
Page 88: ...Kiaro 50 Maintenance Utility 72 Kiaro 50 User Guide...
Page 122: ...Troubleshooting 106 Kiaro 50 User Guide...
Page 128: ...Safety Warnings and Precautions 112 Kiaro 50 User Guide...


