5.
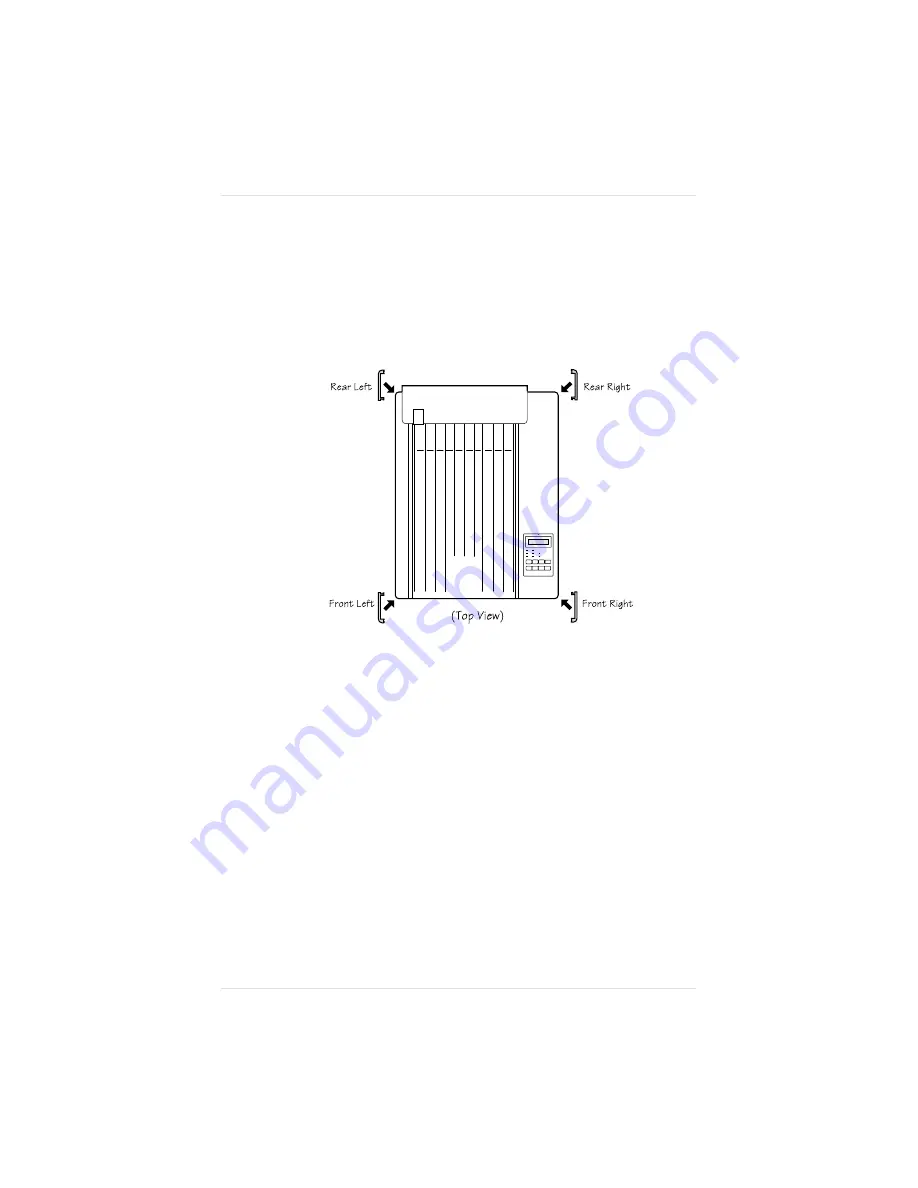
Check the inside of the four plastic corner brackets. Each is
labeled to indicate which corner of the sheet feeder it fits in.
6.
Snap the plastic brackets onto the appropriate corners of the
sheet feeder (fig. 8.3). These brackets have small rims on the
bottom that fit inside the edges of the sheet feeder.
The sheet feeder is now installed. See chapter 5, “Print Media and
Daily Operations,” for information on handling media and filling
cassettes.
NOTE: If you move the printer with the sheet feeder attached, lift
the unit by the four bottom corners, not by the sheet
feeder’s cassette slot. Before moving the printer, be sure
to read “Moving the Printer” in chapter 6.
Fig. 8.3 Attach the Corner Brackets
Chapter 8
8 - 4
P r i n t e r O p t i o n s
Summary of Contents for 1800409-001A
Page 1: ...QMS magicolor LX Printer User s Guide 1800409 001A...
Page 4: ...4...
Page 15: ...Chapter 1 Introduction Chapter highlights About the documentation About your printer...
Page 16: ......
Page 32: ......
Page 39: ...Fig 2 2 Unpacking the Printer Chapter 2 I n i t i a l P r i n t e r S e t u p 2 7...
Page 80: ......
Page 106: ......
Page 166: ......
Page 190: ......
Page 234: ......
Page 256: ......
Page 320: ...Chapter 8 8 6 4 P r i n t e r O p t i o n s...
Page 322: ......
Page 357: ...Appendix A QMS Customer Support...
Page 358: ......
Page 363: ...Appendix B Technical Specifications...
Page 364: ......
Page 368: ...Environmental Requirements Appendix B B 4 T e c h n i c a l S p e c i f i c a t i o n s...
Page 381: ...Appendix C Notices...
Page 382: ......
Page 387: ...Appendix D Additional Technical Information...
Page 388: ......
Page 436: ...I 2 0 I n d e x...


