8.
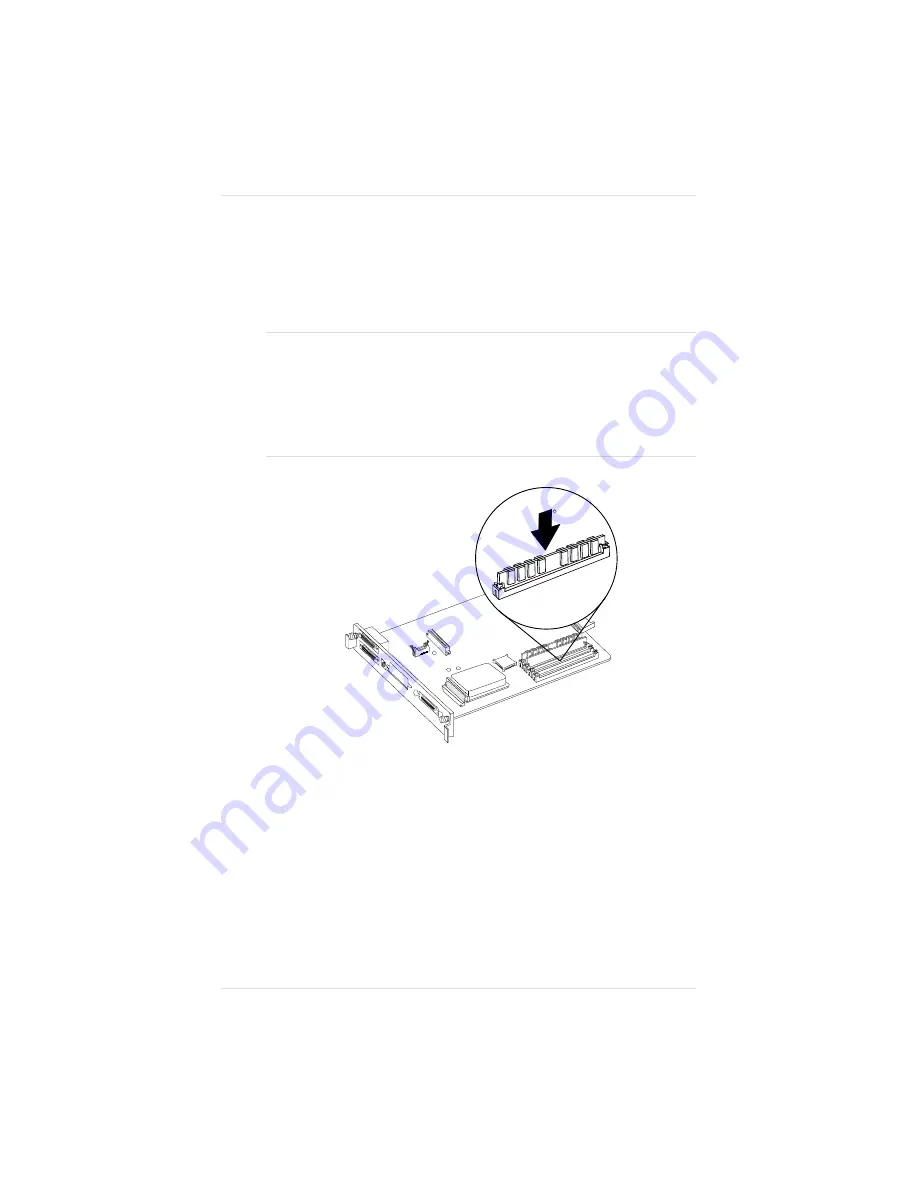
Gently pull the SIMM forward to a 90° angle until you feel it
fit into place (fig. 8.16) behind the clips on either side of the
connector. (You may need to use your fingers to open these
clips.) When seated, the SIMM stands upright, firmly in place.
CAUTION: If you cannot easily fit the SIMM into place, do not
force it. Reposition it, making sure that the bottom of the SIMM
is seated completely in the connector. If there’s not enough room
between SIMMs to properly tilt and insert the new ones, first
remove all the SIMMs, install the new ones, then re-install the old
ones. Steps 4 and 5, above, explain how to remove SIMMs.
9.
Follow the instructions in “Replacing the Controller Board”
(earlier in this chapter), being careful to follow the directions
for eliminating electrostatic buildup.
NOTE: You may want to print out an advanced status page
(Administration/Special Pages submenu) so you have a
90
Fig. 8.16 Pull the SIMM Forward into Position
Chapter 8
P r i n t e r O p t i o n s
8 - 2 5
Summary of Contents for 1800409-001A
Page 1: ...QMS magicolor LX Printer User s Guide 1800409 001A...
Page 4: ...4...
Page 15: ...Chapter 1 Introduction Chapter highlights About the documentation About your printer...
Page 16: ......
Page 32: ......
Page 39: ...Fig 2 2 Unpacking the Printer Chapter 2 I n i t i a l P r i n t e r S e t u p 2 7...
Page 80: ......
Page 106: ......
Page 166: ......
Page 190: ......
Page 234: ......
Page 256: ......
Page 320: ...Chapter 8 8 6 4 P r i n t e r O p t i o n s...
Page 322: ......
Page 357: ...Appendix A QMS Customer Support...
Page 358: ......
Page 363: ...Appendix B Technical Specifications...
Page 364: ......
Page 368: ...Environmental Requirements Appendix B B 4 T e c h n i c a l S p e c i f i c a t i o n s...
Page 381: ...Appendix C Notices...
Page 382: ......
Page 387: ...Appendix D Additional Technical Information...
Page 388: ......
Page 436: ...I 2 0 I n d e x...


