Chapter 2 System Configuration
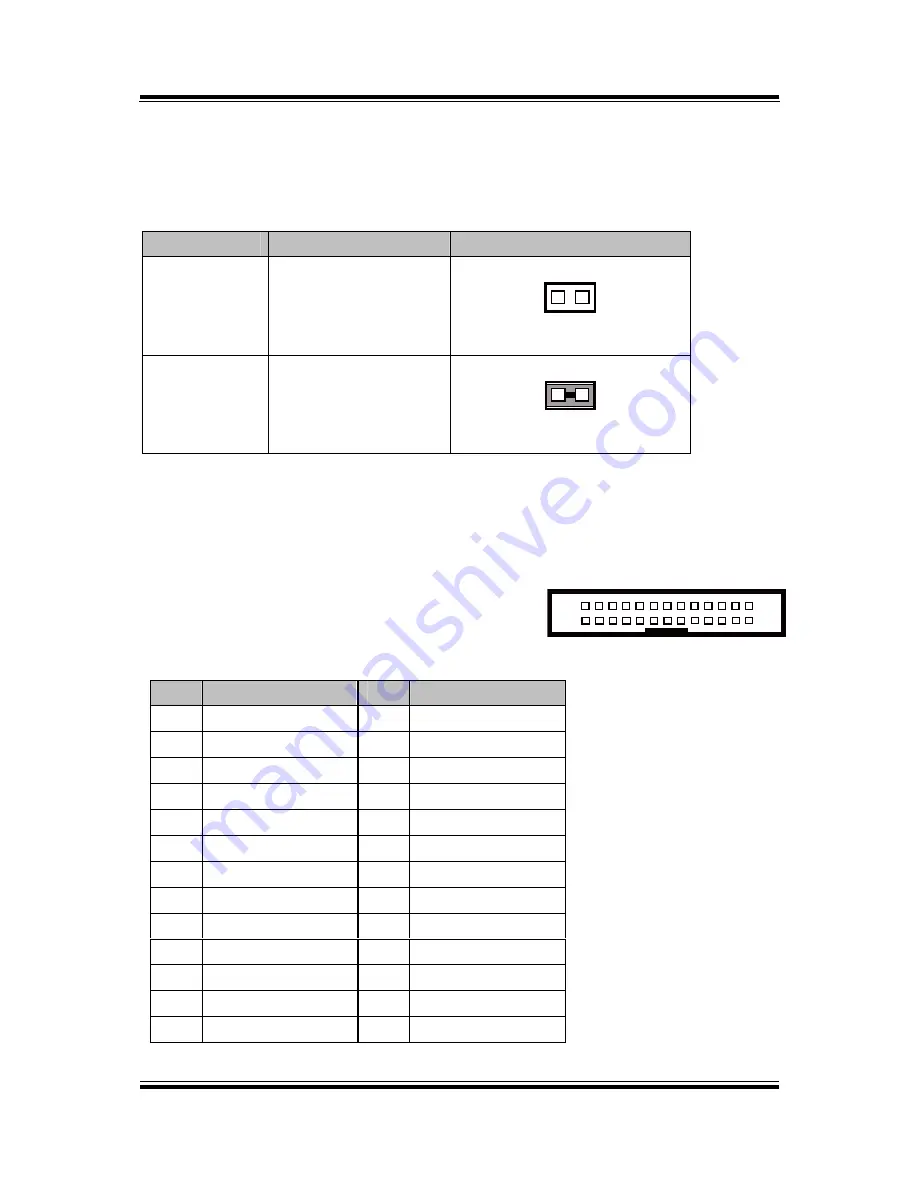
Clear CMOS Data Selection
JP3:
Clear CMOS data selection
SELECTION
JUMPER SETTING
JUMPER ILLUSTRATION
Normal
Open
1
JP3
Clear CMOS*
1-2
1
JP3
Note:
Manufacturing Default is Normal.
*To clear CMOS data, you must power-off the computer and set the jumper to “Clear CMOS” as
illustrated above. After five to six seconds, set the jumper back to “Normal” and power-on the
computer.
Printer Connector
LPT1:
Printer connector
PIN
ASSIGNMENT
PIN
ASSIGNMENT
1
STBJ
14
ALFJ
2
PDR0
15
ERRJ
3
PDR1
16
PAR_INITJ
4
PDR2
17
SLCTINJ
5
PDR3
18
GND
6
PDR4
19
GND
7
PDR5
20
GND
8
PDR6
21
GND
9
PDR7
22
GND
10
ACKJ
23
GND
11
BUSY
24
GND
12
PE
25
GND
13
SLCTJ
26
NC
26
13
14
1
LPT1
PA-6822 Series User Manual
Page 35
Summary of Contents for PA-6822
Page 1: ...USER S MANUAL PA 6822 15 POS Terminal Powered by Intel Celeron J1900 Quad Core PA 6822 M4...
Page 199: ...Chapter 3 Software PA 6822 Series User Manual Page 198...
Page 218: ...Chapter 4 System Assembly 01 05 02 03 06 07 08 09 04 PA 6822 Series User Manual Page 217...
Page 219: ...Chapter 4 System Assembly 01 05 02 03 06 07 08 04 PA 6822 Series User Manual Page 218...
Page 222: ...Chapter 4 System Assembly 01 05 02 03 06 07 04 PA 6822 Series User Manual Page 221...
Page 224: ...Chapter 4 System Assembly PA 6822 Series User Manual Page 223...
Page 225: ...Chapter 4 System Assembly 05 02 01 03 06 04 PA 6822 Series User Manual Page 224...
Page 226: ...Chapter 4 System Assembly 01 02 03 06 07 08 04 05 09 10 PA 6822 Series User Manual Page 225...
Page 228: ...Chapter 4 System Assembly COM Port 01 05 02 03 04 PA 6822 Series User Manual Page 227...
Page 229: ...Chapter 4 System Assembly Parallel Port 01 02 03 04 PA 6822 Series User Manual Page 228...
Page 239: ...Chapter 4 System Assembly 01 02 03 04 05 06 07 08 09 PA 6822 Series User Manual Page 238...
Page 240: ...Chapter 4 System Assembly 01 02 03 04 06 05 07 08 10 09 PA 6822 Series User Manual Page 239...
Page 250: ...Appendix A System Display Step 8 Finished view PA 6822 Series User Manual Page 249...


