

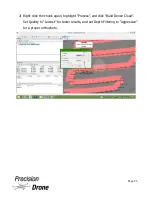
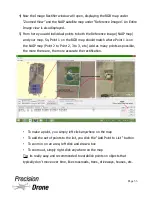
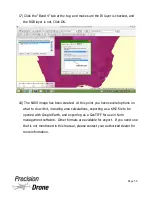
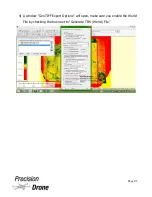


6) Once you are satisfied with the number of points shared between the maps,
click OK and the RGB map is now rectified to the NAIP map. It is recommended
that there be 5 or more rectification points.
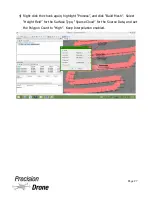
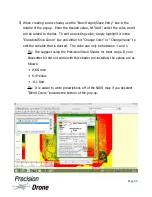
7) Open your Overlay Control Center again, and de-select the RGB map, and re-
select the IR map. Repeat the rectification process for the IR map now, it is
done exactly the same way as the RGB map.
◦
Tip: Use the slider tool at the top of the page (see page 30) to see how
well the RGB/IR layers line up with the satellite imagery.
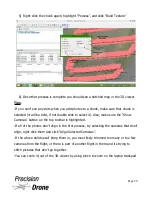
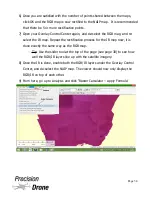
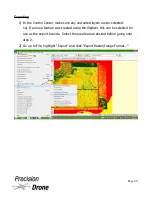
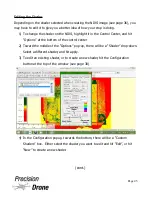
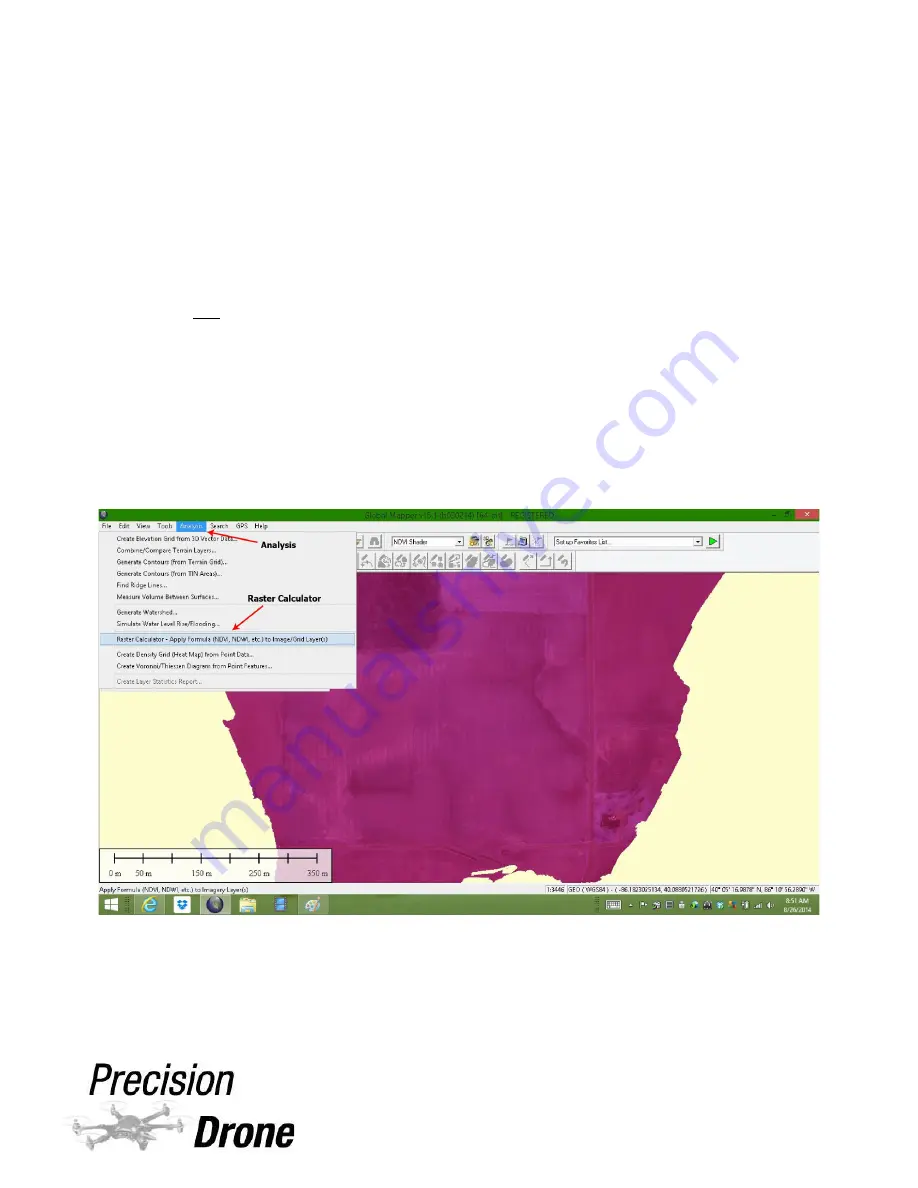
8) Once the IR is done, enable both the RGB/IR layers under the Overlay Control
Center, and de-select the NAIP map. The viewer should now only display the
RGB/IR on top of each other.
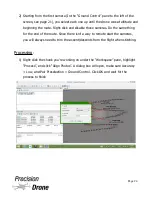
9) From here, go up to Analysis and click “Raster Calculator – Apply Formula”
1
35
Page 34
Summary of Contents for Pacesetter 2015
Page 1: ...User s Manual Pacesetter Model 2015 Serial Number Version 1 12...
Page 6: ...Components DX8 Controller 1 6 Page 5...
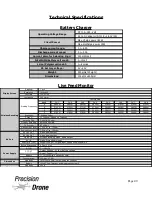
Page 7: ...Battery Charger 1 7 Page 6...
Page 8: ...Live Feed Monitor 1 8 Page 7...
Page 10: ...Precision Vision Camera 1 10 Page 9...
Page 15: ...1 15 Page 14...
Page 18: ...1 18 Page 17...
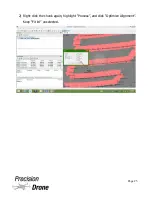
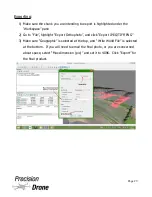
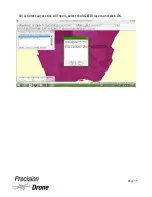
Page 36: ...10 A Select Layers box will open select the RGB IR layers and click OK 1 36 Page 35...
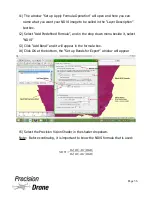
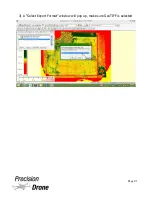
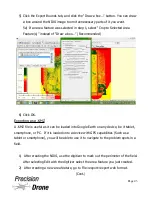
Page 42: ...3 A Select Export Format window will pop up make sure GeoTIFF is selected 1 42 Page 41...
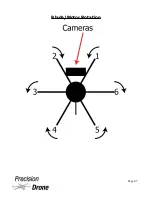
Page 48: ...Blade Motor Rotation 1 48 Page 47...
Page 49: ...1 49 Page 48...


