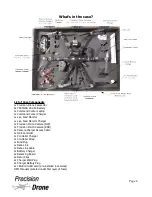


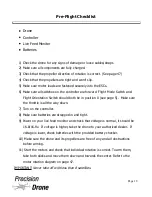


Pre-Flight Checklist
Drone
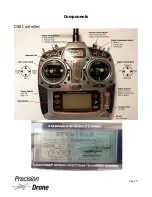
Controller
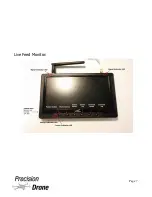
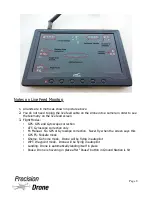
Live Feed Monitor
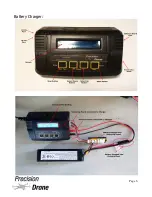
Batteries
1) Check the drone for any signs of damage or loose cables/straps
2) Make sure all components are fully charged.
3) Check that the propeller direction of rotation is correct. (See page 47)
4) Check that the propellers are tight and won't slip.
5) Make sure motor leads are fastened securely into the ESCs.
6) Make sure all switches on the controller are forward. Flight Mode Switch and
Flight Orientation Switch should both be in position 0 (see page 5). Make sure
the throttle is all the way down.
7) Turn on the controller.
8) Make sure batteries are strapped in and tight.
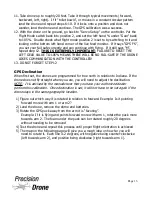
9) Power on your live feed monitor and check that voltage is normal, it should be
16.8/16.9v. If voltage is higher, take the drone to your authorized dealer. If
voltage is lower, check batteries with the provided battery checker.
10) Make sure the drone and its propellers are free of any and all obstructions
before arming.
11) Start the motors and check that individual rotation is correct. To arm them,
take both sticks and move them down and towards the center. Refer to the
motor rotation diagram on page 47.
IMPORTANT:
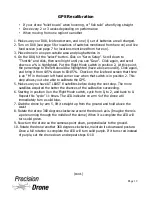
Never take off with less than 8 satellites.
1
19
Page 18
Summary of Contents for Pacesetter 2015
Page 1: ...User s Manual Pacesetter Model 2015 Serial Number Version 1 12...
Page 6: ...Components DX8 Controller 1 6 Page 5...
Page 7: ...Battery Charger 1 7 Page 6...
Page 8: ...Live Feed Monitor 1 8 Page 7...
Page 10: ...Precision Vision Camera 1 10 Page 9...
Page 15: ...1 15 Page 14...
Page 18: ...1 18 Page 17...
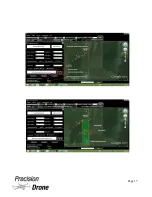
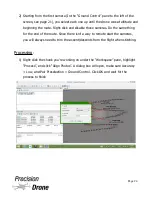
Page 36: ...10 A Select Layers box will open select the RGB IR layers and click OK 1 36 Page 35...
Page 42: ...3 A Select Export Format window will pop up make sure GeoTIFF is selected 1 42 Page 41...
Page 48: ...Blade Motor Rotation 1 48 Page 47...
Page 49: ...1 49 Page 48...


