•
If at any time you need to take control of the drone, for example to avoid an
imminent collision, flip the Flight Mode switch down to position 1 then back
up to position 0.
In the event that your Pacesetter hits failsafe in the middle of route, the route can be
continued once the drone returns home and the batteries have been replaced. To do
so, follow the steps below:
1) Remember the last waypoint that had been completed.
2) Clear the route that it had been on, and reload the same field.
3) In the Editor Window, select "Editing Mission". Set the last waypoint completed
as the starting waypoint.
4) Go to the last waypoint completed and set its turning mode to "Stop and Turn"
5) Upload the route to the Pacesetter and launch it.
5a)
Make sure to take off manually and get it to altitude when doing this. The
drone will make a straight line to the continuation point and will hit any
obstructions in its way.
REMINDER:
The drone will hit its Failsafe Return to Home voltage when it reaches
<14.5v. It will land in place once <14.0v has been reached. If you are flying manually
when this happens, the drone will take control from you. To take back control, flip the
Flight Mode Switch to position 1, then back to position 0. When failsafe is hit, the
drone will ascend to 40 meters if it is flying lower then this altitude.
1
22
Page 21
Summary of Contents for Pacesetter 2015
Page 1: ...User s Manual Pacesetter Model 2015 Serial Number Version 1 12...
Page 6: ...Components DX8 Controller 1 6 Page 5...
Page 7: ...Battery Charger 1 7 Page 6...
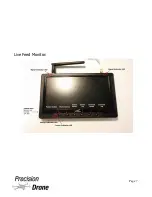
Page 8: ...Live Feed Monitor 1 8 Page 7...
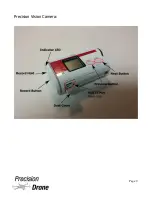
Page 10: ...Precision Vision Camera 1 10 Page 9...
Page 15: ...1 15 Page 14...
Page 18: ...1 18 Page 17...
Page 36: ...10 A Select Layers box will open select the RGB IR layers and click OK 1 36 Page 35...
Page 42: ...3 A Select Export Format window will pop up make sure GeoTIFF is selected 1 42 Page 41...
Page 48: ...Blade Motor Rotation 1 48 Page 47...
Page 49: ...1 49 Page 48...

