PDP-425CMX
166
1
2
3
4
1
2
3
4
C
D
F
A
B
E
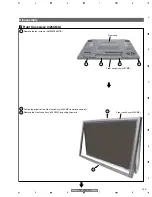
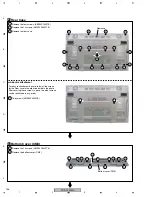
Rear Case
2
1
Remove the four screws. (ABZ30P100FTB)
2
Remove the 14 screws. (AMZ30P060FTB)
3
Remove the rear case.
Bottom Cover (CMX)
3
1
Remove the 13 screws. (AMZ30P060FTB)
2
Remove the bottom cover (CMX).
2
2
2
2
2
2
2
2
2
2
2
2
2
2
1
1
1
1
3
1
1
1
1 1
1
1
2
1
1
1
1 1
1
1
1
Rear case
Bottom cover (CMX)
1
Two screws (AMZ30P060FTB)
-1
-2
About reattachment
For easy reattachment, be sure to install the screws
for the Rear case in the order indicated in the photo.
After securing those screws in place, the other screws
can be reattached in any order.
Summary of Contents for PDP-42MXE10
Page 9: ...PDP 425CMX 9 5 6 7 8 5 6 7 8 C D F A B E ...
Page 27: ...PDP 425CMX 27 5 6 7 8 5 6 7 8 C D F A B E ...
Page 37: ...PDP 425CMX 37 5 6 7 8 5 6 7 8 C D F A B E ...
Page 129: ...PDP 425CMX 129 5 6 7 8 5 6 7 8 C D F A B E ...
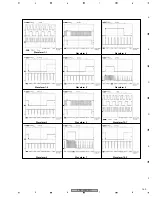
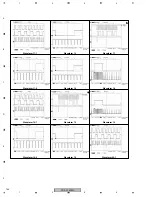
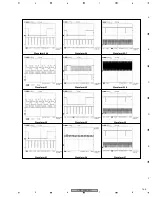
Page 132: ...PDP 425CMX 132 1 2 3 4 1 2 3 4 C D F A B E MAIN PWB CONNECTOR WAVE FORM POINT SIDE B ...

